在折腾:
【记录】使用Python的IDE:Eclipse+PyDev
的过程中,已经:
了,现在接着去参考:
http://pydev.org/manual_101_root.html
中的:
去配置PyDev。
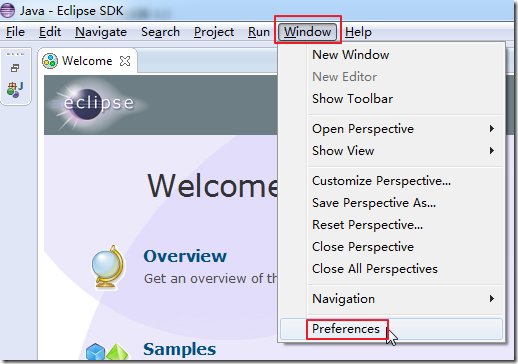
1.去:
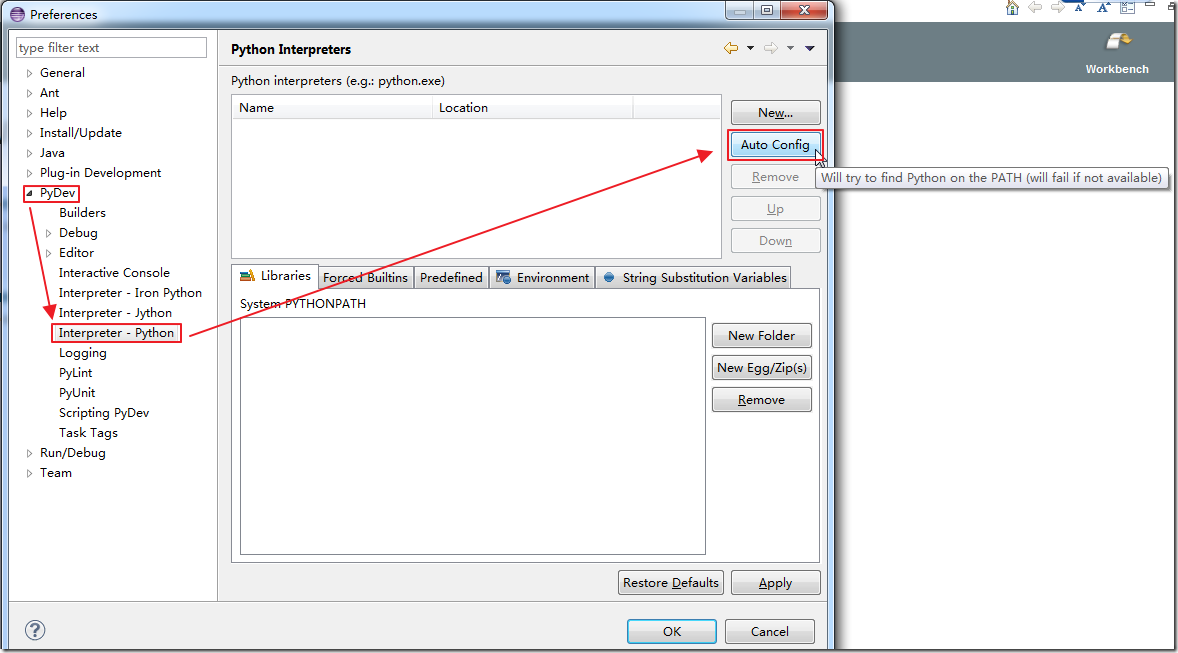
window > preferences > PyDev > Interpreter – Python
2. 此处,尝试自动配置:
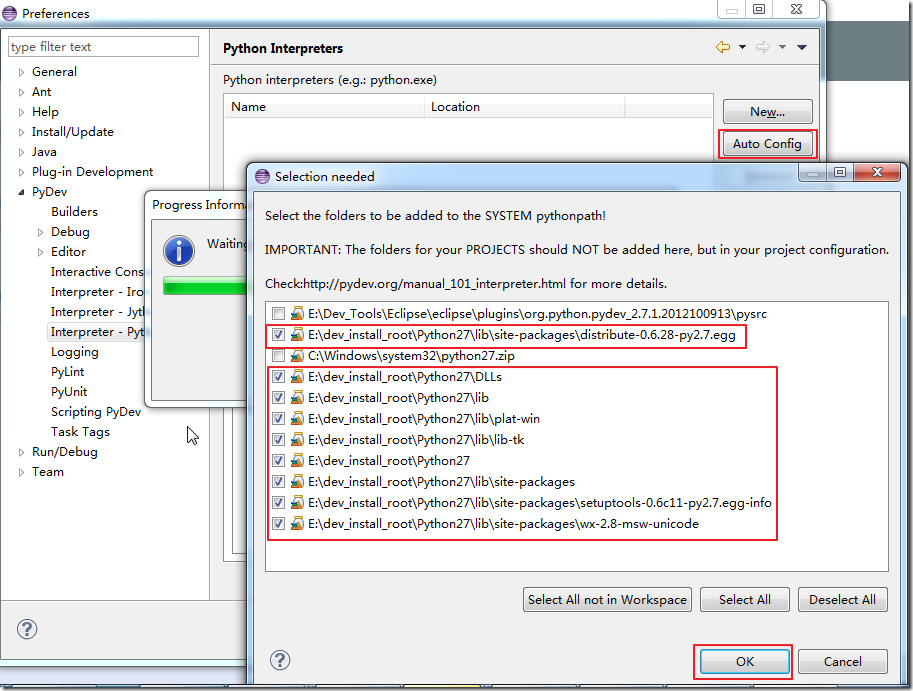
3. 然后的确不错,自动配置,就可以找到,相关的路径和Python的库了:
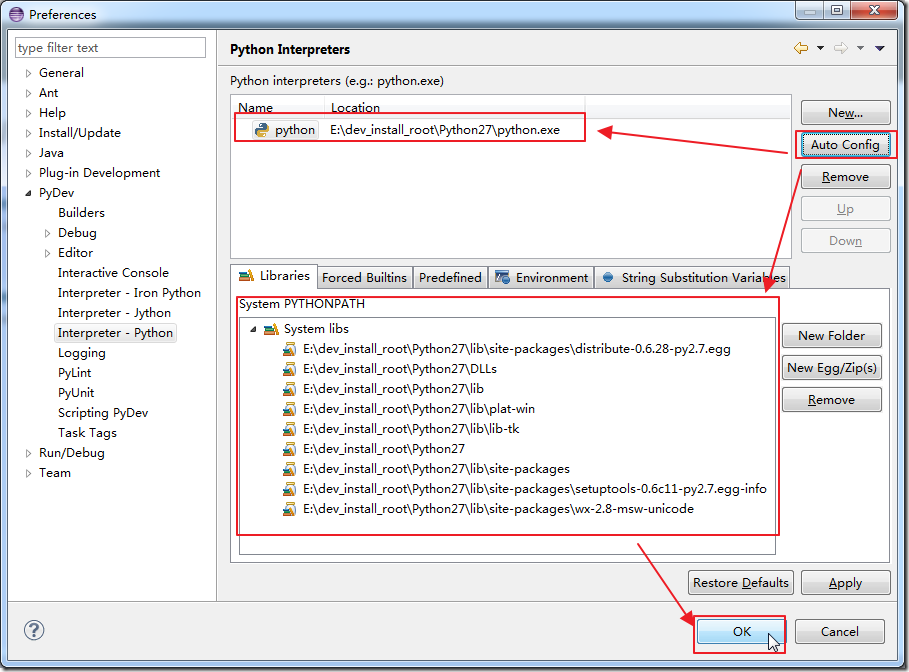
4. 点击OK后,完整的配置如下:
5. 关于如何确保路径添加正确了:
确保此处的路径是包含了lib路径和site-packages了,我此处的就是:
E:\dev_install_root\Python27\Lib
E:\dev_install_root\Python27\Lib\site-packages
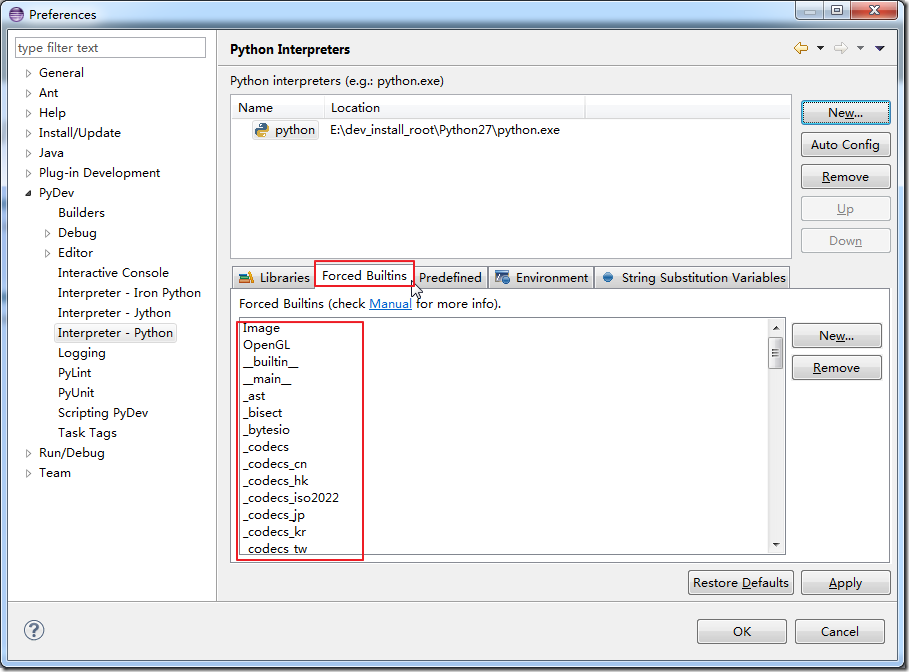
另外,还有个Forced Builtins,好像就是Python的标准库所包含的那些模块:
确保都是正常的。
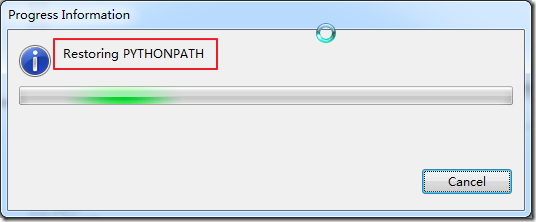
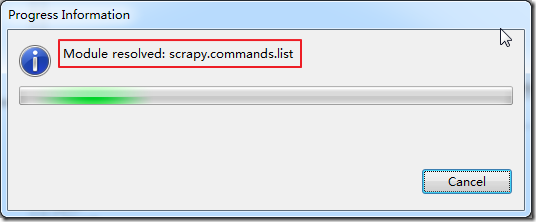
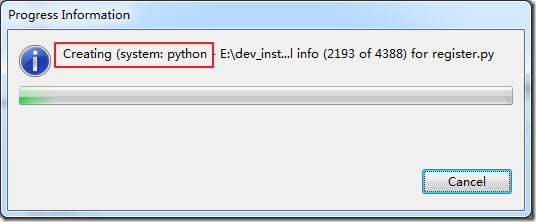
6. 然后依次会有对应的提示:
最后,就终于配置完毕了。
配置完毕PyDev,如何使用PyDev去开发,验证PyDev是否正常工作,参见:
【教程】在Eclipse中使用PyDev进行Python开发
另外,有空也可以再去看看官网
http://pydev.org/manual_101_root.html
中更多的深度介绍:
Further configuring your project
Creating your first python module
Running/Debugging your program
Configuring Eclipse Essentials
Tips for programming with PyDev
转载请注明:在路上 » 【教程】在Eclipse中配置刚安装好的PyDev插件
