【背景】
之前已经折腾了:
【未解决】如何在编译透明的png图片后保持背景透明(而不是变成白色背景)
但是没成功,所以当时放弃了。
现在:
对于之前就知道的:
可以在线免费帮忙制作
EditText的9patch的png图片的网站
http://android-holo-colors.com/
之前(不知何故而)打不开,但是现在可以正常打开了之后,所以就可以接着去制作EditText的9patch图片,然后去试试效果了。
【折腾过程】
1.打开:
http://android-holo-colors.com/
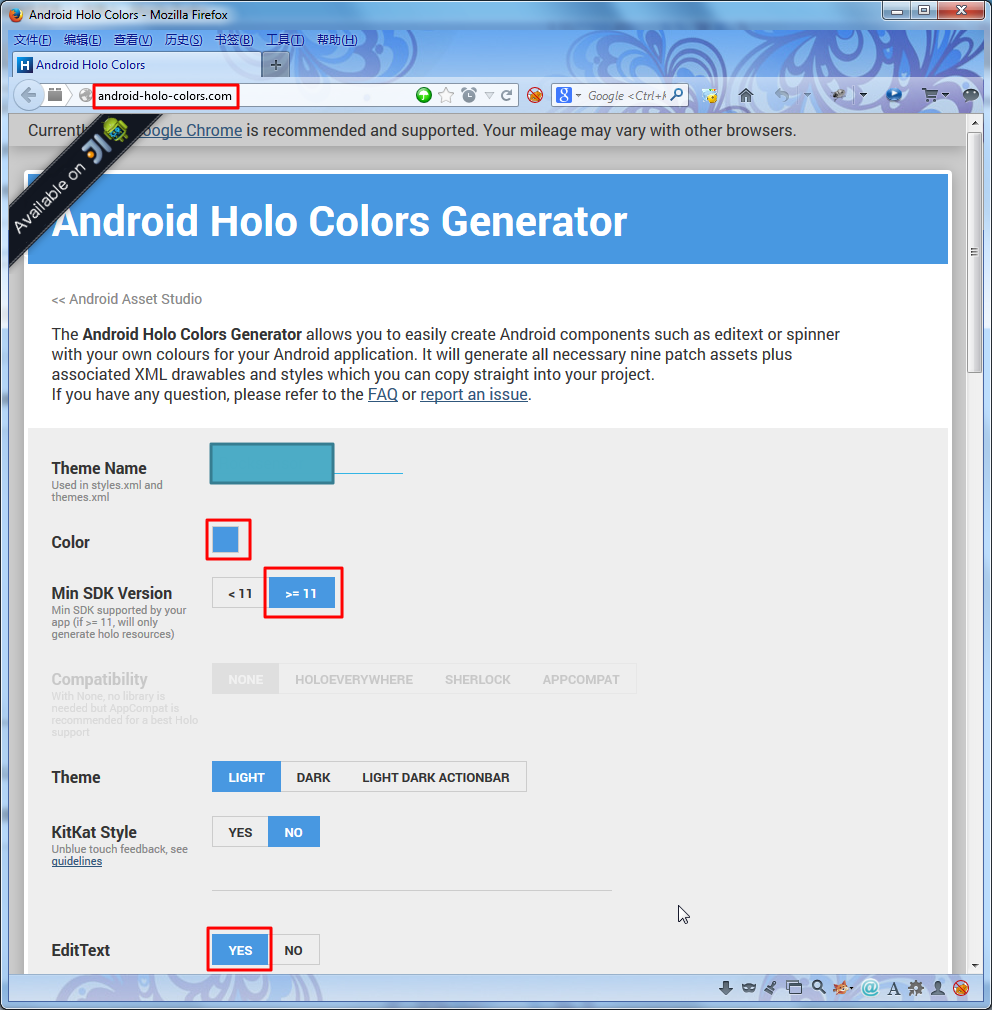
(1)改写theme的名字
(2)
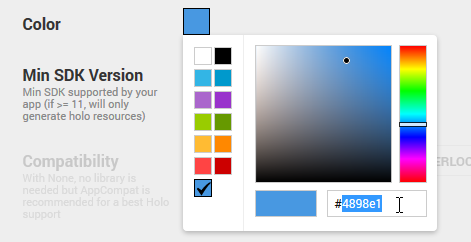
然后再选上自己想要的颜色:
(3)然后对于此处的Min SDK Version来说,是14(还是17),所以是大于11的
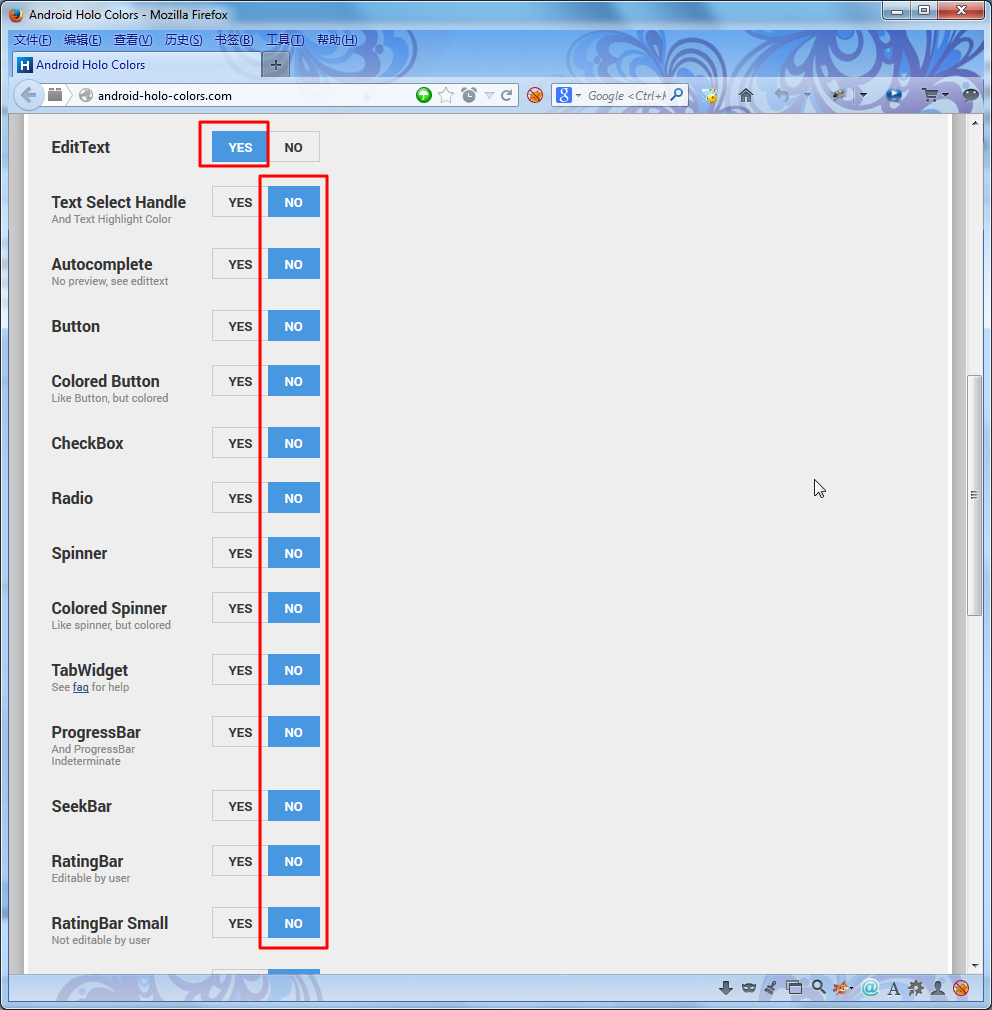
(4)选上EditText
最后基本配置如下:
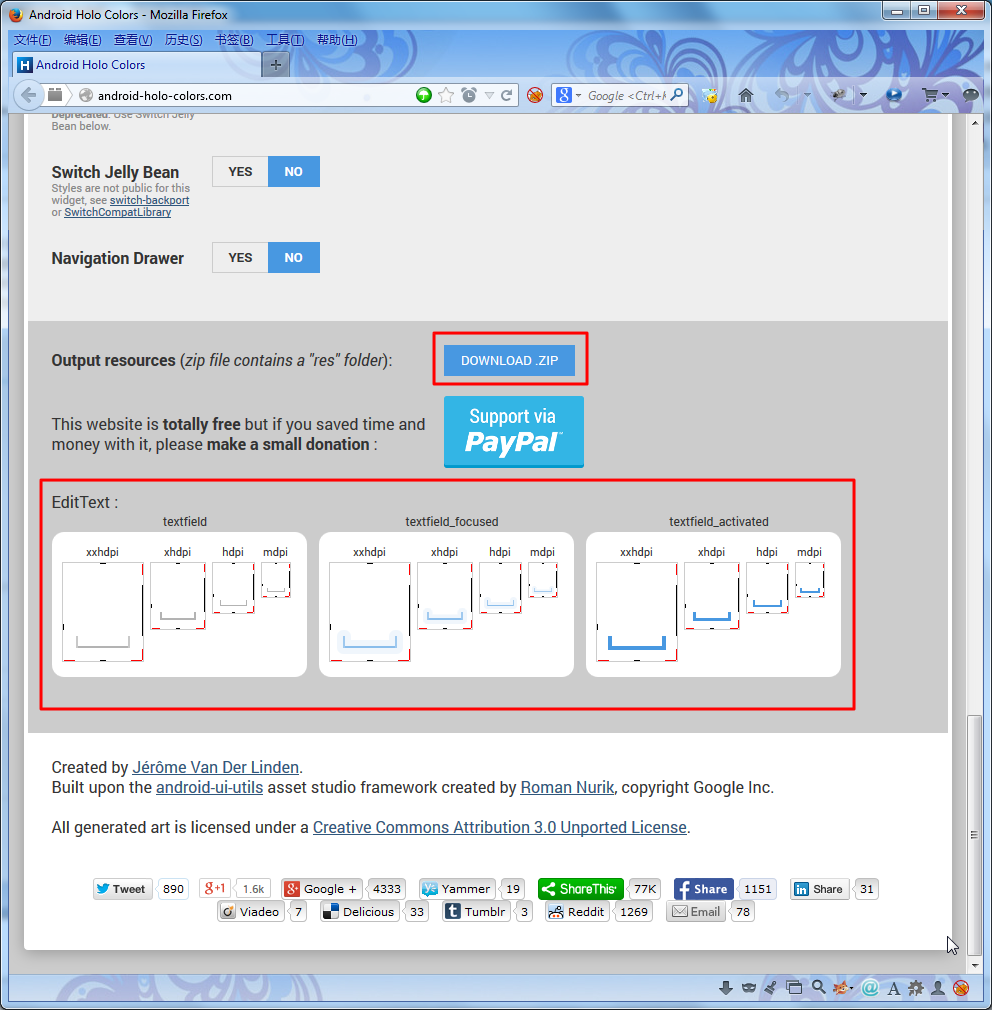
然后就可以看到对应的生成的EditText的9 patch图片了:
点击其中的DOWNLOAD.ZIP,即可下载得到:
android-holo-colors-xxx.zip
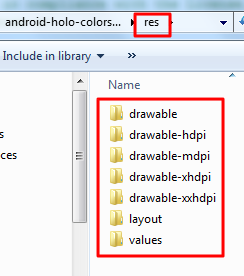
2.解压后,可以得到里面的res文件夹,其中包含了所有需要的资源resources:
然后分别将其中的内容,整合到自己的项目里,我此处就是:
(1)拷贝对应的
drawable-hdpi
drawable-mdpi
drawable-xhdpi
drawable-xxhdpi
里面的9 patch图片到自己项目里面。
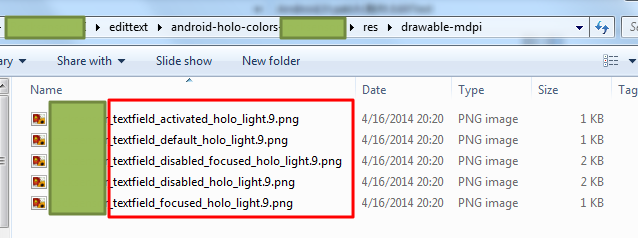
里面的图片,都是对应不同状态,即activated,default,disabled_focused,disabled,focused的图片,
比如drawable-mdpi中的就是:
(2)然后把
android-holo-colors-xxx\res\drawable\xxx_edit_text_holo_light.xml
也整理到自己的项目中的
/res/drawable中的xxx_edit_text_holo_light.xml中去。
1 2 3 4 5 6 7 8 9 | <item android:state_window_focused="false" android:state_enabled="true" android:drawable="@drawable/xxx_textfield_default_holo_light" /> <item android:state_window_focused="false" android:state_enabled="false" android:drawable="@drawable/xxx_textfield_disabled_holo_light" /> <item android:state_enabled="true" android:state_focused="true" android:drawable="@drawable/xxx_textfield_activated_holo_light" /> <item android:state_enabled="true" android:state_activated="true" android:drawable="@drawable/xxx_textfield_focused_holo_light" /> <item android:state_enabled="true" android:drawable="@drawable/xxx_textfield_default_holo_light" /> <item android:state_focused="true" android:drawable="@drawable/xxx_textfield_disabled_focused_holo_light" /> <item android:drawable="@drawable/xxx_textfield_disabled_holo_light" /></selector> |
(3)再去把
res\values
下面的:
colors_xxx.xml
themes_xxx.xml
都整理到自己的:
res/values/styles_xxx.xml
中去:
1 2 3 4 5 6 7 8 9 | <style name="Theme.xxx" parent="@android:style/Theme.Holo.Light"> ...... <item name="android:editTextStyle">@style/EditTextStyle</item></style><style name="EditTextStyle" parent="android:Widget.EditText"> <item name="android:background">@drawable/edit_text_holo_light_xxx</item> <item name="android:textColor">@color/xxxColorLightBlue</item></style> |
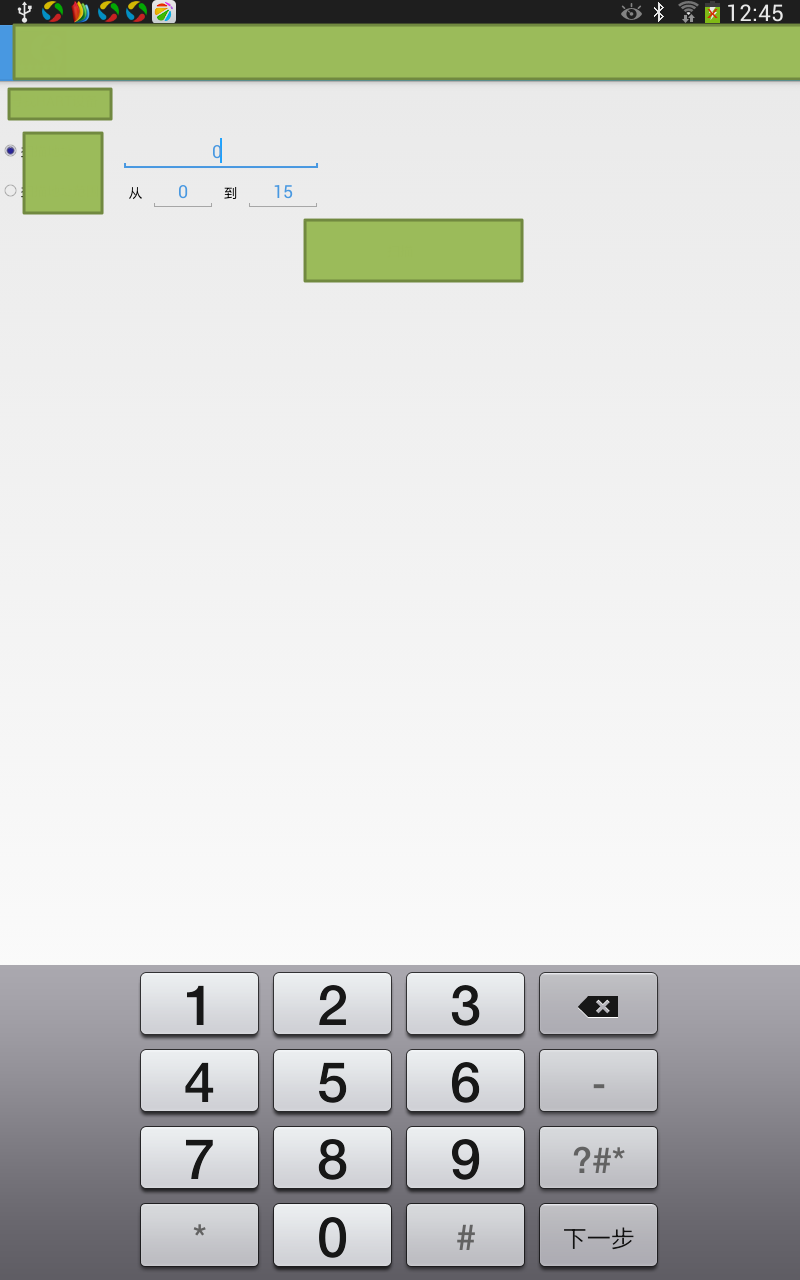
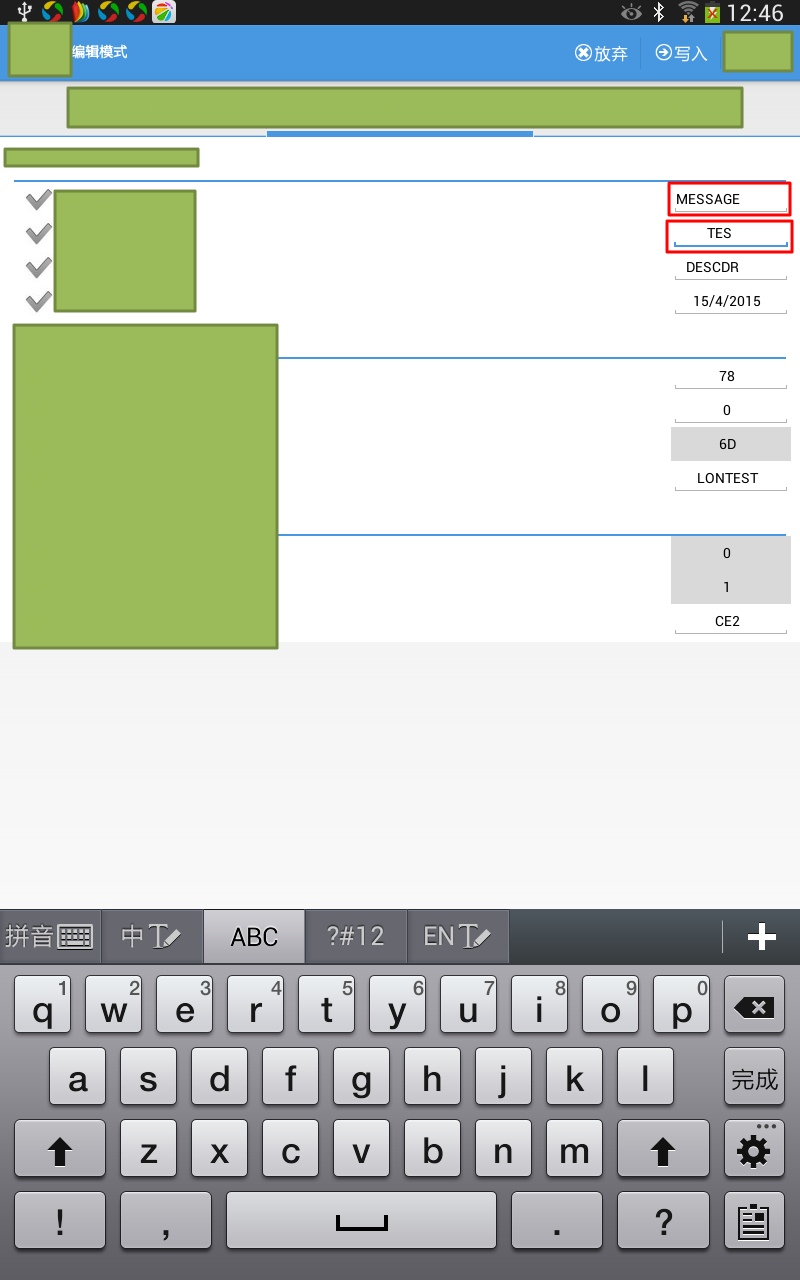
3.然后结果就可以正常显示了:
EditText的颜色就变成所想要的
不选择时,是灰色,选择是,是淡蓝色:
【总结】
想要对于Android的Holo的主题去自定义各种控件(比如EditText)的效果的话,可以去使用:
去定制自己想要的颜色的对应的9 patch。
