折腾:
【已解决】把Python3的Flask部署到远程CentOS7服务器
期间,想要利用之前在Mac本地中折腾的pipenv的Pipfile和Pipfile.lock去,重建同样的虚拟环境到远程CentOS7服务器中。
其中已经安装好了pip3的pipenv了。
此处去创建一个pipenv虚拟环境:
<code>[root@naturling-general-01 robotDemo]# pipenv install --three
Creating a virtualenv for this project[39m
Using /usr/bin/python3 (3.4.5) to create virtualenv[39m
[34mAlready using interpreter /usr/bin/python3
Using base prefix '/usr'
New python executable in /root/.local/share/virtualenvs/robotDemo-dwdcgdaG/bin/python3
Also creating executable in /root/.local/share/virtualenvs/robotDemo-dwdcgdaG/bin/python
Please make sure you remove any previous custom paths from your /root/.pydistutils.cfg file.
Installing setuptools, pip, wheel...done.

Virtualenv location: /root/.local/share/virtualenvs/robotDemo-dwdcgdaG
Creating a Pipfile for this project[39m
Pipfile.lock not found, creating[39m
Locking [dev-packages] dependencies[39m
Locking [packages] dependencies[39m
Updated Pipfile.lock (2a9758)!
Installing dependencies from Pipfile.lock (2a9758)[39m
     [39m[39m[39m[39m[39m[39m[39m[39m[39m[39m[39m[39m[39m[39m[39m[39m[39m[39m[39m[39m[39m[39m[39m[39m[39m[39m[39m[39m[39m[39m[39m[39m 0/0 [30m00:00:00
To activate this project's virtualenv, run the following:
 $ pipenv shell
[root@naturling-general-01 robotDemo]# pipenv shelll
Usage: pipenv [OPTIONS] COMMAND [ARGS]...

Error: No such command "shelll".

Did you mean one of these?
    shell
[root@naturling-general-01 robotDemo]# pipenv shell
Spawning environment shell (/bin/bash). Use 'exit' to leave.
[root@naturling-general-01 robotDemo]# . /root/.local/share/virtualenvs/robotDemo-dwdcgdaG/bin/activate
(robotDemo-dwdcgdaG) [root@naturling-general-01 robotDemo]# which python
/root/.local/share/virtualenvs/robotDemo-dwdcgdaG/bin/python
(robotDemo-dwdcgdaG) [root@naturling-general-01 robotDemo]# python --version
Python 3.4.5
(robotDemo-dwdcgdaG) [root@naturling-general-01 robotDemo]# exit
exit
[root@naturling-general-01 robotDemo]# which python
/usr/bin/python
</code>
但是发现:
好像正规流程应该是:
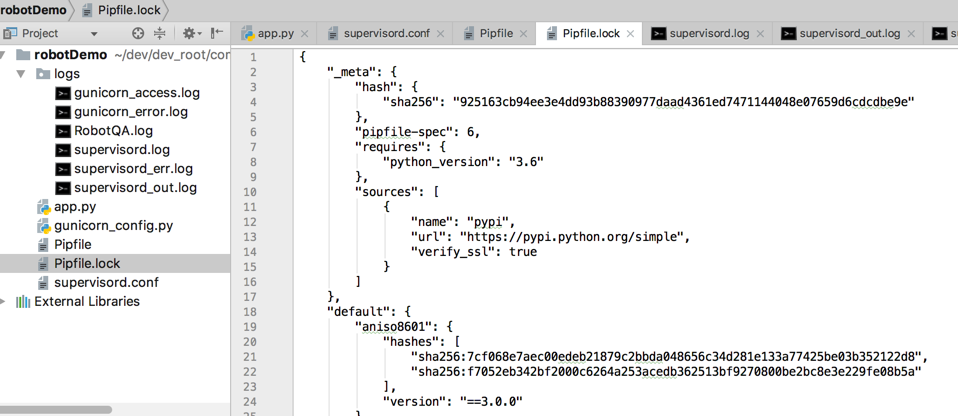
从Mac本地的Pipfile.lock和Pipfile去放到服务器上,生成环境的。
但是又由于本地的Pipfile中是:
python_version = “3.6”
所以需要服务器端是3.6的才行
-》而服务器端是3.4啊
好像不行,需要先去删除pipenv环境,重新弄才行?
后续发现不需要:
pipenv会自动在其虚拟环境下安装python3.6的
但是此处还是需要删除掉之前环境,因为还是需要用本地的Pipfile和Pipfile.lock去生成服务器的环境
pipenv 环境 部署
想起来了:
貌似是直接把Pipfile和Pipfile.lock放到服务器上, 然后再去pipenv install即可。
先去搞定,如何删除pipenv环境
pipenv 更优雅的管理你的python开发环境 – PyLixm’Wiki – SegmentFault 思否
直接加上–rm参数即可:
<code>[root@naturling-general-01 robotDemo]# pipenv --rm
Removing virtualenv (/root/.local/share/virtualenvs/robotDemo-dwdcgdaG)[39m
[root@naturling-general-01 robotDemo]# which python
/usr/bin/python
[root@naturling-general-01 robotDemo]# pipenv shell
Creating a virtualenv for this project[39m
Using /usr/bin/python3.4m (3.4.5) to create virtualenv[39m
[34mRunning virtualenv with interpreter /usr/bin/python3.4m
Using base prefix '/usr'
New python executable in /root/.local/share/virtualenvs/robotDemo-dwdcgdaG/bin/python3.4m
Also creating executable in /root/.local/share/virtualenvs/robotDemo-dwdcgdaG/bin/python
Please make sure you remove any previous custom paths from your /root/.pydistutils.cfg file.
Installing setuptools, pip, wheel...done.

Virtualenv location: /root/.local/share/virtualenvs/robotDemo-dwdcgdaG
Spawning environment shell (/bin/bash). Use 'exit' to leave.
[root@naturling-general-01 robotDemo]# . /root/.local/share/virtualenvs/robotDemo-dwdcgdaG/bin/activate
(robotDemo-dwdcgdaG) [root@naturling-general-01 robotDemo]# python --version
Python 3.4.5
(robotDemo-dwdcgdaG) [root@naturling-general-01 robotDemo]# pipenv --rm
Removing virtualenv (/root/.local/share/virtualenvs/robotDemo-dwdcgdaG)[39m
(robotDemo-dwdcgdaG) [root@naturling-general-01 robotDemo]# which python
/usr/bin/python
</code>
再去本地环境中,lock一下:
<code>➜  robotDemo pipenv shell
Spawning environment shell (/bin/zsh). Use 'exit' to leave.
. /Users/crifan/.local/share/virtualenvs/robotDemo-HXjMJQEQ/bin/activate
➜  robotDemo . /Users/crifan/.local/share/virtualenvs/robotDemo-HXjMJQEQ/bin/activate
➜  robotDemo pipenv lock
Locking [dev-packages] dependencies…
Locking [packages] dependencies…
Updated Pipfile.lock (cdbe9e)!
</code>

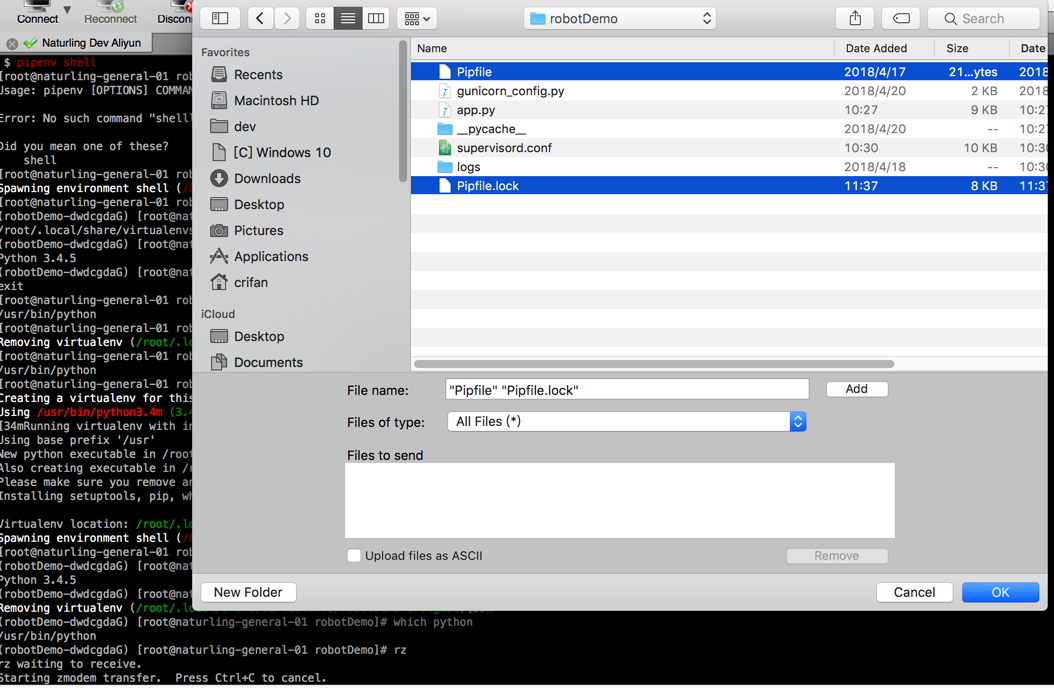
上传:Pipfile和Pipfile.lock
到服务器:

<code>(robotDemo-dwdcgdaG) [root@naturling-general-01 robotDemo]# rz
rz waiting to receive.
Starting zmodem transfer.  Press Ctrl+C to cancel.
Transferring Pipfile...
Pipfile was skipped
Transferring Pipfile.lock...
Pipfile.lock was skipped

(robotDemo-dwdcgdaG) [root@naturling-general-01 robotDemo]# ll
total 8
-rw-r--r-- 1 root root 145 Apr 23 11:30 Pipfile
-rw-r--r-- 1 root root 460 Apr 23 11:30 Pipfile.lock
(robotDemo-dwdcgdaG) [root@naturling-general-01 robotDemo]#
</code>
但是安装出来的虚拟环境中python并不是3.6,而是系统中的3.4啊:
<code>(robotDemo-dwdcgdaG) [root@naturling-general-01 robotDemo]# pipenv install
Creating a virtualenv for this project[39m
Using /usr/bin/python3.4m (3.4.5) to create virtualenv[39m
[34mRunning virtualenv with interpreter /usr/bin/python3.4m
Using base prefix '/usr'
New python executable in /root/.local/share/virtualenvs/robotDemo-dwdcgdaG/bin/python3.4m
Also creating executable in /root/.local/share/virtualenvs/robotDemo-dwdcgdaG/bin/python
Please make sure you remove any previous custom paths from your /root/.pydistutils.cfg file.
Installing setuptools, pip, wheel...done.

Virtualenv location: /root/.local/share/virtualenvs/robotDemo-dwdcgdaG
Installing dependencies from Pipfile.lock (2a9758)[39m
     [39m[39m[39m[39m[39m[39m[39m[39m[39m[39m[39m[39m[39m[39m[39m[39m[39m[39m[39m[39m[39m[39m[39m[39m[39m[39m[39m[39m[39m[39m[39m[39m 0/0 [30m00:00:00
(robotDemo-dwdcgdaG) [root@naturling-general-01 robotDemo]# which python
/root/.local/share/virtualenvs/robotDemo-dwdcgdaG/bin/python
(robotDemo-dwdcgdaG) [root@naturling-general-01 robotDemo]# python --version
Python 3.4.5
</code>
Pipenv & 虚拟环境 — The Hitchhiker’s Guide to Python
“要删除一个虚拟环境,只需删除它的文件夹。(要这么做请执行 rm -rf my_project )”
pipenv 删除
pipenv install with pipfile
pipenv install with pipfile.lock
pipenv duplicate pipfile.lock
然后看看此处的两个文件:
<code>(robotDemo-dwdcgdaG) [root@naturling-general-01 robotDemo]# cat Pipfile
[[source]]
url = "https://pypi.python.org/simple"
verify_ssl = true
name = "pypi"

[packages]

[requires]
python_version = "3.4"

[dev-packages]
(robotDemo-dwdcgdaG) [root@naturling-general-01 robotDemo]# cat Pipfile.lock
{
    "_meta": {
        "hash": {
            "sha256": "7fafaf1370309fd90e8ba803f0e46df1dadfc99fb7723aee1b0e29530c2a9758"
        },
        "pipfile-spec": 6,
        "requires": {
            "python_version": "3.4"
        },
        "sources": [
            {
                "name": "pypi",
                "url": "https://pypi.python.org/simple",
                "verify_ssl": true
            }
        ]
    },
    "default": {},
    "develop": {}
}
(robotDemo-dwdcgdaG) [root@naturling-general-01 robotDemo]#
</code>
发现根本没有用我的Pipfile和Pipfile.lock
而是自己生成的。
换句话说:直接把Pipfile和Pipfile.lock放到当前目录后,去:
pipenv install
并没有根据已有的:
Pipfile和Pipfile.lock
去创建虚拟环境。
pipenv create from pipfile.lock
pipenv create from pipfile
pipenv create from existing pipfile
How to use pipenv in your python project – jcutrer.com
How does pipenv know the virtualenv for current project ? · Issue #796 · pypa/pipenv
好像是:
<code>(robotDemo-dwdcgdaG) [root@naturling-general-01 robotDemo]# pipenv --rm
Removing virtualenv (/root/.local/share/virtualenvs/robotDemo-dwdcgdaG)[39m
(robotDemo-dwdcgdaG) [root@naturling-general-01 robotDemo]# ll
total 8
-rw-r--r-- 1 root root 145 Apr 23 11:30 Pipfile
-rw-r--r-- 1 root root 460 Apr 23 11:30 Pipfile.lock
(robotDemo-dwdcgdaG) [root@naturling-general-01 robotDemo]# cat Pipfile
[[source]]
url = "https://pypi.python.org/simple"
verify_ssl = true
name = "pypi"

[packages]

[requires]
python_version = "3.4"

[dev-packages]
(robotDemo-dwdcgdaG) [root@naturling-general-01 robotDemo]#
</code>
之前的
pipenv –rm
并没有删除掉Pipfile和Pipfile.lock
所以新上传的两个文件,实际上没有覆盖之前已有的两个文件?
(虽然已经知道了,貌似直接删除文件夹好像就可以实现彻底删除)
去搞清楚,如何彻底删除:
pipenv complete delete
pipenv delete whole
python – How to remove a virtualenv created by “pipenv run” – Stack Overflow
-》感觉是:
pipenv –rm : 是去删除~/.virtualenvs下面对应的虚拟环境
并不会删除掉Pipfile和Pipfile.lock
直接删除项目所在文件夹:是彻底删除文件
所有文件都删除掉了
-》
pipenv –rm
后再去删除文件夹
等价于:
pipenv –rm
再去手动删除项目中的文件
而已。
所以现在就是去:
手动删除这两个文件而已
确认一下,没有其他的文件,就好。
<code>(robotDemo-dwdcgdaG) [root@naturling-general-01 robotDemo]# ll -lha
total 16K
drwxr-xr-x 2 root root 4.0K Apr 23 11:30 .
drwxr-xr-x 3 root root 4.0K Apr 23 11:29 ..
-rw-r--r-- 1 root root  145 Apr 23 11:30 Pipfile
-rw-r--r-- 1 root root  460 Apr 23 11:30 Pipfile.lock
(robotDemo-dwdcgdaG) [root@naturling-general-01 robotDemo]# rm -rf Pipfile*
(robotDemo-dwdcgdaG) [root@naturling-general-01 robotDemo]# ll -lha
total 8.0K
drwxr-xr-x 2 root root 4.0K Apr 23 12:05 .
drwxr-xr-x 3 root root 4.0K Apr 23 11:29 ..
</code>
然后重新上传两个文件:
<code>(robotDemo-dwdcgdaG) [root@naturling-general-01 robotDemo]# rz
rz waiting to receive.
Starting zmodem transfer.  Press Ctrl+C to cancel.
Transferring Pipfile...
  100%     212 bytes  212 bytes/sec 00:00:01       0 Errors

(robotDemo-dwdcgdaG) [root@naturling-general-01 robotDemo]# ll
total 4
-rw-r--r-- 1 root root 212 Apr 20 10:15 Pipfile
(robotDemo-dwdcgdaG) [root@naturling-general-01 robotDemo]# rz
rz waiting to receive.
Starting zmodem transfer.  Press Ctrl+C to cancel.
Transferring Pipfile.lock...
  100%       7 KB       7 KB/sec    00:00:01       0 Errors

(robotDemo-dwdcgdaG) [root@naturling-general-01 robotDemo]# ll -lha
total 20K
drwxr-xr-x 2 root root 4.0K Apr 23 12:06 .
drwxr-xr-x 3 root root 4.0K Apr 23 11:29 ..
-rw-r--r-- 1 root root  212 Apr 20 10:15 Pipfile
-rw-r--r-- 1 root root 7.8K Apr 23 11:37 Pipfile.lock
</code>
然后重新试试:
果然可以了。
【总结】
此处,之所以:
在已经把:
Pipfile和Pipfile.lock
上传到服务器的某个路径下,再去:
pipenv install
但是并没有调用已有的Pipfile和Pipfile.lock的原因是:
之前通过:
<code>pipenv --rm
</code>
只是把:
<code>~/.virtualenvs
</code>
下面的该项目的虚拟环境删除掉了而已
并没有把当前文件夹下面,之前创建的(Python3.4的)pipenv的Pipfile和Pipfile.lock文件都删除掉
-》导致此处SSH的终端中用rz去上传两个文件,实际上并没有覆盖掉原有文件
-〉所以此处去用pipenv instal还是用的旧的文件
解决办法:
确保当前文件夹下的:
Pipfile和Pipfile.lock
是自己此处真正上传的,
再去:
<code>pipenv install
</code>
即可使用已有的Pipfile和Pipfile.lock去创建虚拟环境了。
不过另外又出现:
【基本解决】pipenv用已有pipfile去创建环境失败:Warning Python 3.6 was not found on your system