手上有个notebook的.pynb文件,以及相关的csv数据文件
然后希望去Mac中调试。
记得之前VSCode说了,已支持notebook。
现在去试试
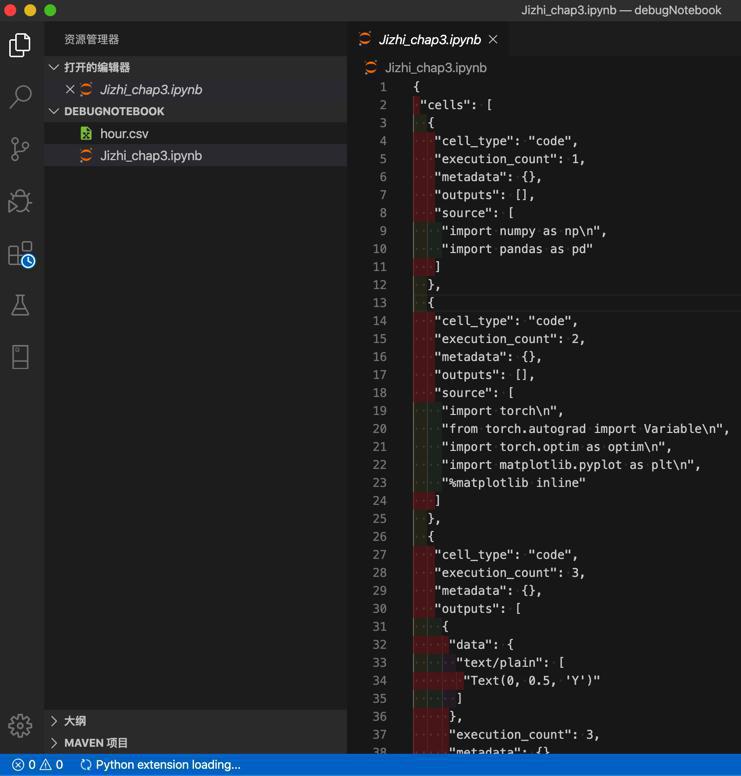
直接打开是文本文件
自动打开了调试界面
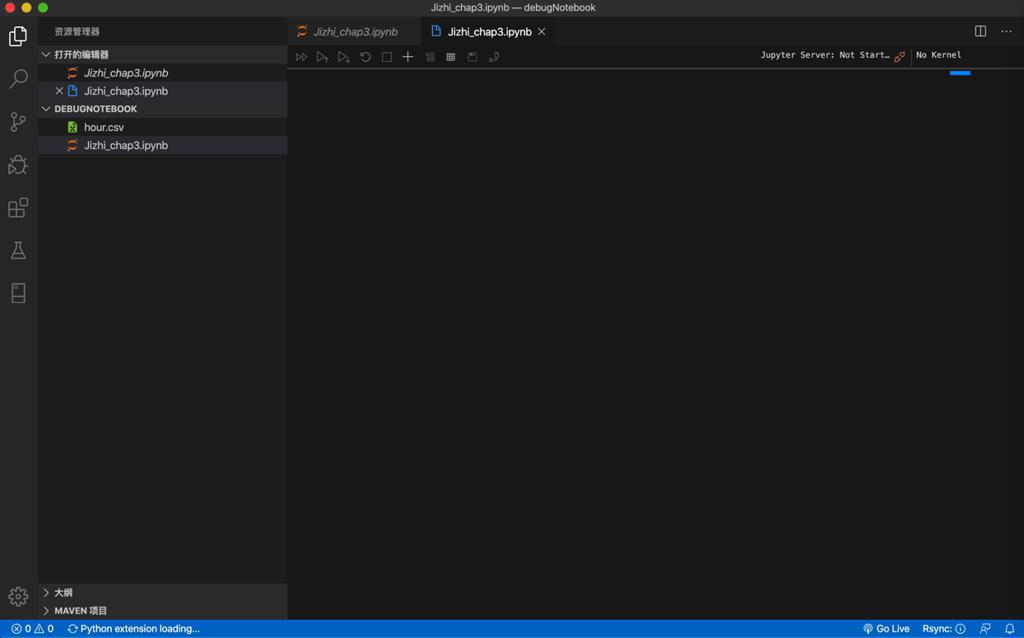
稍等一会,终于加载出来了:
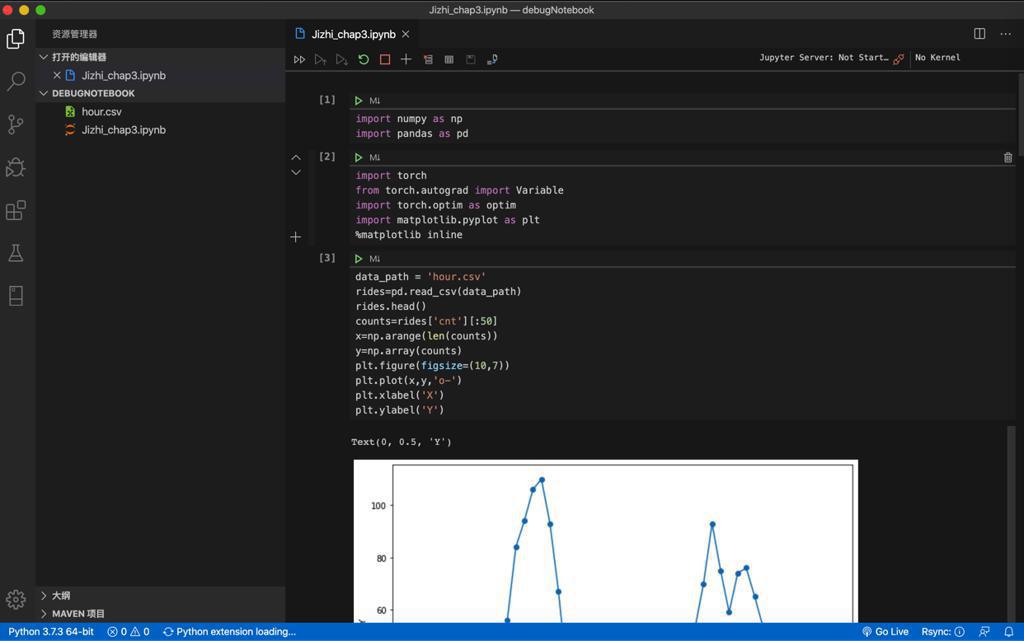
点击第一个按钮后,报错:
【已解决】VSCode中运行Jupyter报错:Error Data Science libraries notebook and jupyter are not installed
然后再去运行看看:
【已解决】VSCode中运行Jupyter报错:We encountered an issue downloading the Language Server
然后去运行
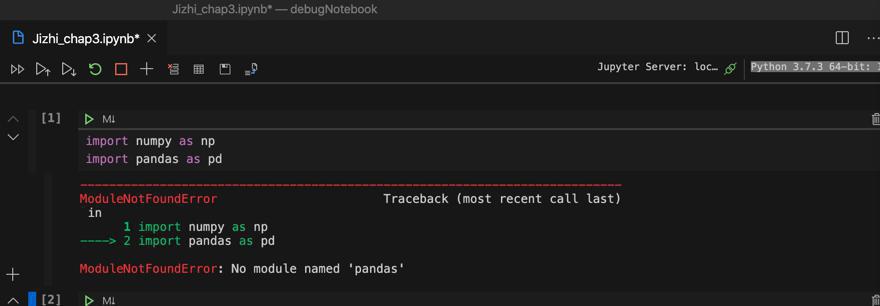
此处缺少库,去安装:
【已解决】Mac中给Python 3.7中安装python库numpy和pandas
然后再去,给pyenv安装的python 3.7中,安装之前VSCode中初始化notebook的库:
回顾之前的:
【已解决】VSCode中运行Jupyter报错:Error Data Science libraries notebook and jupyter are not installed
看到了,最核心就是:
1 2 | pip install -U jupyterpip install -U notebook |
所以此处去给pyenv的python 3.7.3
1 2 3 4 5 6 | ➜ ~ pyenv version3.7.3 (set by /Users/crifan/.pyenv/version)➜ ~ python --versionPython 3.7.3➜ ~ which python/Users/crifan/.pyenv/shims/python |
中:
1 | pip install jupyter notebook |
详细log
1 2 3 4 5 6 7 8 9 10 11 12 13 14 15 16 17 18 19 20 21 22 23 24 25 | ➜ ~ pip install jupyter notebookLooking in indexes: http://mirrors.aliyun.com/pypi/simple/Collecting jupyter Downloading http://mirrors.aliyun.com/pypi/packages/83/df/0f5dd132200728a86190397e1ea87cd76244e42d39ec5e88efd25b2abd7e/jupyter-1.0.0-py2.py3-none-any.whl (2.7 kB)Collecting notebook Downloading http://mirrors.aliyun.com/pypi/packages/b1/f1/0a67f09ef53a342403ffa66646ee39273e0ac79ffa5de5dbe2f3e28b5bdf/notebook-6.0.3-py3-none-any.whl (9.7 MB) |████████████████████████████████| 9.7 MB 465 kB/sCollecting jupyter-console Downloading http://mirrors.aliyun.com/pypi/packages/0a/89/742fa5a80b552ffcb6a8922712697c6e6828aee7b91ee4ae2b79f00f8401/jupyter_console-6.1.0-py2.py3-none-any.whl (21 kB)。。。Collecting pyrsistent>=0.14.0 Downloading http://mirrors.aliyun.com/pypi/packages/90/aa/cdcf7ef88cc0f831b6f14c8c57318824c9de9913fe8de38e46a98c069a35/pyrsistent-0.15.7.tar.gz (107 kB) |████████████████████████████████| 107 kB 2.8 MB/sCollecting parso>=0.5.2 Downloading http://mirrors.aliyun.com/pypi/packages/da/15/888f80e429a971d3838124adde705d7b07650aa3a59f4db07d61f653b8cd/parso-0.6.2-py2.py3-none-any.whl (97 kB) |████████████████████████████████| 97 kB 2.5 MB/sCollecting zipp>=0.5 Downloading http://mirrors.aliyun.com/pypi/packages/6f/6d/a55f6e81ac213942b9a19cbc05b560c726c3e16f8fb17555f059c17d65f2/zipp-3.0.0-py3-none-any.whl (4.8 kB)Installing collected packages: tornado, decorator, ipython-genutils, traitlets, pyzmq, jupyter-core, jupyter-client, pygments, appnope, parso, jedi, backcall, ptyprocess, pexpect, pickleshare, wcwidth, prompt-toolkit, ipython, ipykernel, jupyter-console, prometheus-client, Send2Trash, MarkupSafe, jinja2, entrypoints, pandocfilters, webencodings, bleach, attrs, zipp, importlib-metadata, pyrsistent, jsonschema, nbformat, mistune, testpath, defusedxml, nbconvert, terminado, notebook, widgetsnbextension, ipywidgets, qtconsole, jupyter Running setup.py install for tornado ... done Running setup.py install for backcall ... done Running setup.py install for prometheus-client ... done Running setup.py install for pandocfilters ... done Running setup.py install for pyrsistent ... doneSuccessfully installed MarkupSafe-1.1.1 Send2Trash-1.5.0 appnope-0.1.0 attrs-19.3.0 backcall-0.1.0 bleach-3.1.1 decorator-4.4.1 defusedxml-0.6.0 entrypoints-0.3 importlib-metadata-1.5.0 ipykernel-5.1.4 ipython-7.12.0 ipython-genutils-0.2.0 ipywidgets-7.5.1 jedi-0.16.0 jinja2-2.11.1 jsonschema-3.2.0 jupyter-1.0.0 jupyter-client-6.0.0 jupyter-console-6.1.0 jupyter-core-4.6.3 mistune-0.8.4 nbconvert-5.6.1 nbformat-5.0.4 notebook-6.0.3 pandocfilters-1.4.2 parso-0.6.2 pexpect-4.8.0 pickleshare-0.7.5 prometheus-client-0.7.1 prompt-toolkit-3.0.3 ptyprocess-0.6.0 pygments-2.5.2 pyrsistent-0.15.7 pyzmq-19.0.0 qtconsole-4.6.0 terminado-0.8.3 testpath-0.4.4 tornado-6.0.3 traitlets-4.3.3 wcwidth-0.1.8 webencodings-0.5.1 widgetsnbextension-3.5.1 zipp-3.0.0 |
然后再去VSCode中,切换到当前python 3.7.3
重启VSCode,点击ipynb文件,才能触发python插件:
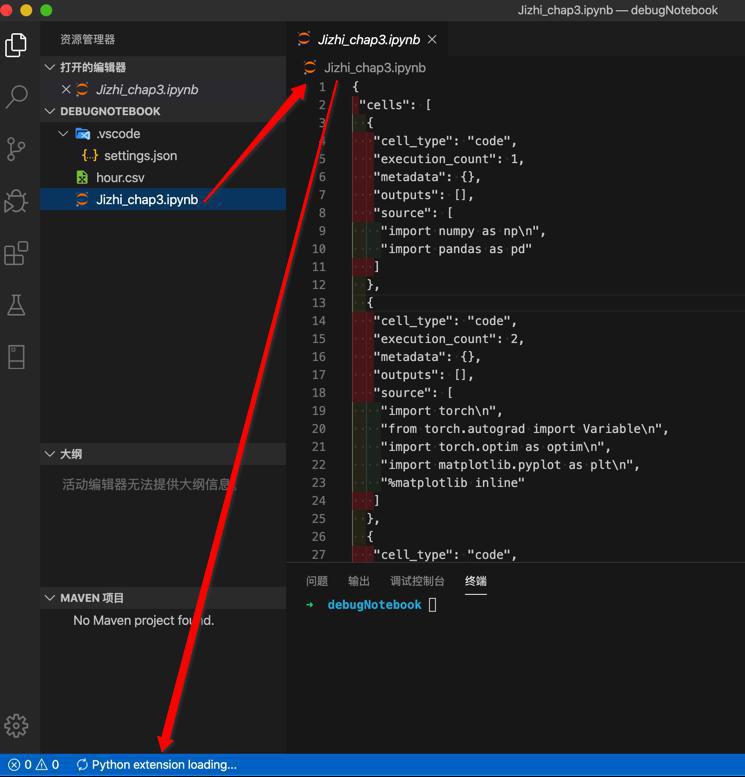
然后切换过来:
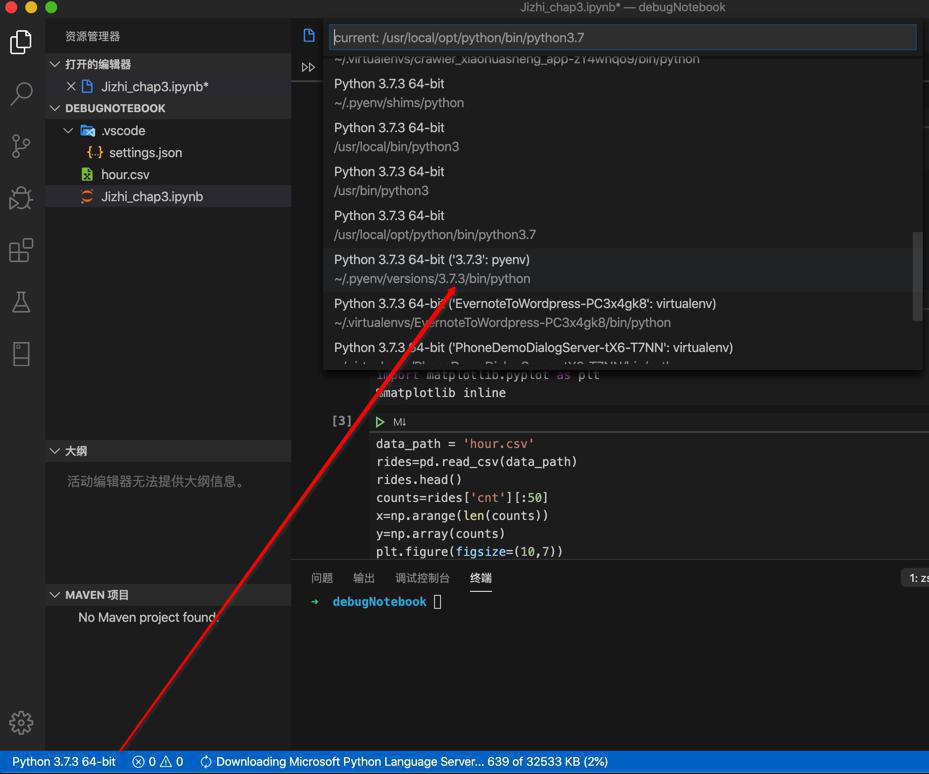
切换后:
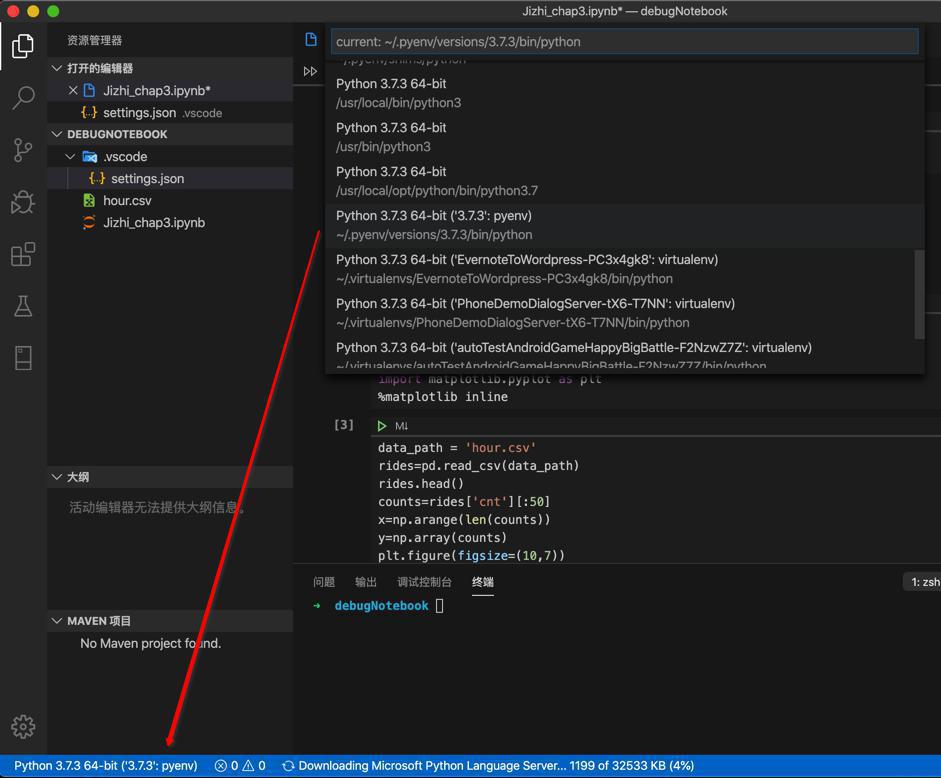
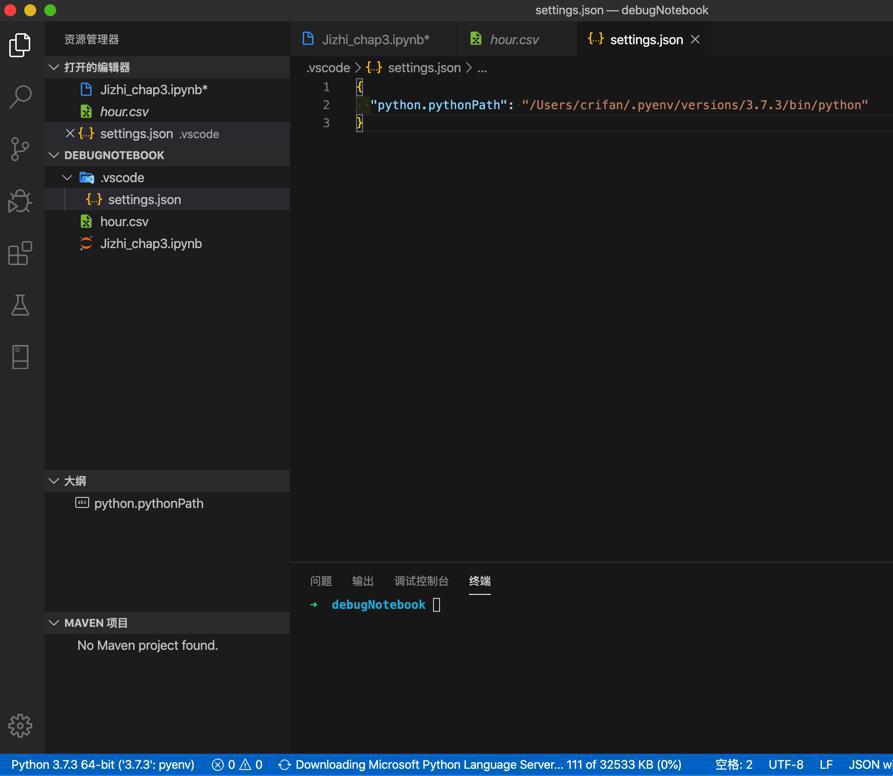
注意到,对应VSCode的配置:
.vscode/settings.json
1 2 3 | { "python.pythonPath": "/usr/local/opt/python/bin/python3.7"} |
变成:
1 2 3 | { "python.pythonPath": "/Users/crifan/.pyenv/versions/3.7.3/bin/python"} |
【已解决】VSCode中的Jupyter的notebook已切换当前Python版本后但还是报错ModuleNotFoundError
然后继续报错:
1 2 3 4 5 6 7 8 9 | ModuleNotFoundError Traceback (most recent call last) in----> 1 import torch 2 from torch.autograd import Variable 3 import torch.optim as optim 4 import matplotlib.pyplot as plt 5 get_ipython().run_line_magic('matplotlib', 'inline')ModuleNotFoundError: No module named 'torch' |
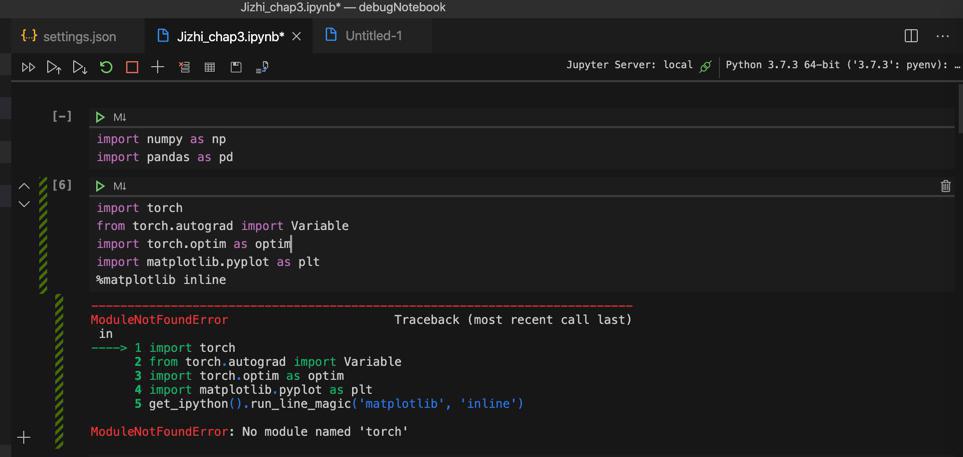
然后发现
import torch
是少了torch
现在先去确认python版本:
1 2 3 4 5 6 | ➜ debugNotebook python --versionPython 3.7.3➜ debugNotebook which python/Users/crifan/.pyenv/shims/python➜ debugNotebook pyenv which python/Users/crifan/.pyenv/versions/3.7.3/bin/python |
再去安装:
1 2 3 4 5 6 7 | ➜ debugNotebook pip install torchLooking in indexes: http://mirrors.aliyun.com/pypi/simple/Collecting torch Downloading http://mirrors.aliyun.com/pypi/packages/4a/72/0282449efe6e8a7ab6354ac990b8275bd8c881dcbf95b3ef0a041da3897b/torch-1.4.0-cp37-none-macosx_10_9_x86_64.whl (81.1 MB) |████████████████████████████████| 81.1 MB 254 kB/sInstalling collected packages: torchSuccessfully installed torch-1.4.0 |
即可。
其中报错:
1 2 3 4 5 6 7 8 9 10 | ---------------------------------------------------------------------------ModuleNotFoundError Traceback (most recent call last) in 2 from torch.autograd import Variable 3 import torch.optim as optim----> 4 import matplotlib.pyplot as plt 5 get_ipython().run_line_magic('matplotlib', 'inline')ModuleNotFoundError: No module named 'matplotlib' |
再去:
1 2 3 4 5 6 7 8 9 10 11 12 13 14 15 16 17 18 19 | ➜ debugNotebook pip install matplotlibLooking in indexes: http://mirrors.aliyun.com/pypi/simple/Collecting matplotlib Downloading http://mirrors.aliyun.com/pypi/packages/f5/1e/5cfcafca1ebe7b5fc08dcc2fe5efc7307e6970de0dd2999a7757311a7aec/matplotlib-3.1.3-cp37-cp37m-macosx_10_9_x86_64.whl (13.2 MB) |████████████████████████████████| 13.2 MB 804 kB/sCollecting pyparsing!=2.0.4,!=2.1.2,!=2.1.6,>=2.0.1 Downloading http://mirrors.aliyun.com/pypi/packages/5d/bc/1e58593167fade7b544bfe9502a26dc860940a79ab306e651e7f13be68c2/pyparsing-2.4.6-py2.py3-none-any.whl (67 kB) |████████████████████████████████| 67 kB 1.3 MB/sCollecting kiwisolver>=1.0.1 Downloading http://mirrors.aliyun.com/pypi/packages/df/93/8bc9b52a8846be2b9572aa0a7c881930939b06e4abe1162da6a0430b794f/kiwisolver-1.1.0-cp37-cp37m-macosx_10_6_intel.macosx_10_9_intel.macosx_10_9_x86_64.macosx_10_10_intel.macosx_10_10_x86_64.whl (113 kB) |████████████████████████████████| 113 kB 2.0 MB/sCollecting cycler>=0.10 Downloading http://mirrors.aliyun.com/pypi/packages/f7/d2/e07d3ebb2bd7af696440ce7e754c59dd546ffe1bbe732c8ab68b9c834e61/cycler-0.10.0-py2.py3-none-any.whl (6.5 kB)Requirement already satisfied: numpy>=1.11 in /Users/crifan/.pyenv/versions/3.7.3/lib/python3.7/site-packages (from matplotlib) (1.18.1)Requirement already satisfied: python-dateutil>=2.1 in /Users/crifan/.pyenv/versions/3.7.3/lib/python3.7/site-packages (from matplotlib) (2.8.1)Requirement already satisfied: setuptools in /Users/crifan/.pyenv/versions/3.7.3/lib/python3.7/site-packages (from kiwisolver>=1.0.1->matplotlib) (40.8.0)Requirement already satisfied: six in /Users/crifan/.pyenv/versions/3.7.3/lib/python3.7/site-packages (from cycler>=0.10->matplotlib) (1.14.0)Installing collected packages: pyparsing, kiwisolver, cycler, matplotlibSuccessfully installed cycler-0.10.0 kiwisolver-1.1.0 matplotlib-3.1.3 pyparsing-2.4.6 |
继续:
好像要生成图片,提示要等一会:
1 | Matplotlib is building the font cache using fc-list. This may take a moment. |

算了,重新运行:
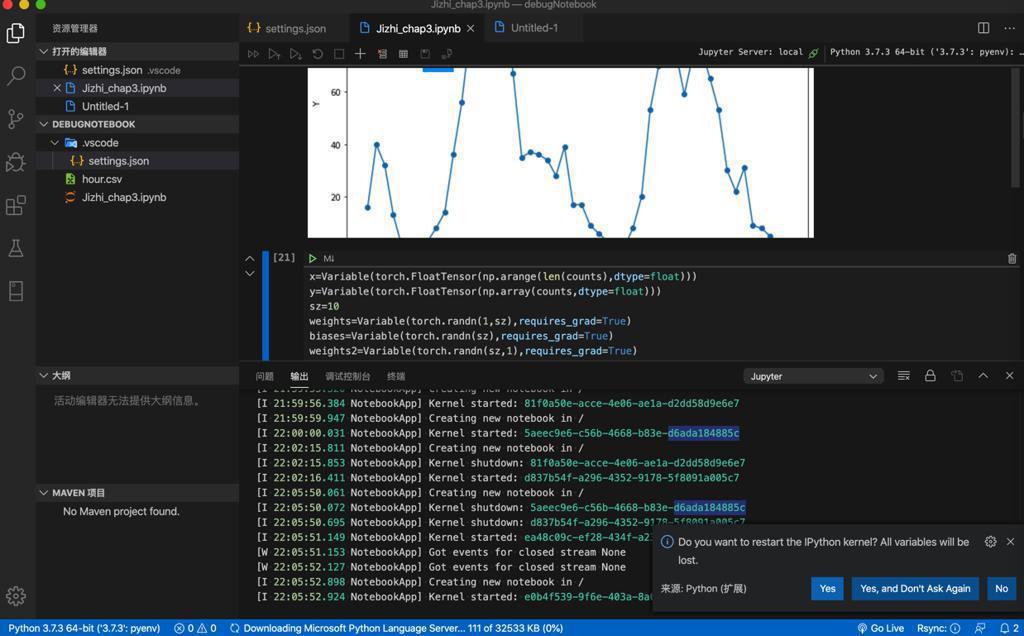
重新试试,点击了 显示 星号* loading
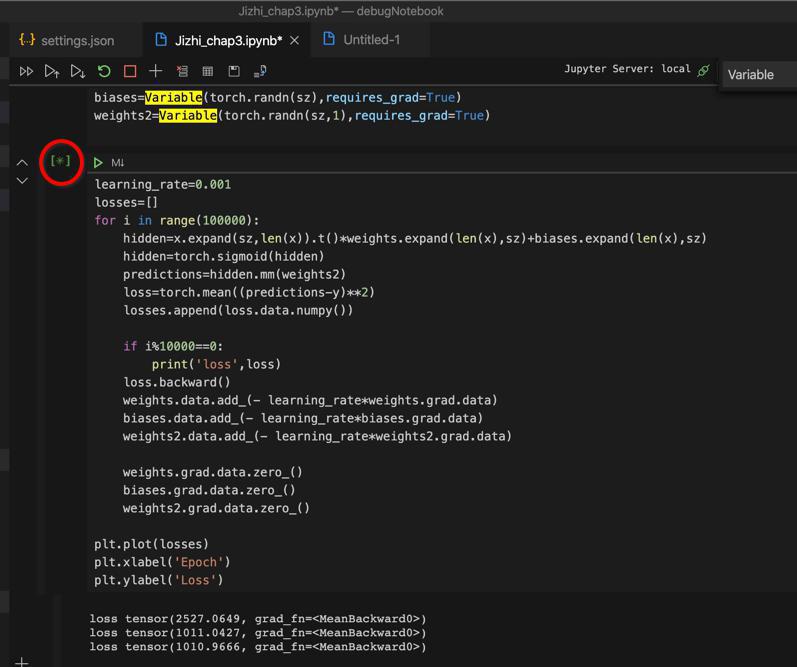
看来表示正在运行
等了会,终于有结果了:
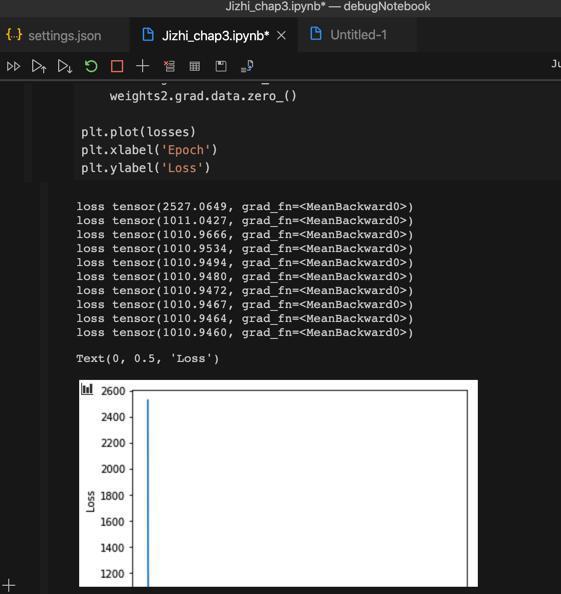
继续向下运行,最后:
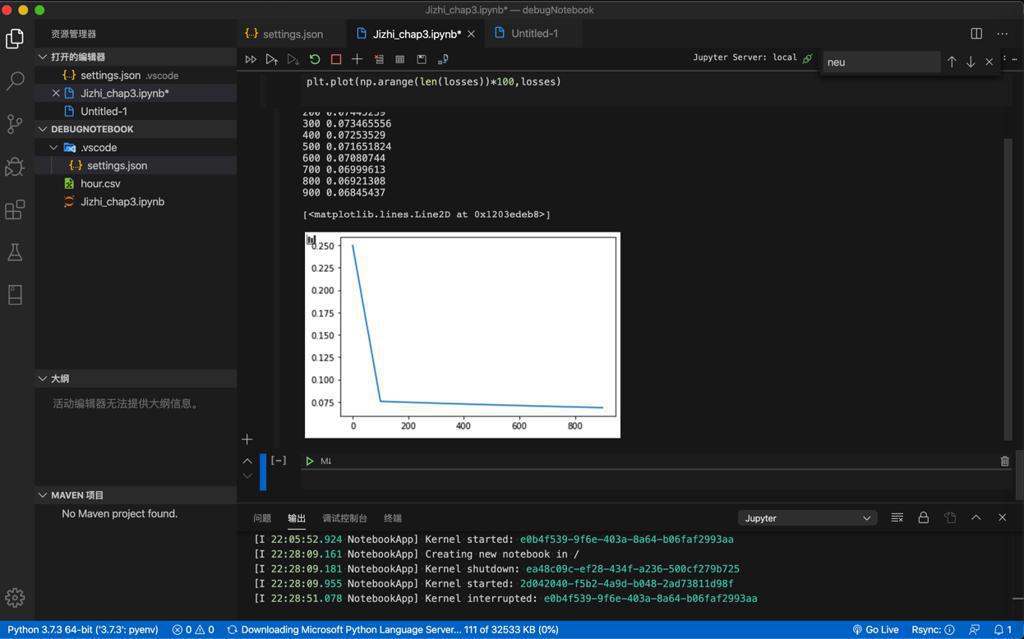
终于算是运行完毕了。
【总结】
此处Mac中VSCode中调试和运行Jupyter的ipynb文件的过程是:
1.VSCode中选择好某个版本的Python
此处最后是Pyenv安装的Python 3.7.3
1 2 | pyenv install 3.7.3pyenv global 3.7.3 |
VSCode中选择此处的Python 3.7.3
2.安装ipynb中代码所依赖的库
1 | pip install notebook juypter pandas numpy torch matplotlib |
3.选择Jupyter的notebook界面中的server所用Python版本
点击界面右上角的位置,选择Python的版本
或:
查看-》命令面板-》Python: Select Interpreter to start Jupyter server
然后选择,和VSCode中选择的一样的Python,此处的:Python 3.7.3
4.然后即可开始点击调试代码
【后记】
有空研究: