“服务器地址是 xx.xx.xx.xx
你发给我一个公钥吧,我传到服务器上
服务器上有一个python的虚拟环境,具体可以问xxx”
服务器登陆 公钥 vs 密码
使用ssh公钥密钥自动登陆linux服务器 | 《Linux就该这么学》
ssh public key认证免密码登录 | Yet Another Summer Rain
SSH 上传公钥到服务器后还需要密码 · Ruby China
Linux/UNIX下使用ssh-keygen设置SSH无密码登录 – CSDN博客
mac 生成公钥
ssh-keygen 公钥 密码 如何设置
“Enter passphrase (empty for no passphrase): //此处点击 Enter 键即可,也可以填写密码,填写密码后每次使用 SSH 方式推送代码时都会要求输入密码,由于这个 Key 也不是用于军事目的,所以也无需设置密码。”
SSH无密码登录:只需两个简单步骤 (Linux) – Linux大神博客
当前Mac中没有公钥和私钥:
➜ ~ cd ~/.ssh
➜ .ssh ll
total 8
-rw-r–r– 1 crifan staff 2.4K 12 16 12:58 known_hosts
➜ .ssh pwd
/Users/crifan/.ssh
然后去看看有哪些参数:
➜ .ssh ssh-keygen –help
ssh-keygen: illegal option — –
usage: ssh-keygen [-q] [-b bits] [-t dsa | ecdsa | ed25519 | rsa]
[-N new_passphrase] [-C comment] [-f output_keyfile]
ssh-keygen -p [-P old_passphrase] [-N new_passphrase] [-f keyfile]
ssh-keygen -i [-m key_format] [-f input_keyfile]
ssh-keygen -e [-m key_format] [-f input_keyfile]
ssh-keygen -y [-f input_keyfile]
ssh-keygen -c [-P passphrase] [-C comment] [-f keyfile]
ssh-keygen -l [-v] [-E fingerprint_hash] [-f input_keyfile]
ssh-keygen -B [-f input_keyfile]
ssh-keygen -D pkcs11
ssh-keygen -F hostname [-f known_hosts_file] [-l]
ssh-keygen -H [-f known_hosts_file]
ssh-keygen -R hostname [-f known_hosts_file]
ssh-keygen -r hostname [-f input_keyfile] [-g]
ssh-keygen -G output_file [-v] [-b bits] [-M memory] [-S start_point]
ssh-keygen -T output_file -f input_file [-v] [-a rounds] [-J num_lines]
[-j start_line] [-K checkpt] [-W generator]
ssh-keygen -s ca_key -I certificate_identity [-h] [-U]
[-D pkcs11_provider] [-n principals] [-O option]
[-V validity_interval] [-z serial_number] file …
ssh-keygen -L [-f input_keyfile]
ssh-keygen -A
ssh-keygen -k -f krl_file [-u] [-s ca_public] [-z version_number]
file …
ssh-keygen -Q -f krl_file file …
再去生成
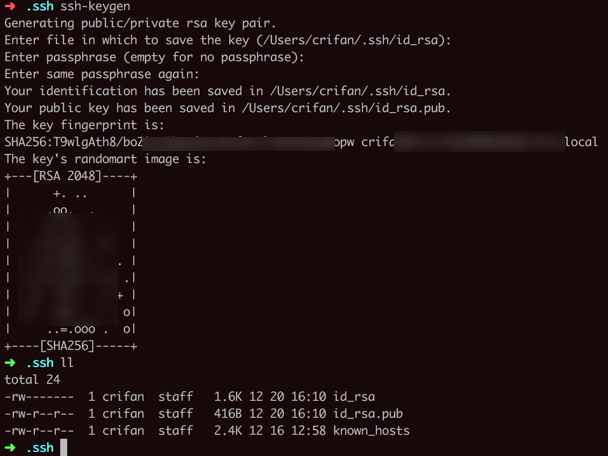
➜ .ssh ssh-keygen
Generating public/private rsa key pair.
Enter file in which to save the key (/Users/crifan/.ssh/id_rsa):
Enter passphrase (empty for no passphrase):
Enter same passphrase again:
Your identification has been saved in /Users/crifan/.ssh/id_rsa.
Your public key has been saved in /Users/crifan/.ssh/id_rsa.pub.
The key fingerprint is:
SHA256:T9xxxxxxxxxMopw crifan@xxx.local
The key’s randomart image is:
+—[RSA 2048]—-+
| +. .. |
| .oo. . |
…
| ..=.ooo . o|
+—-[SHA256]—–+
➜ .ssh ll
total 24
-rw——- 1 crifan staff 1.6K 12 20 16:10 id_rsa
-rw-r–r– 1 crifan staff 416B 12 20 16:10 id_rsa.pub
-rw-r–r– 1 crifan staff 2.4K 12 16 12:58 known_hosts


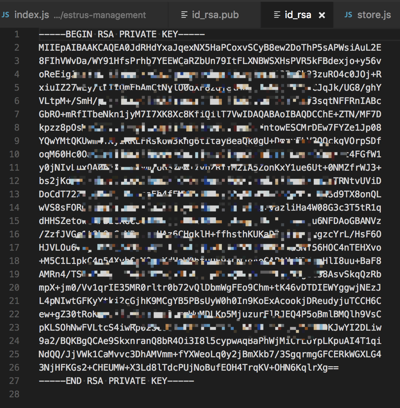
/Users/crifan/.ssh/id_rsa
的内容是这样的:

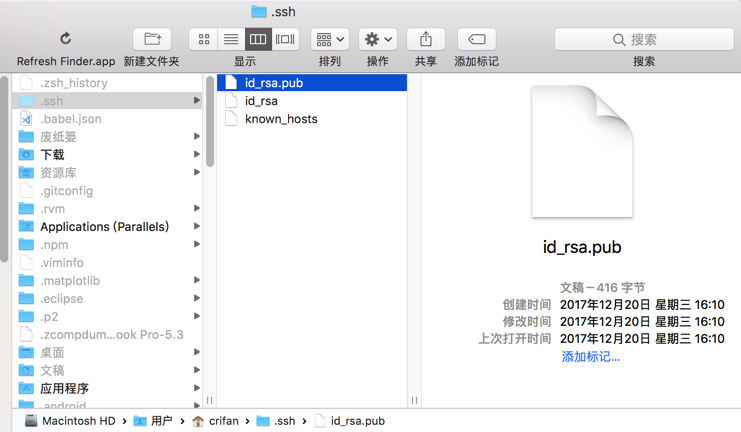
/Users/crifan/.ssh/id_rsa.pub
的内容大概是:

【总结】
生成私钥和公钥的步骤:
ssh-keygen
然后两次回车(自己的公钥,不是特别机密,所以密码可以留空)
即可创建出对应的公钥和私钥,都在/Users/xxx/.ssh/中
- 公钥:/Users/crifan/.ssh/id_rsa.pub
- 私钥:/Users/crifan/.ssh/id_rsa
然后就可以把公钥(给别人,或自己)上传到对应服务器中。
据说可以利用ssh-copy-id方便的实现公钥的上传(其内部还会保证公钥的文件夹属性时600)
另外,保存公钥的文件夹权限(本身)应该是700
接着再去:
【已解决】Mac中SecureCRT用SSH私钥登陆远程服务器
转载请注明:在路上 » 【已解决】生成SSH公钥私钥和用私钥登陆远程服务器