之前已经实现了基本的Naturling的产品demo,主要是dialog对话
现在nlp团队已经实现了search based的QA对话,用于兜底
现已pull更新了代码:
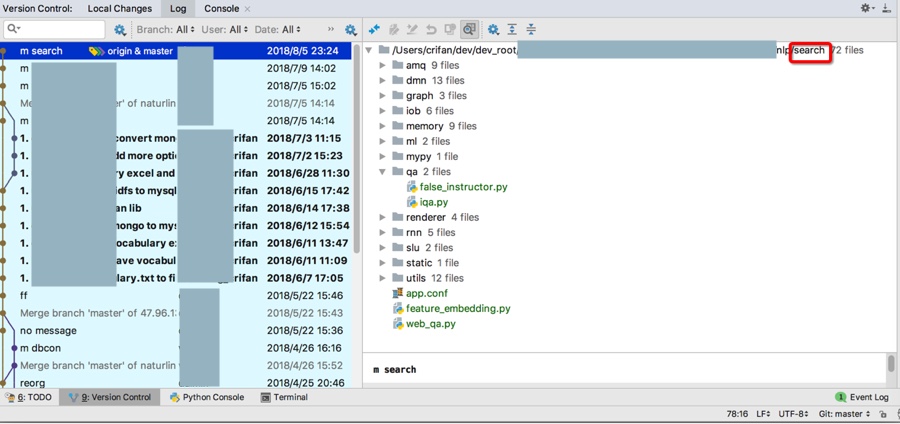
接下来需要去合并到之前到产品的demo中。
其中入口的demo是:
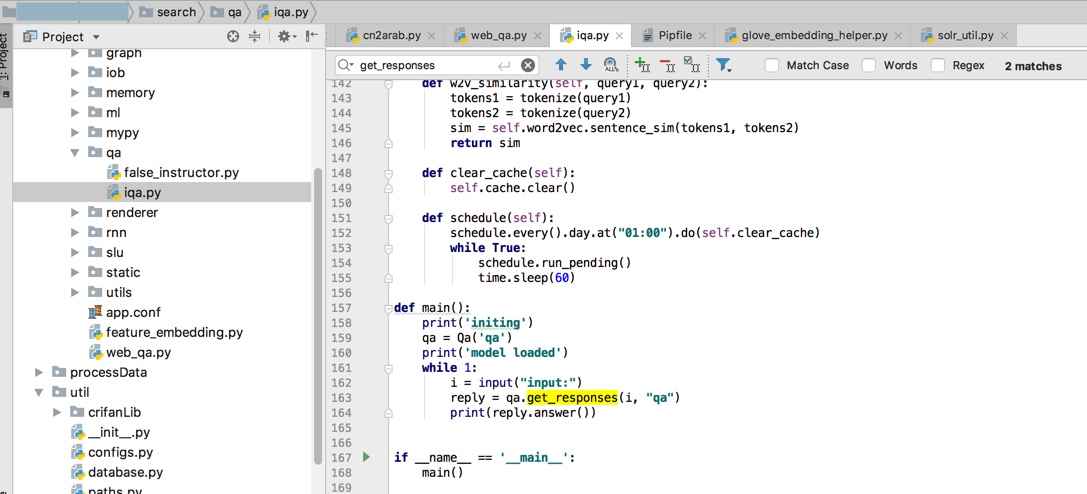
接下来需要先去本地运行起来:
qa = Qa(‘qa’)
reply = qa.get_responses(i, “qa”)
其中此处看到很多代码中,导入了很多NLP和AI相关的库,比如:
numpy
solr:用于搜索
word2vec
等等
感觉需要先去安装库才行。
先不管,先去PyCharm中尝试调试当前文件:
nlp/search/qa/iqa.py
再说
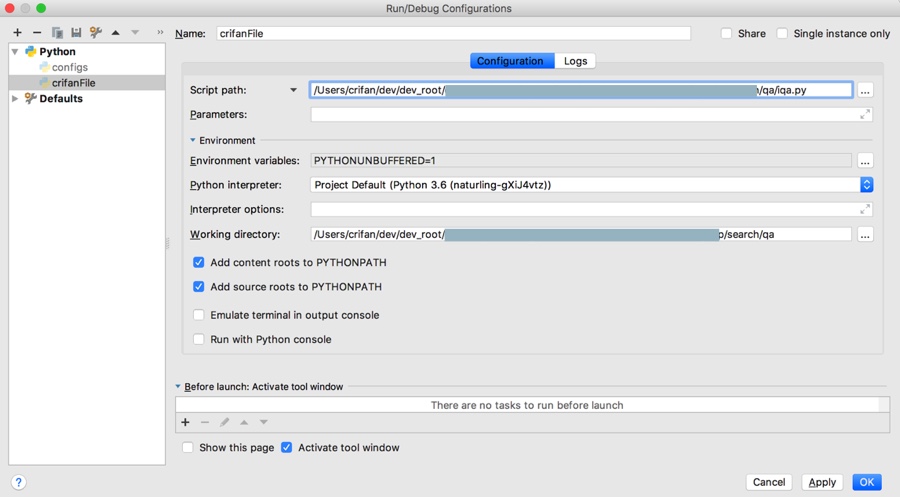
果然刚运行,就出错了:
【已解决】PyCharm中调试出错:ModuleNotFoundError: No module named
接着运行出错:
<code> File "/Users/crifan/dev/dev_root/xy/search/qa/iqa.py", line 168, in <module>
main()
File "/Users/crifan/dev/dev_root/xy/search/qa/iqa.py", line 159, in main
qa = Qa('qa')
File "/Users/crifan/dev/dev_root/xy/search/qa/iqa.py", line 38, in __call__
Singleton, cls).__call__(*args, **kwargs)
File "/Users/crifan/dev/dev_root/xy/search/qa/iqa.py", line 56, in __init__
self.word2vec = GloveEmbeddingHelper()
File "/Users/crifan/dev/dev_root/xy/search/mypy/singleton.py", line 37, in __call__
instance = super(Singleton, cls).__call__(*args, **kwargs)
File "/Users/crifan/dev/dev_root/xy/search/utils/embedding/glove_embedding_helper.py", line 40, in __init__
binary=False)
File "/Users/crifan/.virtualenvs/xxx-gXiJ4vtz/lib/python3.6/site-packages/gensim/models/keyedvectors.py", line 1436, in load_word2vec_format
limit=limit, datatype=datatype)
File "/Users/crifan/.virtualenvs/xxx-gXiJ4vtz/lib/python3.6/site-packages/gensim/models/utils_any2vec.py", line 171, in _load_word2vec_format
with utils.smart_open(fname) as fin:
File "/Users/crifan/.virtualenvs/xxx-gXiJ4vtz/lib/python3.6/site-packages/smart_open/smart_open_lib.py", line 181, in smart_open
fobj = _shortcut_open(uri, mode, **kw)
File "/Users/crifan/.virtualenvs/xxx-gXiJ4vtz/lib/python3.6/site-packages/smart_open/smart_open_lib.py", line 287, in _shortcut_open
return io.open(parsed_uri.uri_path, mode, **open_kwargs)
FileNotFoundError: [Errno 2] No such file or directory: '/opt/word2vec/glove.6B/glove.6B.300d.w2vformat.txt'
Process finished with exit code 1
</code>通过搜索:
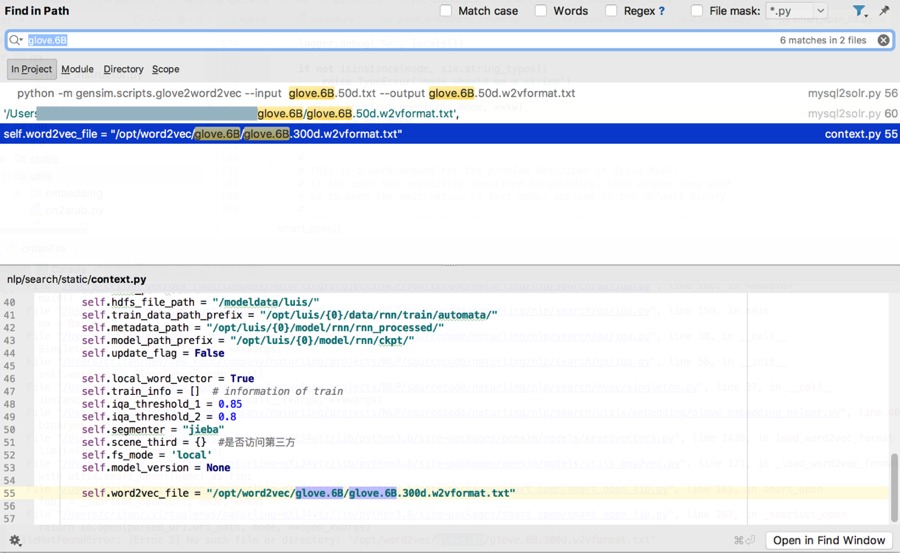
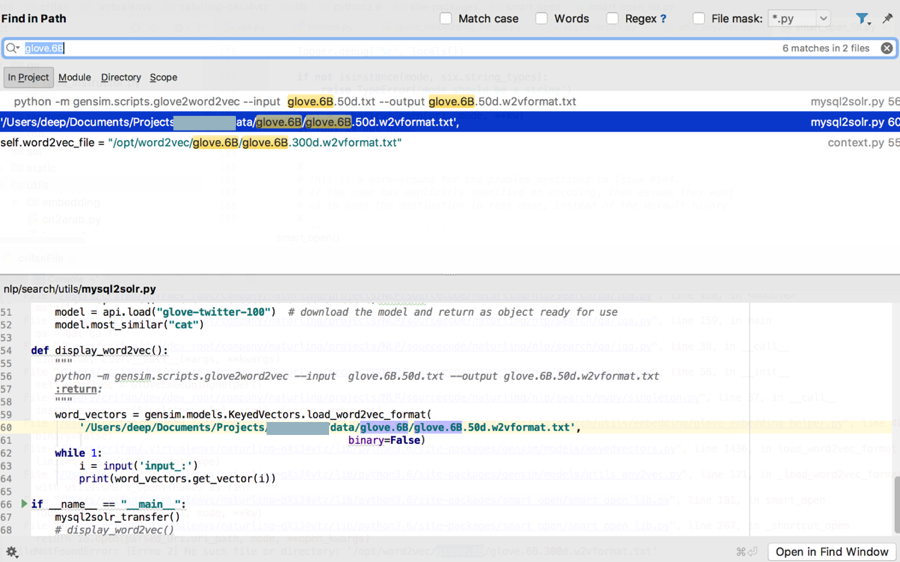
去看看此处:
naturling/data
下面是否有
glove.6B/glove.6B.50d.w2vformat.txt
结果就没有
naturling/data
这个文件夹,以及在线服务器中也没有

后来得知,dev服务器上有可以运行的demo
<code>/root/xxx/search/qa
python iqa.py
</code>
去运行试试
然后再下载到本地和当前代码比较看看有何区别
可以运行了:

不过,在合并兜底对话之前,需要去优化代码结构:
接着继续去测试search的功能,然后找到了之前缺的数据
是在dev服务器上的,去下载:
<code>[root@xxx-general-01 xxx]# ll /opt/
xxxEnv/ word2vec/
[root@xxx-general-01 xxx]# ll /opt/word2vec/
.DS_Store  glove.6B/
[root@xxx-general-01 xxx]# ll /opt/word2vec/glove.6B/glove.6B.
glove.6B.100d.txt            glove.6B.200d.txt            glove.6B.300d.txt            glove.6B.300d.w2vformat.txt  glove.6B.50d.txt             glove.6B.50d.w2vformat.txt
[root@xxx-general-01 xxx]# ll /opt/word2vec/glove.6B/glove.6B.^C
[root@xxx-general-01 xxx]# ll /opt/word2vec/glove.6B/
total 3378124
-rwxrwxrwx 1 root root  347116733 Jul 18 21:52 glove.6B.100d.txt
-rwxrwxrwx 1 root root  693432828 Jul 18 21:57 glove.6B.200d.txt
-rwxrwxrwx 1 root root 1037962819 Jul 18 21:43 glove.6B.300d.txt
-rwxrwxrwx 1 root root 1037962830 Jul 18 21:50 glove.6B.300d.w2vformat.txt
-rwxrwxrwx 1 root root  171350079 Jul 18 21:53 glove.6B.50d.txt
-rwxrwxrwx 1 root root  171350089 Jul 18 21:44 glove.6B.50d.w2vformat.txt
[root@xxx-general-01 xxx]# pwd
/root/xxx
[root@xxx-general-01 xxx]# 7za a -t7z -r -bt glove_6b.7z /opt/word2vec/glove.6B/*

7-Zip (a) [64] 16.02 : Copyright (c) 1999-2016 Igor Pavlov : 2016-05-21
p7zip Version 16.02 (locale=en_US.UTF-8,Utf16=on,HugeFiles=on,64 bits,4 CPUs x64)

Scanning the drive:
6 files, 3459175378 bytes (3299 MiB)

Creating archive: glove_6b.7z

Items to compress: 6

14% 1 + glove.6B.200d.txt
</code>
发现是3G多,真够大的。。。
后来压缩到1.1G:
-rw-r–r– 1 root root 1.1G Aug 15 18:18 glove_6b.7z
现在问题就是:
然后去解压:
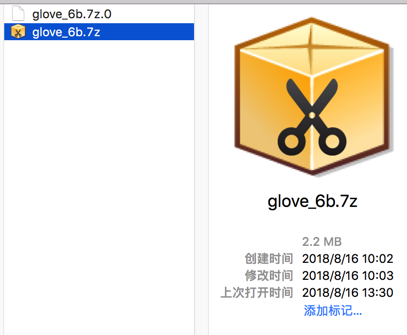

好像原先那个2.2M的glove_6b.7z是有问题的,没法解压
拿去改名glove_6b.7z.0为:glove_6b_new.7z,再去解压试试
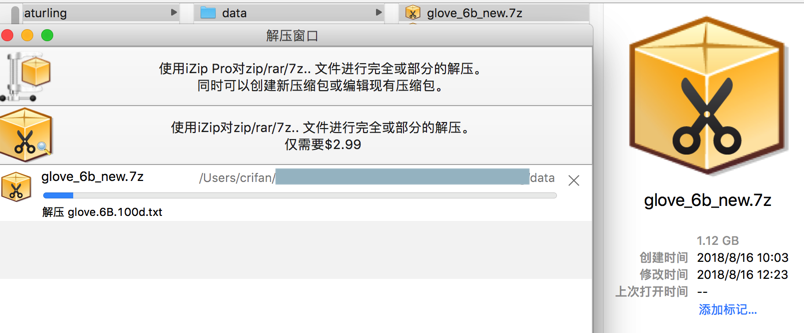
解压得到3.46G的数据


放到对应位置:
xxx/data/glove.6B
然后再去调试search的功能
<code># self.word2vec_file = "/opt/word2vec/glove.6B/glove.6B.300d.w2vformat.txt"
cur_pwd = os.getcwd()
dir_naturling_data = os.path.join(cur_pwd, "../../..", "data")
self.word2vec_file = os.path.join(dir_naturling_data, "glove.6B/glove.6B.300d.w2vformat.txt")
</code>
就可以继续调试了:
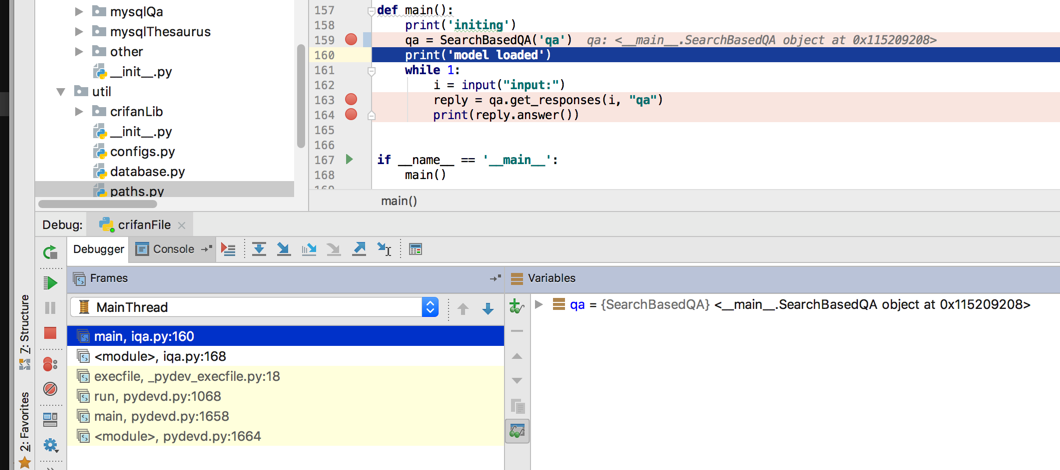
然后出错了:
此处,算是基本上实现合并效果了。
真正的能跑起来solr的话,还是需要去线上服务器环境,其中有真正运行的solr的服务。
但是又得:
然后再去调试对话:
结果还是出错:
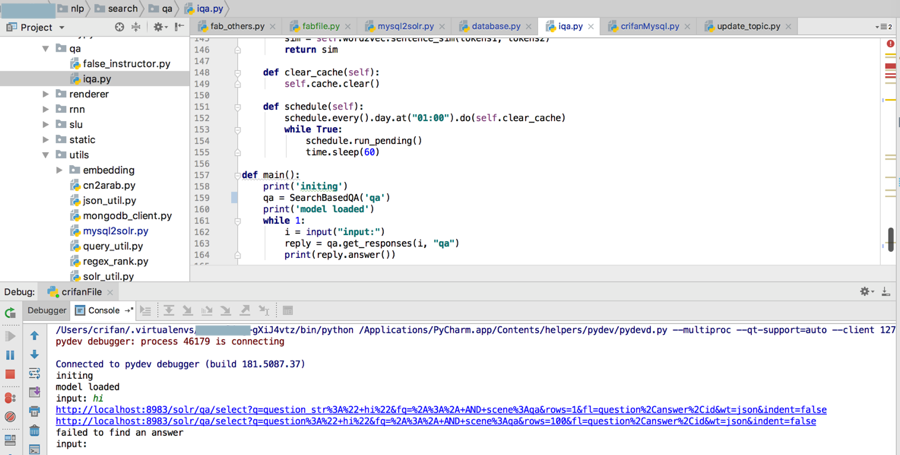
<code>input: hi
http://localhost:8983/solr/qa/select?q=question_str%3A%22+hi%22&fq=%2A%3A%2A+AND+scene%3Aqa&rows=1&fl=question%2Canswer%2Cid&wt=json&indent=false
http://localhost:8983/solr/qa/select?q=question%3A%22+hi%22&fq=%2A%3A%2A+AND+scene%3Aqa&rows=100&fl=question%2Canswer%2Cid&wt=json&indent=false
failed to find an answer
</code>
发现忘了重启solr了:
<code>➜  solr git:(master) ✗ solr stop -all
Sending stop command to Solr running on port 8983 ... waiting up to 180 seconds to allow Jetty process 43113 to stop gracefully.
➜  solr git:(master) ✗ solr start
Waiting up to 180 seconds to see Solr running on port 8983 [-]
Started Solr server on port 8983 (pid=46413). Happy searching!

➜  solr git:(master) ✗ solr status

Found 1 Solr nodes:

Solr process 46413 running on port 8983
{
  "solr_home":"/usr/local/Cellar/solr/7.2.1/server/solr",
  "version":"7.2.1 b2b6438b37073bee1fca40374e85bf91aa457c0b - ubuntu - 2018-01-10 00:54:21",
  "startTime":"2018-08-21T07:27:57.769Z",
  "uptime":"0 days, 0 hours, 0 minutes, 48 seconds",
  "memory":"21.6 MB (%4.4) of 490.7 MB"}
</code>
再去调试看看效果:
【已解决】调试基于solr的兜底对话出错:AttributeError: ‘list’ object has no attribute ‘lower’
结果又出现其他问题:
【已解决】Python调试Solr出错:ValueError: a must be 1-dimensional
然后继续之前的:
后续已经合并兜底对话到产品demo中了:
相关改动是:
(1)resources/qa.py
qa的初始化调用SearchBasedQA:
<code>resourcesPath = os.path.abspath(os.path.dirname(__file__))
log.info("resourcesPath=%s", resourcesPath)
addNlpRelationPath(getNaturlingRootPath(resourcesPath))
from nlp.search.qa.iqa import SearchBasedQA
log.info('[%s] initing SearchBasedQA', datetime.now())
searchBasedQa = SearchBasedQA(settings.SOLR_CORE)
log.info('[%s] SearchBasedQA loaded', datetime.now())
</code>
common/util.py
<code>import uuid
import io
from flask import send_file
import os, sys
from conf.app import settings

def getNaturlingRootPath(resourcesPath):
    print("getNaturlingRootPath: resourcesPath=%s" % resourcesPath)
    if settings.FLASK_ENV == "production":
        # production: online dev server
        # /xxx/resources/qa.py
        robotDemoPath = os.path.abspath(os.path.join(resourcesPath, ".."))
        print("robotDemoPath=%s" % robotDemoPath)
        serverPath = os.path.abspath(os.path.join(robotDemoPath, ".."))
        print("serverPath=%s" % serverPath)
        webPath = os.path.abspath(os.path.join(serverPath, ".."))
        print("webPath=%s" % webPath)
        naturlingRootPath = os.path.abspath(os.path.join(webPath, ".."))
        print("naturlingRootPath=%s" % naturlingRootPath)
    else:
        # development: local debug
        naturlingRootPath = "/Users/crifan/dev/dev_root/xxx"

    return naturlingRootPath

def addNlpRelationPath(naturlingRootPath):
    print("addNlpRelationPath: naturlingRootPath=%s" % naturlingRootPath)
    nlpPath = os.path.join(naturlingRootPath, "nlp")
    dialogPath = os.path.join(nlpPath, "dialog")
    searchPath = os.path.join(nlpPath, "search")
    searchQaPath = os.path.join(searchPath, "qa")

    print("sys.path=%s" % sys.path)
    if naturlingRootPath not in sys.path:
        sys.path.append(naturlingRootPath)
        print("added to sys.path: %s" % naturlingRootPath)

    if nlpPath not in sys.path:
        sys.path.append(nlpPath)
        print("added to sys.path: %s" % nlpPath)

    if dialogPath not in sys.path:
        sys.path.append(dialogPath)
        print("added to sys.path: %s" % dialogPath)

    if searchPath not in sys.path:
        sys.path.append(searchPath)
        print("added to sys.path: %s" % searchPath)

    if searchQaPath not in sys.path:
        sys.path.append(searchQaPath)
        print("added to sys.path: %s" % searchQaPath)
</code>
后续当之前的query的返回的result为空时,调用这个SearchBasedQA去返回兜底结果:
<code>def getSearchBasedResponse(input_question):
global searchBasedQa
log.info("getSearchBasedResponse: input_question=%s", input_question)
reply = searchBasedQa.get_responses(input_question, settings.SOLR_CORE)
log.info("reply=%s", reply)
answer = reply.answer()
log.info("answer=%s", answer)
return answer
...
respDict["data"]["input"] = inputStr
aiResult = QueryAnalyse(inputStr, aiContext)
log.info("aiResult=%s", aiResult)
"""
aiResult={'mediaId': None, 'response': None, 'control': 'continue'}
aiResult={'mediaId': None, 'response': None, 'control': 'stop'}
{'mediaId': None, 'response': None, 'control': 'next'}
"""
resultResponse = aiResult["response"]
resultControl = aiResult["control"]
resultMediaId = aiResult["mediaId"]
log.info("resultResponse=%s, resultControl=%s, resultMediaId=%s", resultResponse, resultControl, resultMediaId)
if resultResponse:
respDict["data"]["response"]["text"] = resultResponse
if resultControl:
respDict["data"]["control"] = resultControl
responseIsEmpty = not resultResponse
mediaIdIsEmpty = not resultMediaId
controlIsInvalid = (resultControl != "continue") and (resultControl != "stop")
log.info("responseIsEmpty=%s, resultControl=%s, controlIsInvalid=%s", responseIsEmpty, mediaIdIsEmpty, controlIsInvalid)
if responseIsEmpty and mediaIdIsEmpty and controlIsInvalid:
log.info("query answer is empty, so use search (based on SOLR) based response")
searchBasedResponse = getSearchBasedResponse(inputStr)
log.info("inputStr=%s -> searchBasedResponse=%s", inputStr, searchBasedResponse)
# searchBasedResponse is always not empty
respDict["data"]["response"]["text"] = searchBasedResponse
</code>其中:
searchBasedQa = SearchBasedQA(settings.SOLR_CORE)
初始化需要很长时间,目前是4分钟左右,后续需要优化。
(2)nlp的search部分
xx/search/static/context.py
<code>
class Context(metaclass=Singleton):
    def __init__(self):
        ...
        # self.word2vec_file = "/opt/word2vec/glove.6B/glove.6B.300d.w2vformat.txt"
        # cur_pwd = os.getcwd()
        cur_pwd = os.path.abspath(os.path.dirname(__file__))
        dir_naturling_data = os.path.join(cur_pwd, "../../..", "data")
        self.word2vec_file = os.path.join(dir_naturling_data, "glove.6B/glove.6B.300d.w2vformat.txt")
</code>
对于合并后的效果,本地也调试通过了:
本地去PyCharm调试运行:
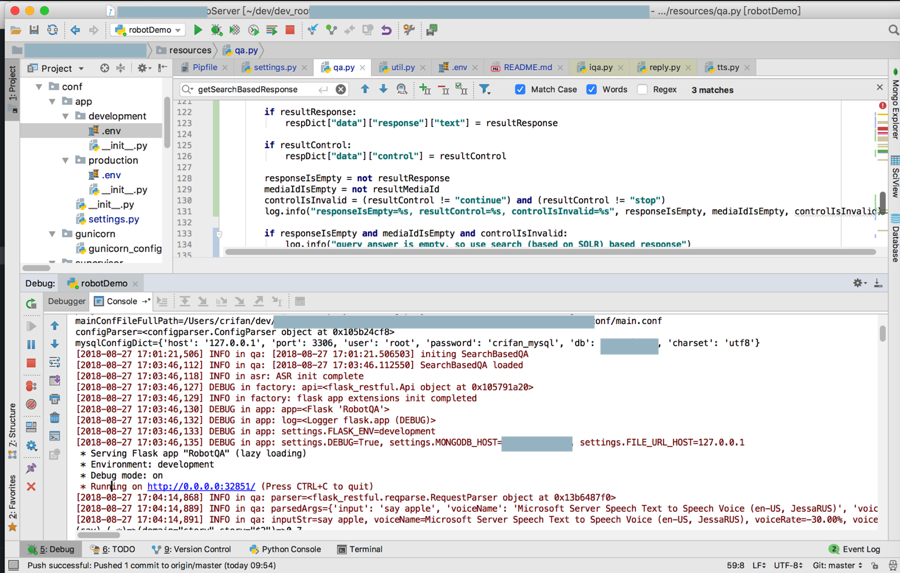
然后再去命令行中,确保服务都运行了:
先是redis-server:
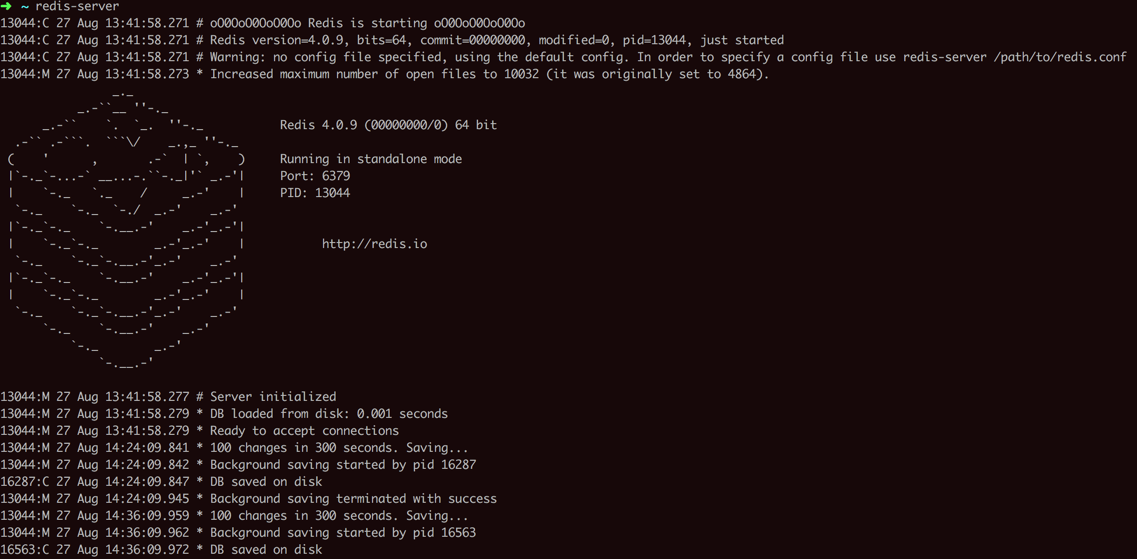
<code>➜  ~ redis-server
13044:C 27 Aug 13:41:58.271 # oO0OoO0OoO0Oo Redis is starting oO0OoO0OoO0Oo
13044:C 27 Aug 13:41:58.271 # Redis version=4.0.9, bits=64, commit=00000000, modified=0, pid=13044, just started
13044:C 27 Aug 13:41:58.271 # Warning: no config file specified, using the default config. In order to specify a config file use redis-server /path/to/redis.conf
13044:M 27 Aug 13:41:58.273 * Increased maximum number of open files to 10032 (it was originally set to 4864).
                _._
           _.-``__ ''-._
      _.-``    `.  `_.  ''-._           Redis 4.0.9 (00000000/0) 64 bit
  .-`` .-```.  ```\/    _.,_ ''-._
(    '      ,       .-`  | `,    )     Running in standalone mode
|`-._`-...-` __...-.``-._|'` _.-'|     Port: 6379
|    `-._   `._    /     _.-'    |     PID: 13044
  `-._    `-._  `-./  _.-'    _.-'
|`-._`-._    `-.__.-'    _.-'_.-'|
|    `-._`-._        _.-'_.-'    |           http://redis.io
  `-._    `-._`-.__.-'_.-'    _.-'
|`-._`-._    `-.__.-'    _.-'_.-'|
|    `-._`-._        _.-'_.-'    |
  `-._    `-._`-.__.-'_.-'    _.-'
      `-._    `-.__.-'    _.-'
          `-._        _.-'
              `-.__.-'

13044:M 27 Aug 13:41:58.277 # Server initialized
13044:M 27 Aug 13:41:58.279 * DB loaded from disk: 0.001 seconds
13044:M 27 Aug 13:41:58.279 * Ready to accept connections
13044:M 27 Aug 14:24:09.841 * 100 changes in 300 seconds. Saving...
13044:M 27 Aug 14:24:09.842 * Background saving started by pid 16287
。。。
13044:M 27 Aug 17:36:10.779 * Background saving started by pid 19913
19913:C 27 Aug 17:36:10.781 * DB saved on disk
13044:M 27 Aug 17:36:10.884 * Background saving terminated with success
</code>
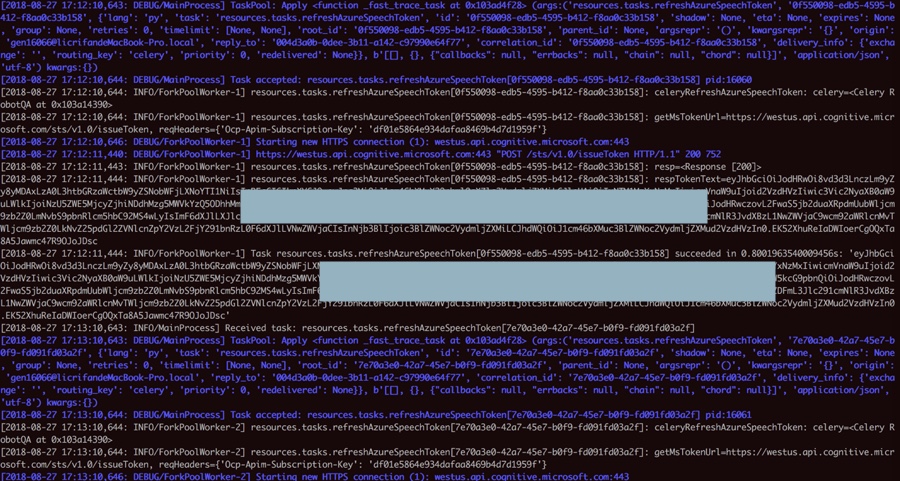
然后是celery的worker:
<code>cd /Users/crifan/dev/dev_root/xxx
pipenv shell
celery worker -A resources.tasks.celery --loglevel=DEBUG
</code>
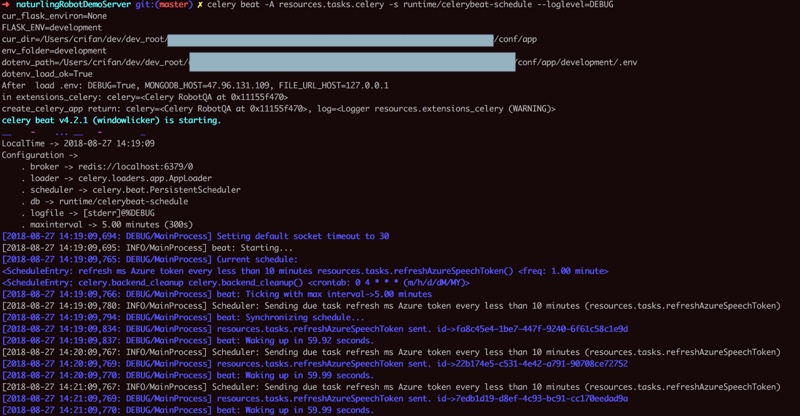
然后是celery的beat:
<code>cd /Users/crifan/dev/dev_root/xxx
pipenv shell
celery beat -A resources.tasks.celery -s runtime/celerybeat-schedule --loglevel=DEBUG
</code>
效果:
<code>➜ naturlingRobotDemoServer git:(master) ✗ celery beat -A resources.tasks.celery -s runtime/celerybeat-schedule --loglevel=DEBUG cur_flask_environ=None FLASK_ENV=development cur_dir=/Users/crifan/dev/dev_root/xxx/conf/app env_folder=development dotenv_path=/Users/crifan/dev/dev_root/xxx/conf/app/development/.env dotenv_load_ok=True After load .env: DEBUG=True, MONGODB_HOST=ip, FILE_URL_HOST=127.0.0.1 in extensions_celery: celery=<Celery RobotQA at 0x11155f470> create_celery_app return: celery=<Celery RobotQA at 0x11155f470>, log=<Logger resources.extensions_celery (WARNING)> celery beat v4.2.1 (windowlicker) is starting. __ - ... __ - _ LocalTime -> 2018-08-27 14:19:09 Configuration -> . broker -> redis://localhost:6379/0 . loader -> celery.loaders.app.AppLoader . scheduler -> celery.beat.PersistentScheduler . db -> runtime/celerybeat-schedule . logfile -> [stderr]@%DEBUG . maxinterval -> 5.00 minutes (300s) [2018-08-27 14:19:09,694: DEBUG/MainProcess] Setting default socket timeout to 30 [2018-08-27 14:19:09,695: INFO/MainProcess] beat: Starting... [2018-08-27 14:19:09,765: DEBUG/MainProcess] Current schedule: <ScheduleEntry: refresh ms Azure token every less than 10 minutes resources.tasks.refreshAzureSpeechToken() <freq: 1.00 minute> <ScheduleEntry: celery.backend_cleanup celery.backend_cleanup() <crontab: 0 4 * * * (m/h/d/dM/MY)> [2018-08-27 14:19:09,766: DEBUG/MainProcess] beat: Ticking with max interval->5.00 minutes [2018-08-27 14:19:09,780: INFO/MainProcess] Scheduler: Sending due task refresh ms Azure token every less than 10 minutes (resources.tasks.refreshAzureSpeechToken) [2018-08-27 14:19:09,794: DEBUG/MainProcess] beat: Synchronizing schedule... [2018-08-27 14:19:09,834: DEBUG/MainProcess] resources.tasks.refreshAzureSpeechToken sent. id->fa8c45e4-1be7-447f-9240-6f61c58c1e9d [2018-08-27 14:19:09,837: DEBUG/MainProcess] beat: Waking up in 59.92 seconds. </code>
然后是solr的server:
<code>➜  xxxServer git:(master) ✗ solr start
Waiting up to 180 seconds to see Solr running on port 8983 [/]
Started Solr server on port 8983 (pid=12925). Happy searching!

➜  xxxServer git:(master) ✗ solr status

Found 1 Solr nodes:

Solr process 12925 running on port 8983
{
  "solr_home":"/usr/local/Cellar/solr/7.2.1/server/solr",
  "version":"7.2.1 b2b6438b37073bee1fca40374e85bf91aa457c0b - ubuntu - 2018-01-10 00:54:21",
  "startTime":"2018-08-27T05:41:30.394Z",
  "uptime":"0 days, 0 hours, 0 minutes, 13 seconds",
  "memory":"51.2 MB (%10.4) of 490.7 MB"}
</code>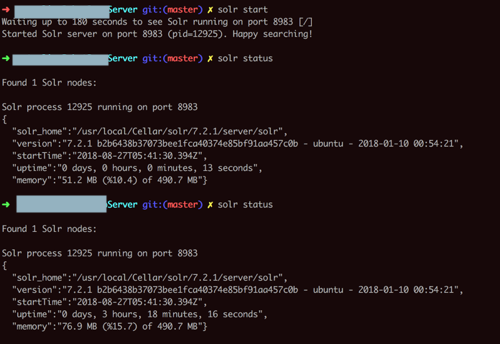
然后就是去部署到在线环境上去了:
【记录】把合并了基于搜索的兜底对话的产品demo部署到在线环境中
转载请注明:在路上 » 【已解决】合并基于搜索的兜底对话到产品Demo中