折腾:
完后,去想办法创建一个导航栏和列表
尽量模拟这个界面:

react native ios navigation bar
https://github.com/react-native-community/react-native-navbar
GitHub – react-native-community/react-native-navbar: Navbar component for React Native
结果出错:
【已解决】ReactNative iOS运行再次出错:No bundle URL present
接着继续折腾。
然后后来折腾了不少,其中包括:
【已解决】ReactNative中实现Segment Control
现在接着折腾导航栏的事情。
去安装:
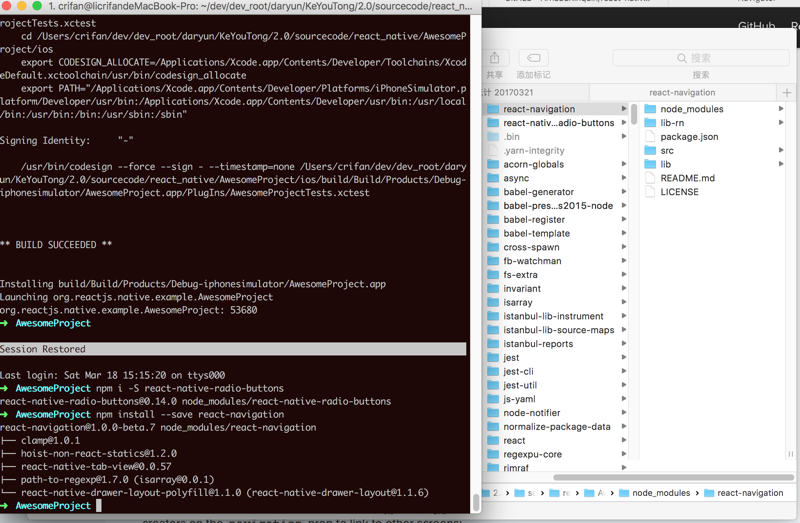
➜ AwesomeProject npm install –save react-navigation react-navigation@1.0.0-beta.7 node_modules/react-navigation ├── clamp@1.0.1 ├── hoist-non-react-statics@1.2.0 ├── react-native-tab-view@0.0.57 ├── path-to-regexp@1.7.0 (isarray@0.0.1) └── react-native-drawer-layout-polyfill@1.1.0 (react-native-drawer-layout@1.1.6) |
然后试了试官网的代码:
import { StackNavigator, } from ‘react-navigation’; const App = StackNavigator({ Main: {screen: MainScreen}, Profile: {screen: ProfileScreen}, }); function NoticeTypeImage(props){ const noticeType = props.noticeType; switch (noticeType) { case "expired": return <Image style={styles.noticeType} source={require(‘./img/clock_red.png’)} />; case "normal": return <Image style={styles.noticeType} source={require(‘./img/clock_green.png’)} />; case "notEmergent": return <Image style={styles.noticeType} source={require(‘./img/clock_gray.png’)} />; case "": return <View style={{paddingLeft: 10, width:20, height:20, backgroundColor:’transparent’}}></View>; //return <Image style={{paddingLeft: 10, width:20, height:20, backgroundColor:’transparent’}}></Image>; } } class AwesomeProject extends Component { static navigationOptions = { title: ‘客友通’, }; // Initialize the hardcoded data constructor(props) { super(props); const ds = new ListView.DataSource({rowHasChanged: (r1, r2) => r1 !== r2}); this.state = { dataSource: ds.cloneWithRows([ { intentionLevel : "H", customerName : "王小丫", intentionCar : "奥迪A3进口", noticeType: "expired", updateTime : "2016/12/28" },。。。 { intentionLevel : "O", customerName : "赵平", intentionCar : "奥迪Q5(进口)", noticeType : "", updateTime : "昨天" }, ]) }; } render() { const FilterCustomerOptions = [ "有待跟进", "跟进时间", "客户级别", "意向车型", ]; function setSelectedOption(selectedOption){ this.setState({ selectedOption }); } const { navigate } = this.props.navigation; return ( <View style={{flex: 1, paddingTop: 20}}> <Button style={styles.navigation} title="Go to Crifan’s profile" onPress={() => navigate(‘Profile’, { name: ‘Crifan’ })} /> |
结果报错:
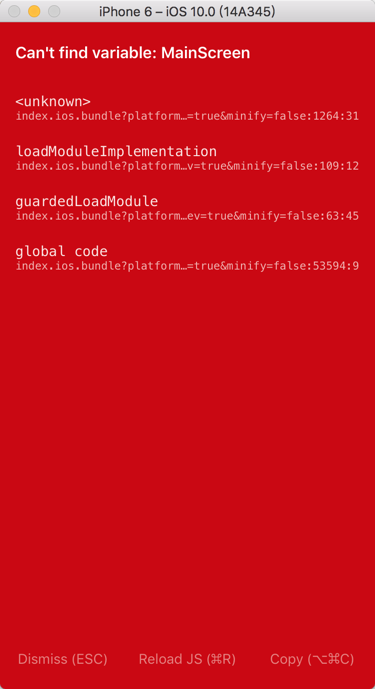
很明显,没有:MainScreen和ProfileScreen
后来改为:
const App = StackNavigator({ Main: {screen: AwesomeProject}, //Profile: {screen: ProfileScreen}, }); 。。。 <Button style={styles.navigation} title="Go to Crifan’s profile" //onPress={() => //navigate(‘Profile’, { name: ‘Crifan’ })} /> |
结果还是报错:
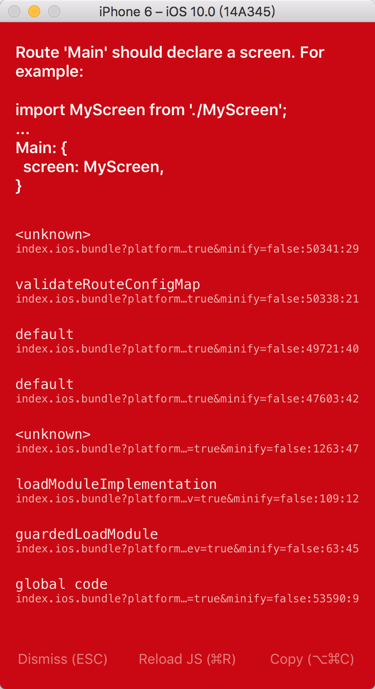
感觉很不好用啊
去找找其他的:
react native navigation bar
GitHub – react-native-community/react-native-navbar: Navbar component for React Native
star 有1400+
star 2000+
但是貌似是用起来很麻烦,只不过还支持tab而已
先去试试react-native-navbar
➜ AwesomeProject npm install react-native-navbar –save react-native-navbar@1.6.3 node_modules/react-native-navbar |
然后:
【基本解决】想要给React Native iOS的app中的导航栏中添加图标按钮
然后默认字体显得有有些不协调,经过调整后,用:
import { Container, Navbar } from ‘navbar-native’; <Navbar title={"跟进客户"} titleColor="white" bgColor={NavigationBarBackgroundColor} left={{ // icon: "ios-person", icon: "user-o", //newly added in 4.7 version of FontAwesome // icon: "user", iconFamily : ‘FontAwesome’, iconSize: 24, //icon: ‘ios-person-outline’, iconColor: "white", onPress: () => {alert(‘跳转到 个人中心’)} }} right={[{ icon: "ios-search", //icon: "search", //iconFamily : ‘FontAwesome’, iconSize: 28, iconColor: "white", onPress: () => {alert(‘搜索’)} }]} /> |
基本暂时满足需求的效果如下:

至少让 左边的用户 和 右边的搜索,的按钮,看起来框线粗细差不多,且图标大小差不多了。
转载请注明:在路上 » 【记录】React Native iOS添加导航栏和列表