代码:
messageList.append(newMessage) messageTableView.reloadData() let topIndexPath = NSIndexPath(forRow: (messageList.count – 1), inSection: 0) messageTableView.scrollToRowAtIndexPath(topIndexPath, atScrollPosition: .Middle, animated: true) |
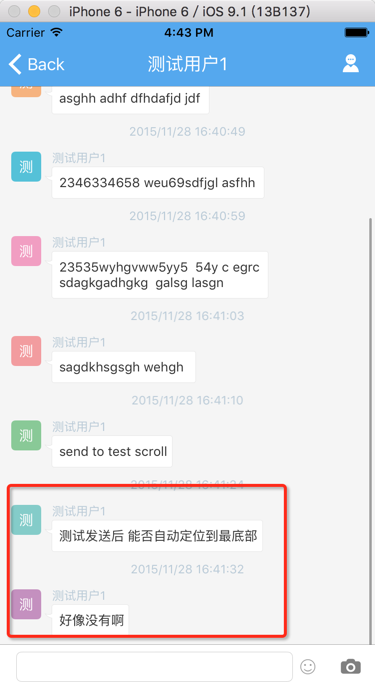
已经可以实现:
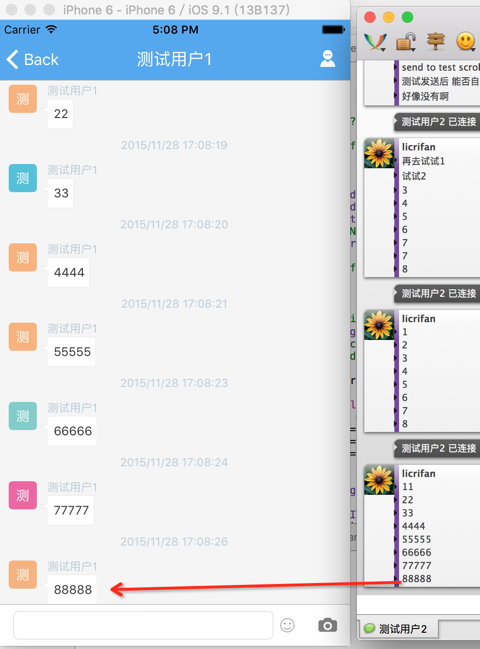
更新了UITableViewDataSource的数据源messageList后,使得刷新列表,定位到最后的一行
但是:
效率太低
要去找效率高的。
swift tableview add cell scroll
swift tableview add new cell
swift tableview append new cell
ios – How to insert new cell into UITableView in Swift – Stack Overflow
Add Rows to Table View Tutorial in iOS8 with Swift – iOScreator
ios – How to insert new cell into UITableView in Swift – Stack Overflow
messageList.append(newMessage) // messageTableView.reloadData() // let topIndexPath = NSIndexPath(forRow: (messageList.count – 1), inSection: 0) // messageTableView.scrollToRowAtIndexPath(topIndexPath, atScrollPosition: .Middle, animated: true) messageTableView.beginUpdates() messageTableView.insertRowsAtIndexPaths( [NSIndexPath(forRow: messageList.count – 1, inSection: 0)], withRowAnimation: UITableViewRowAnimation.Automatic) messageTableView.endUpdates() |
swift tableview scroll to bottom
swift – scrollToRowAtIndexPath with UITableView does not work – Stack Overflow
messageTableView.scrollToRowAtIndexPath(bottomIndexPath, atScrollPosition: UITableViewScrollPosition.Bottom, animated: true) |
//1. first beginUpdates messageList.beginUpdates() //2. insert/add new row tableview data messageList.append(newMessage) //3.then insert related row of tableview cell let bottomIndexPath:NSIndexPath = NSIndexPath(forRow: messageList.count – 1, inSection: 0) messageTableView.insertRowsAtIndexPaths( [bottomIndexPath], withRowAnimation: UITableViewRowAnimation.Automatic) //4. finally endUpdates messageTableView.endUpdates() //after update, can do scroll now messageTableView.scrollToRowAtIndexPath(bottomIndexPath, atScrollPosition: UITableViewScrollPosition.Bottom, animated: true) |


