用了自动布局后,列表的行的高度,返回的是UITableViewAutomaticDimension
func tableView(tableView: UITableView, heightForRowAtIndexPath indexPath: NSIndexPath) -> CGFloat { print("MessageTableViewController heightForRowAtIndexPath indexPath = \(indexPath)") let message = self.messageList[indexPath.row] if message is ResourceMessage { return UITableViewAutomaticDimension } // if message is TextMessage { let calculatedcellHeight = MessageTableViewCell.calculateCellHeight(message) // let cell = tableView.cellForRowAtIndexPath(indexPath) as! MessageTableViewCell // let calculatedcellHeight = cell.calculateCellHeight() print("indexPath=\(indexPath), calculatedcellHeight=\(calculatedcellHeight)") return calculatedcellHeight // } } |
结果是高度计算不准
效果是:
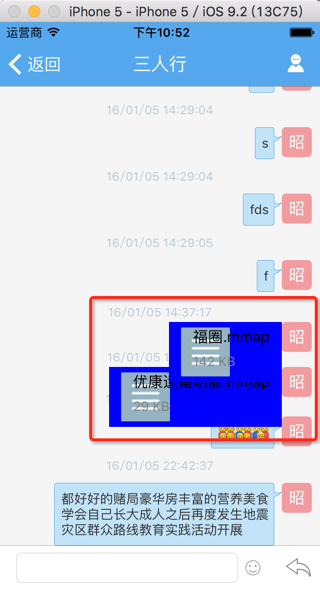
以及另外一个问题:
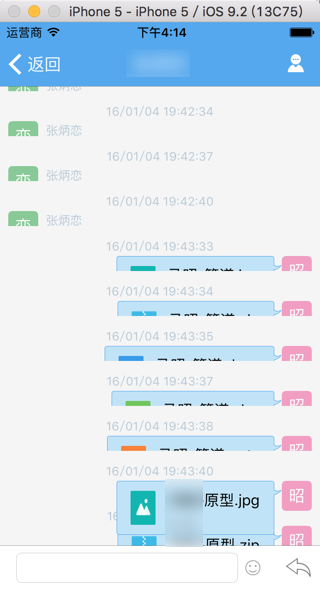
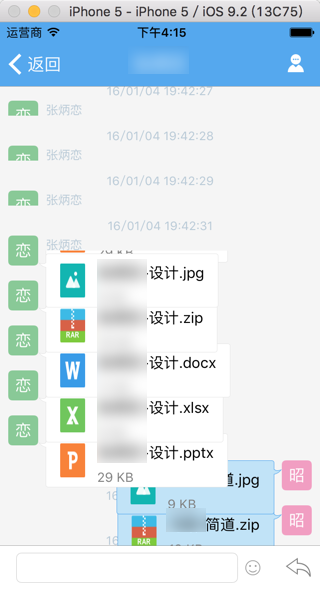
只有滚动之后,才能正常显示(虽然不是太准确的)高度:
搜:
UITableViewAutomaticDimension
uitableviewautomaticdimension not accurate
Ray Wenderlich | Tutorials for Developers and Gamers
ios – Setting rowHeight equal to UITableViewAutomaticDimension not working – Stack Overflow
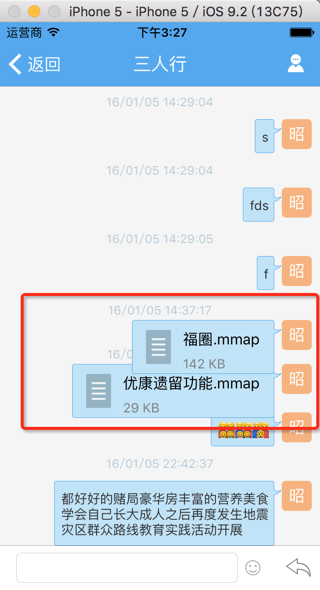
调整自动布局后,结果还是不对:
代码是:
heightForRowAtIndexPath时返回的:
不论是:
UITableViewAutomaticDimension
还是,自己多加了点高度:
UITableViewAutomaticDimension + 40
都没用。
以及:
看了解释“Requests that UITableView use the default value for a given dimension.”后去:
主动把之前加上预估高度去掉:
let HeightMessageTableViewCellEstimatedRow:CGFloat = 60 // self.messageTableView.estimatedRowHeight = HeightMessageTableViewCellEstimatedRow |
都还是没用
搜:
uitableviewautomaticdimension not accurate
理解iOS 8中的Self Sizing Cells和Dynamic Type-CocoaChina_让移动开发更简单
Ray Wenderlich | Tutorials for Developers and Gamers
在viewDidLoad中加了:
self.messageTableView.reloadSections(NSIndexSet(indexesInRange: NSMakeRange(0, self.messageTableView.numberOfSections)), withRowAnimation: UITableViewRowAnimation.None) |
结果问题依旧。
最后的最后,解决办法是:
原先是少了bottom的约束:
//file bubble view self.fileBubbleView = FileBubbleView(frame: CGRectZero, resourceMessage: resMessage) self.contentView.addSubview(self.fileBubbleView!) constrain(fileBubbleView!, avatarButton, userNameLabel) {fileBubbleView, avatarButton, userNameLabel in if self.message.isDisplaySenderName { fileBubbleView.top == userNameLabel.bottom }else{ fileBubbleView.top == avatarButton.top } if self.message.directionType == MessageDirectionType.Receive { fileBubbleView.left == avatarButton.right fileBubbleView.right <= fileBubbleView.superview!.right – WidthAvatarPadding – SizeAvatarImage }else if self.message.directionType == MessageDirectionType.Send { fileBubbleView.right == avatarButton.left fileBubbleView.left >= fileBubbleView.superview!.left + WidthAvatarPadding + SizeAvatarImage } // fileBubbleView.height == 60 fileBubbleView.height == 54 fileBubbleView.width <= fileBubbleView.superview!.width – 2 * (WidthAvatarPadding + SizeAvatarImage) } } |
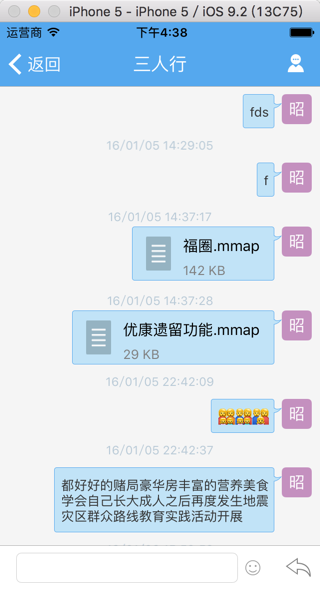
加上(之前缺少的)bottom的约束条件,就可以了
//file bubble view self.fileBubbleView = FileBubbleView(frame: CGRectZero, resourceMessage: resMessage) self.contentView.addSubview(self.fileBubbleView!) constrain(fileBubbleView!, avatarButton, userNameLabel) {fileBubbleView, avatarButton, userNameLabel in if self.message.isDisplaySenderName { fileBubbleView.top == userNameLabel.bottom }else{ fileBubbleView.top == avatarButton.top } fileBubbleView.bottom <= fileBubbleView.superview!.bottom if self.message.directionType == MessageDirectionType.Receive { fileBubbleView.left == avatarButton.right fileBubbleView.right <= fileBubbleView.superview!.right – WidthAvatarPadding – SizeAvatarImage }else if self.message.directionType == MessageDirectionType.Send { fileBubbleView.right == avatarButton.left fileBubbleView.left >= fileBubbleView.superview!.left + WidthAvatarPadding + SizeAvatarImage } // fileBubbleView.height == 60 fileBubbleView.height == 54 fileBubbleView.width <= fileBubbleView.superview!.width – 2 * (WidthAvatarPadding + SizeAvatarImage) } } |
即可正常显示文件了:

[总结]
此处,如果想要避免
UITableViewAutomaticDimension
无法正确计算列表的行高,则需要:
确保你的View视图的约束constrain的
top
bottom
left(估计等价于Leading)
right(估计等价于Trailing)
都设置值了,就可以保证:
UITableViewAutomaticDimension
去帮你自动计算大小了。
注意:
对于每个使用了(添加了约束的)自动布局,借用UITableViewAutomaticDimension去自动计算行高的话,内部还是需要耗时的,尤其是行数很多(1000量级的)的时候,需要耗费很多时间
-》列表加载就显示很慢了
-》为了提高列表加载速度
-》可以去实现:估计的高度
即:
设置tableView.estimatedRowHeight
或:
实现:
func tableView(tableView: UITableView, estimatedHeightForRowAtIndexPath indexPath: NSIndexPath) -> CGFloat
返回一个估计的高度
-》自己大概给个值,是自己的所有的列表的行的大致平均高度的值,即可。
-》比如我此处设置了60
//improve perfomance self.messageTableView.estimatedRowHeight = HeightMessageTableViewCellEstimatedRow //above has set estimatedRowHeight, so not need estimatedHeightForRowAtIndexPath here // func tableView(tableView: UITableView, estimatedHeightForRowAtIndexPath indexPath: NSIndexPath) -> CGFloat { // //return UITableViewAutomaticDimension // return HeightMessageTableViewCellEstimatedRow // } |
-》这样UITableView就可以快速加载单元格了
-》等到真的需要显示(单个页面的几行)的时候,再去真正调用heightForRowAtIndexPath去计算真正的高度
-》heightForRowAtIndexPath中的计算,可能会很耗时。
转载请注明:在路上 » [已解决]swift中UITableView的Cell的高度UITableViewAutomaticDimension不完全工作