【问题】
折腾:
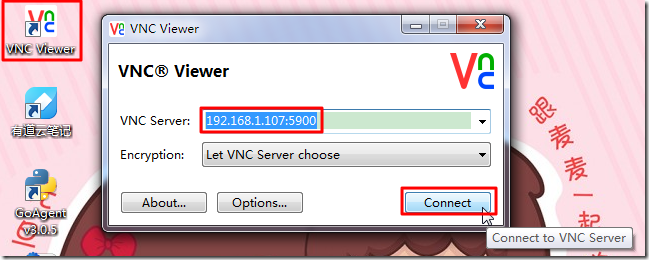
【记录】在ssh2可以登陆pcDuino后尝试去用VNC连接并操作pcDuino
期间,遇到的:
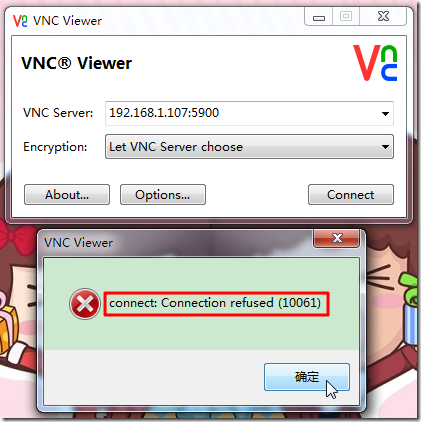
结果连接被拒绝了:
【折腾过程】
1.貌似需要去开启pcDuino中的ubuntu中的vnc server。
然后
sudo reboot
去重启pcDuino的ubuntu。
然后再去登陆vnc,错误依旧。
2.参考:
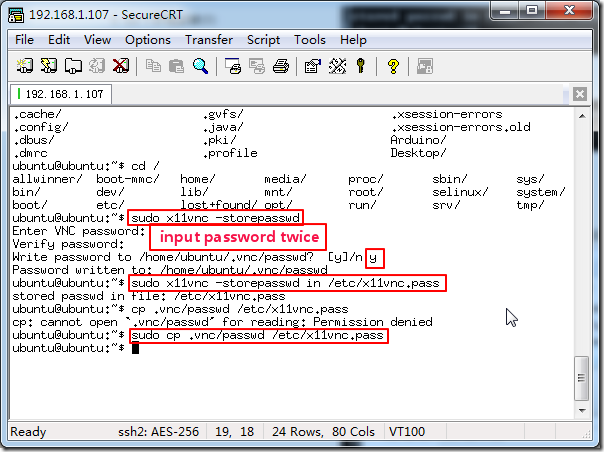
去安装并新建x11vnc的脚本:
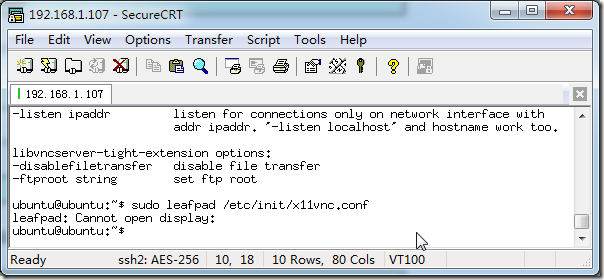
结果又不能建立文件:
ubuntu@ubuntu:~$ sudo leafpad /etc/init/x11vnc.conf |
那再试试vi:
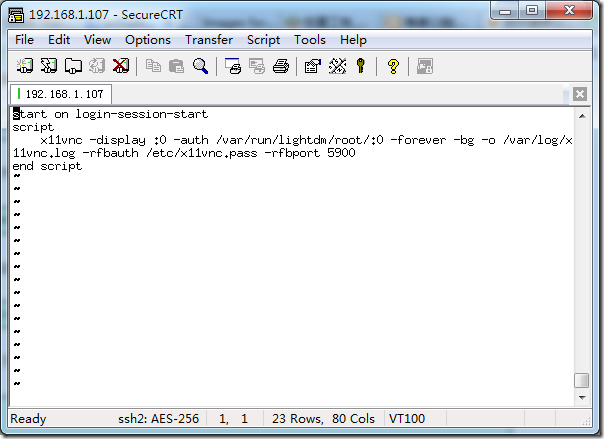
sudo vi /etc/init/x11vnc.conf
可见此文件已存在,且内容正常:
3.再去参考:
PcDuino入手设置流程(无HDMI视频线有USB-TTL)-kissthink
去试试:
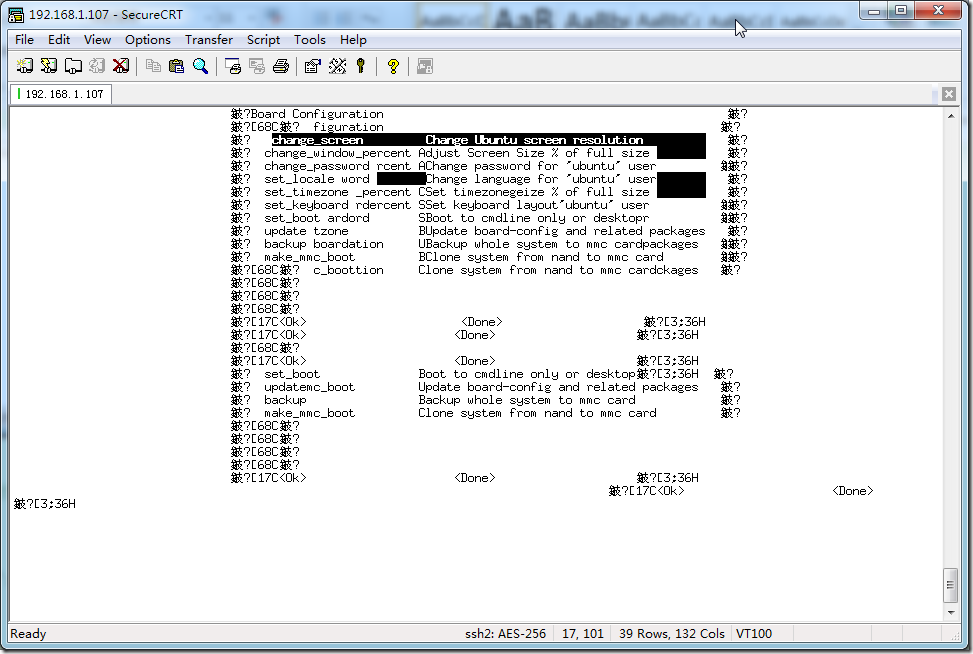
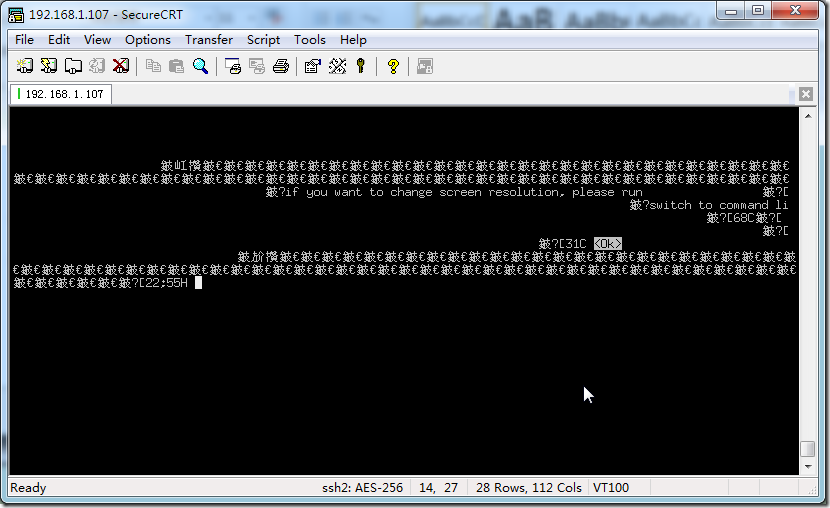
sudo board-config.sh
结果secureCRT中都乱码了:
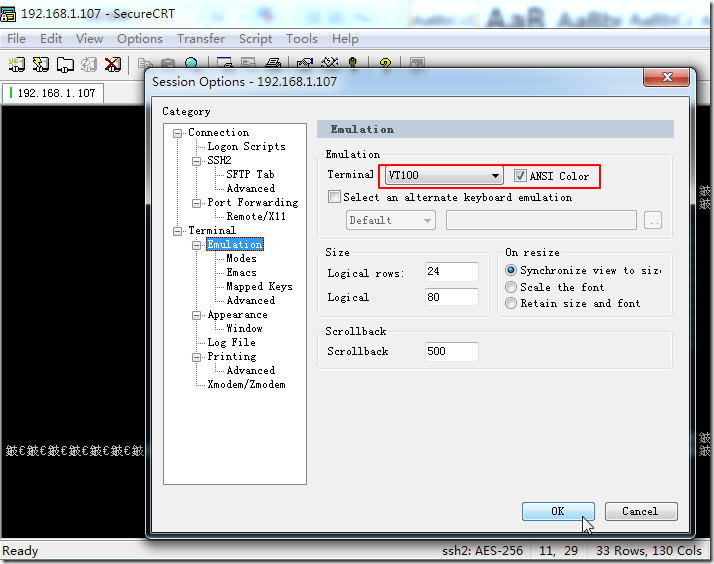
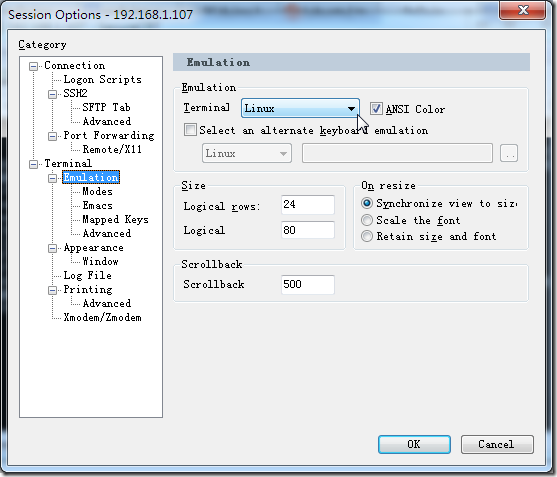
所以,去重新修改模拟的终端:
看看能否有效果:
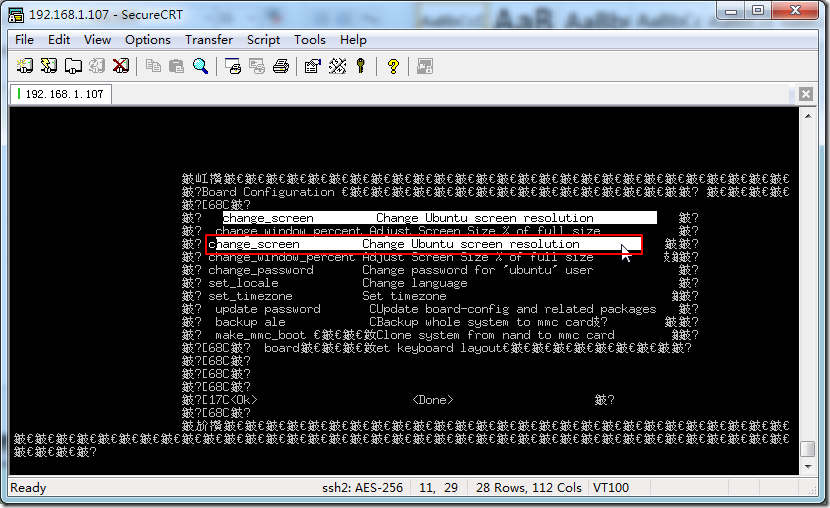
还是乱码。
只是背景变为黑色了。
不过,一直都是:
键盘的上下和左右键,都是可以用的。
4.所以去试试:
选择change_screen change ubuntu to screen resolution
然后选择OK,回车,结果出现:
貌似再回车,又回到主界面了。
好像是需要先切换到command line模式,才行的?
5.折腾了半天,通过:
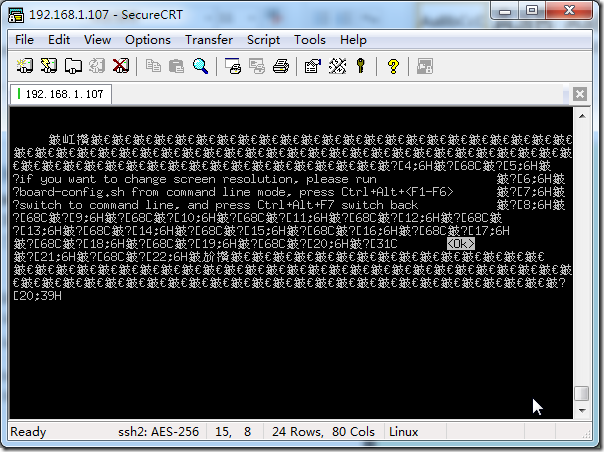
换为linux模式:
然后终于可以看到信息了:
但是弄了半天,还是不行。
6.参考:
PCduino入手,SSH连接开放VncServer远程服务-树莓派
去试试手动启动x11vnc,结果启动失败:
1 2 3 4 5 6 7 8 9 10 11 12 13 14 15 16 17 18 19 20 21 22 23 24 25 26 27 28 29 30 31 32 33 34 35 36 37 38 39 40 41 42 43 44 45 46 47 48 49 50 51 52 53 54 55 56 57 58 59 60 61 62 63 64 65 66 67 68 69 70 71 72 73 74 75 76 | ubuntu@ubuntu:~$ sudo x11vnc -forever -shared -rfbauth ~/.vnc/passwd28/12/2013 10:41:17 passing arg to libvncserver: -rfbauth28/12/2013 10:41:17 passing arg to libvncserver: /home/ubuntu/.vnc/passwd28/12/2013 10:41:17 x11vnc version: 0.9.12 lastmod: 2010-09-09 pid: 100428/12/2013 10:41:17 XOpenDisplay("") failed.28/12/2013 10:41:17 Trying again with XAUTHLOCALHOSTNAME=localhost ...28/12/2013 10:41:17 28/12/2013 10:41:17 *** XOpenDisplay failed. No -display or DISPLAY.28/12/2013 10:41:17 *** Trying ":0" in 4 seconds. Press Ctrl-C to abort.28/12/2013 10:41:17 *** 1 2 3 4 28/12/2013 10:41:21 XOpenDisplay(":0") failed.28/12/2013 10:41:21 Trying again with XAUTHLOCALHOSTNAME=localhost ...28/12/2013 10:41:21 XOpenDisplay(":0") failed.28/12/2013 10:41:21 Trying again with unset XAUTHLOCALHOSTNAME ...28/12/2013 10:41:21 28/12/2013 10:41:21 ***************************************28/12/2013 10:41:21 *** XOpenDisplay failed (:0)*** x11vnc was unable to open the X DISPLAY: ":0", it cannot continue.*** There may be "Xlib:" error messages above with details about the failure.Some tips and guidelines:** An X server (the one you wish to view) must be running before x11vnc is started: x11vnc does not start the X server. (however, see the -create option if that is what you really want).** You must use -display <disp>, -OR- set and export your $DISPLAY environment variable to refer to the display of the desired X server. - Usually the display is simply ":0" (in fact x11vnc uses this if you forget to specify it), but in some multi-user situations it could be ":1", ":2", or even ":137". Ask your administrator or a guru if you are having difficulty determining what your X DISPLAY is.** Next, you need to have sufficient permissions (Xauthority) to connect to the X DISPLAY. Here are some Tips: - Often, you just need to run x11vnc as the user logged into the X session. So make sure to be that user when you type x11vnc. - Being root is usually not enough because the incorrect MIT-MAGIC-COOKIE file may be accessed. The cookie file contains the secret key that allows x11vnc to connect to the desired X DISPLAY. - You can explicitly indicate which MIT-MAGIC-COOKIE file should be used by the -auth option, e.g.: x11vnc -auth /home/someuser/.Xauthority -display :0 x11vnc -auth /tmp/.gdmzndVlR -display :0 you must have read permission for the auth file. See also '-auth guess' and '-findauth' discussed below.** If NO ONE is logged into an X session yet, but there is a greeter login program like "gdm", "kdm", "xdm", or "dtlogin" running, you will need to find and use the raw display manager MIT-MAGIC-COOKIE file. Some examples for various display managers: gdm: -auth /var/gdm/:0.Xauth -auth /var/lib/gdm/:0.Xauth kdm: -auth /var/lib/kdm/A:0-crWk72 -auth /var/run/xauth/A:0-crWk72 xdm: -auth /var/lib/xdm/authdir/authfiles/A:0-XQvaJk dtlogin: -auth /var/dt/A:0-UgaaXa Sometimes the command "ps wwwwaux | grep auth" can reveal the file location. Starting with x11vnc 0.9.9 you can have it try to guess by using: -auth guess (see also the x11vnc -findauth option.) Only root will have read permission for the file, and so x11vnc must be run as root (or copy it). The random characters in the filenames will of course change and the directory the cookie file resides in is system dependent.See also: http://www.karlrunge.com/x11vnc/faq.htmlubuntu@ubuntu:~$ |
很明显,会出错:
| XOpenDisplay("") failed. |
还是不知道如何解决。
7.后来,自己无意间想到,貌似之前在选择了:
set_boot
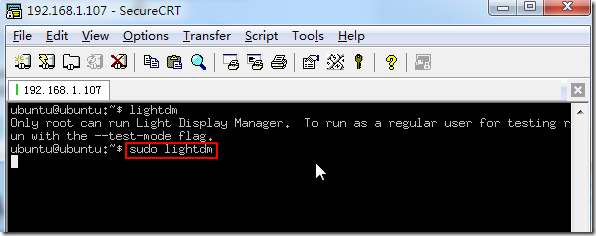
是,好像有个提示的,说是,如果切换到了command line模式后,想要进入图形桌面模式,需要自己手动运行:
lightdm
的。所以,就去试试:
然后就没任何输出了。
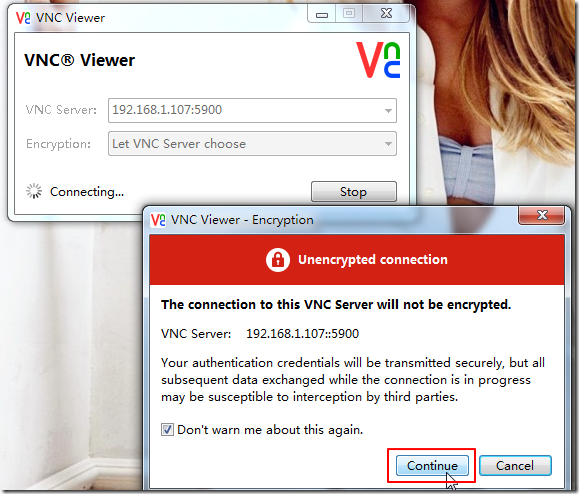
此时,再去那个vnc viewer中去连接,结果竟然可以正常连接了:
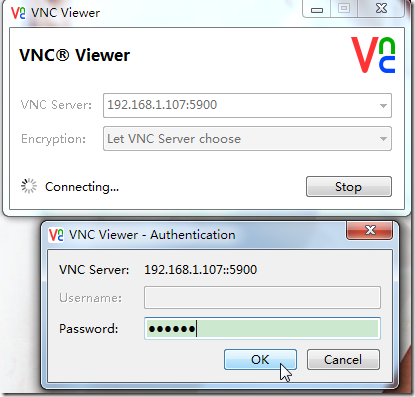
然后输入密码:
不过好像有点异常:
VNC Server是:
192.168.107::5900
而不是
192.168.107:5900
且Username也没显示出来我要的ubuntu。
此处,密码,是我之前设置的:ubuntu
至此,终于解决了此问题了。
【总结】
此处,看来还是:
启动pcDuino时,好像是之前被自己改动了,启动后,变成command line模式了。
导致:
command line模式下,vnc根本无法正常启动。
而需要手动输入:
lightdm
去启动Ubuntu的桌面。
然后远程才可以通过Win7中的VNC Viewer去连接此pcDuino中Ubuntu的vnc的server,才能正常使用。
才不会出现那个被拒绝的问题。
转载请注明:在路上 » 【已解决】用VNC Viewer连接pcDuino中Ubuntu结果出错:connet: Connection refused (10061)
