折腾:
【记录】crifan.com再次网站搬家从腾讯云香港到国外服务器
期间,已经研究好了Vultr还行:
【整理】除了Linode之外的国外的稳定和访问速度不错的VPS
然后速度方面,新加坡的节点,国内各地ping值,多数时间平均在200ms左右
所以去购买Vultr的新加坡节点的VPS。
High Performance and Cheap Cloud Servers Deployment – Vultr.com
去买VC2=Vultr Cloud Compute
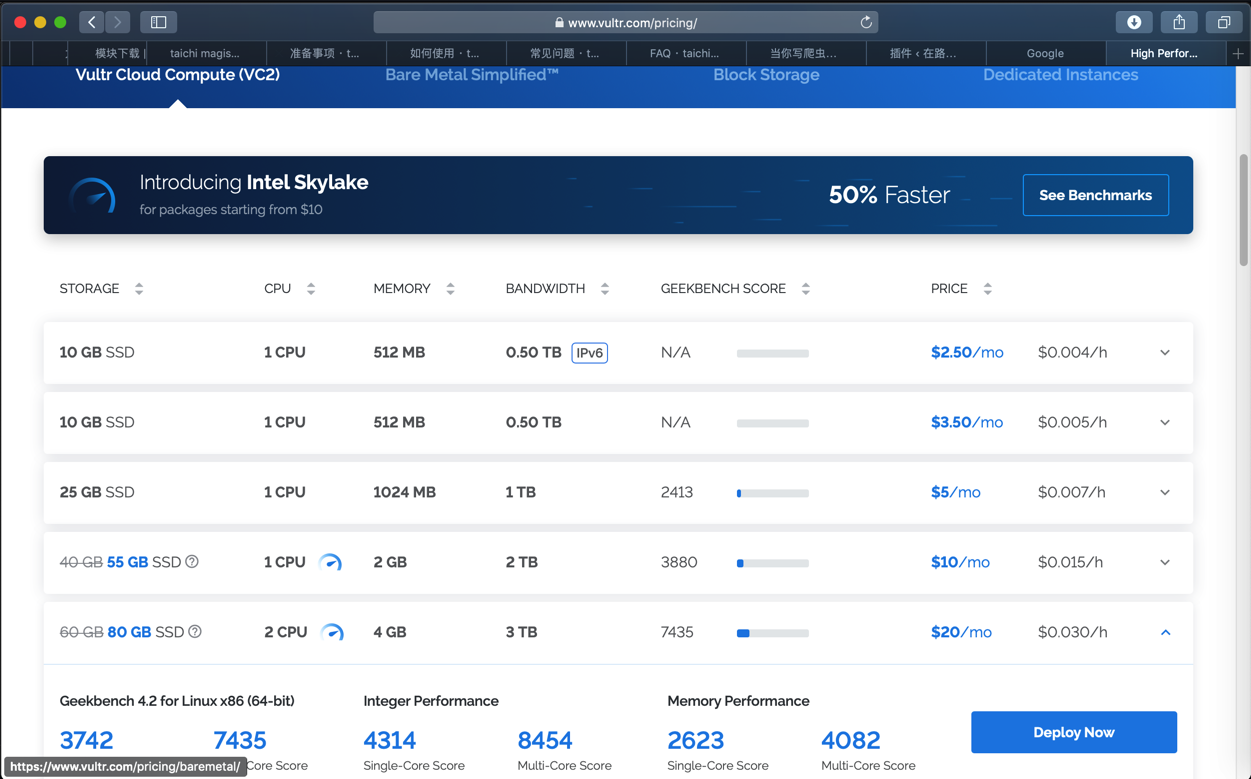
其中的:
2核4G的套餐
价格:20美元/月
点击Deploy Now
需要先去注册和登录
算了,回主页注册
High Performance and Cheap Cloud Servers Deployment – Vultr.com


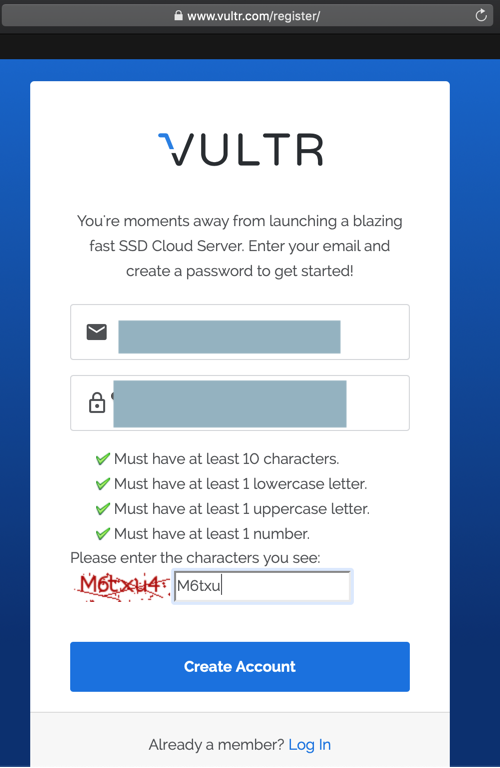
结果第一次验证码有误
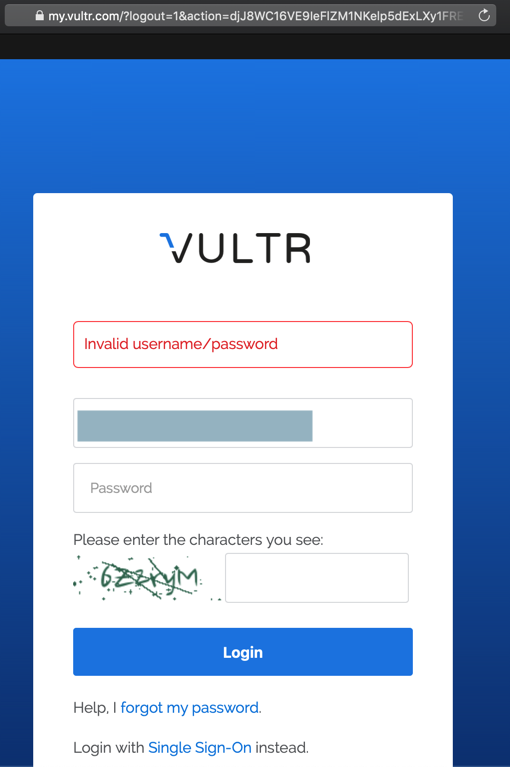
重新输入后,又出错:
进入了:
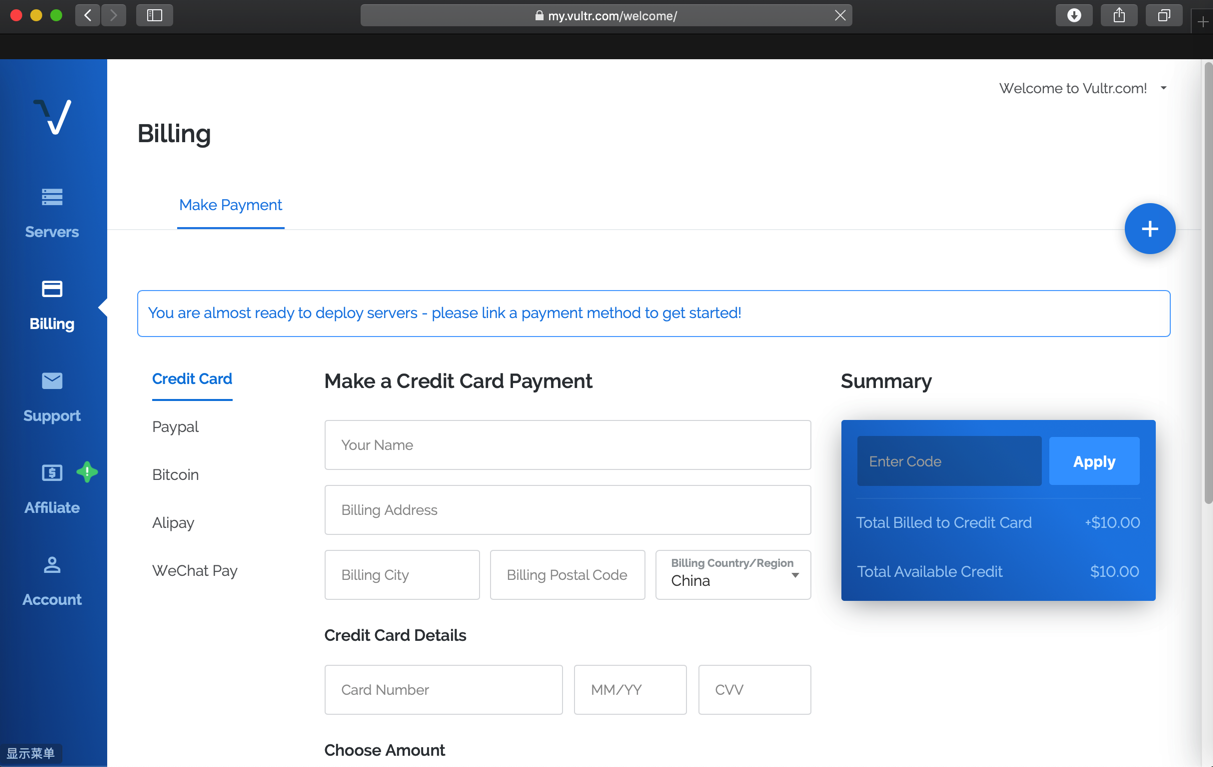
切换用Alipay支付:
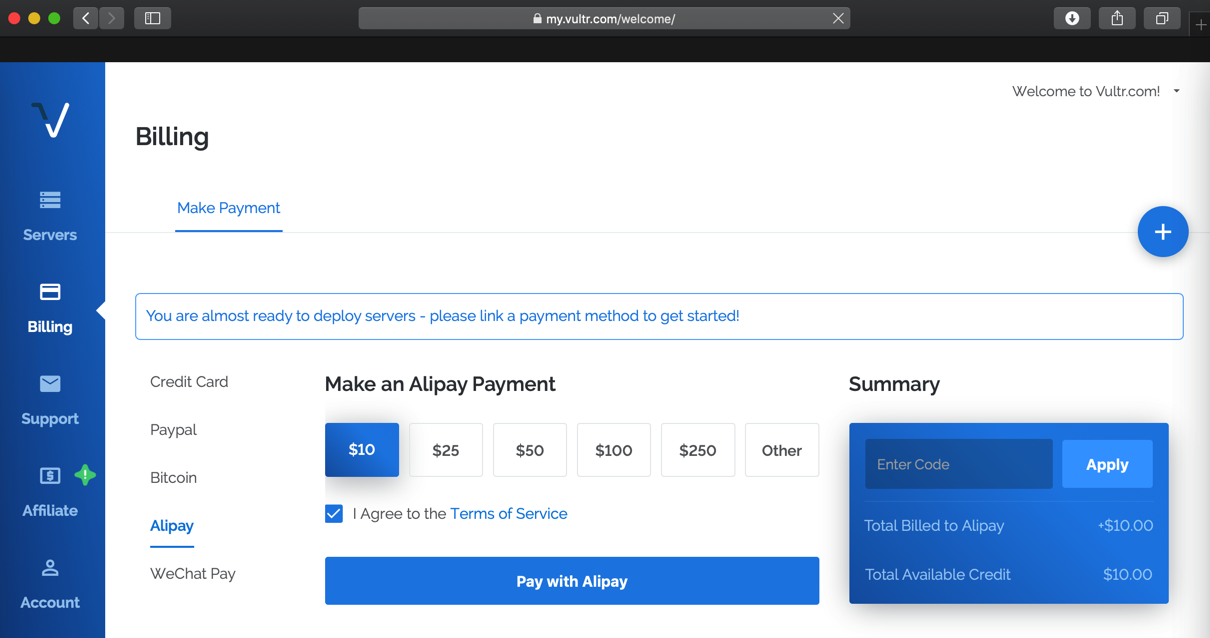
算了,支付前,还是好好看看细节
包括服务器
果然还有节点需要选择:
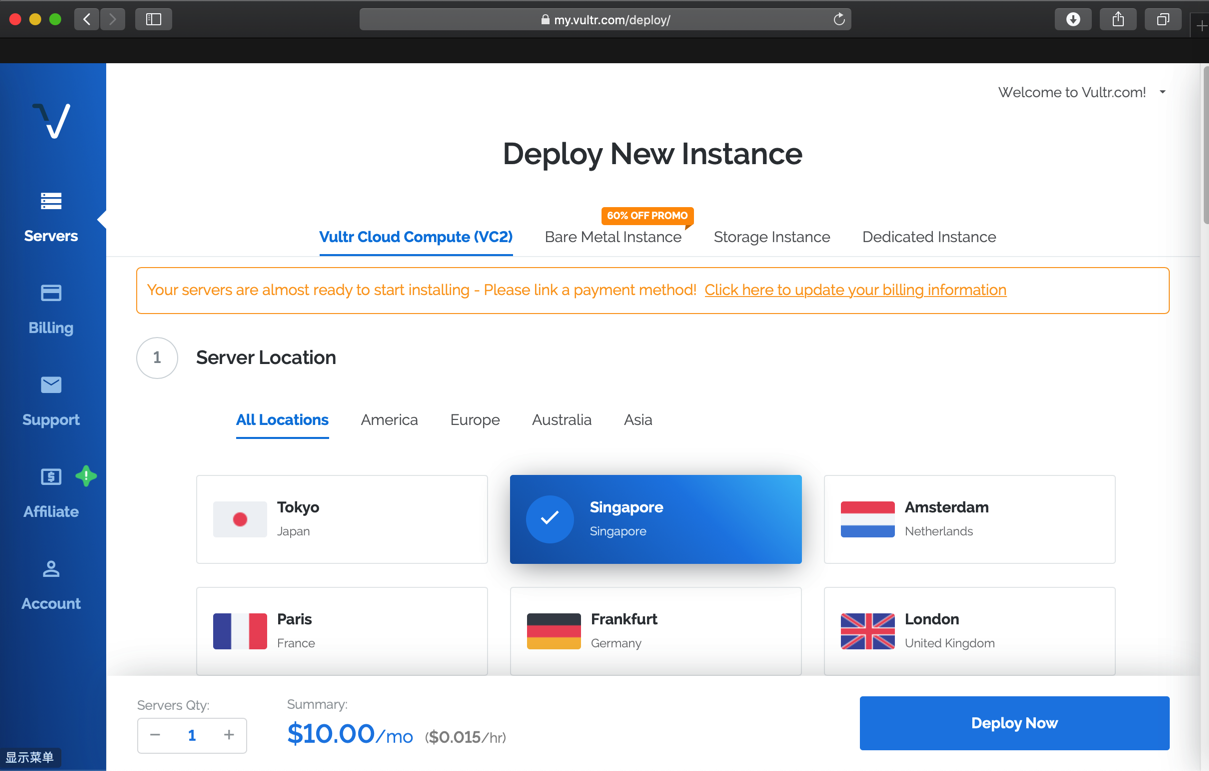
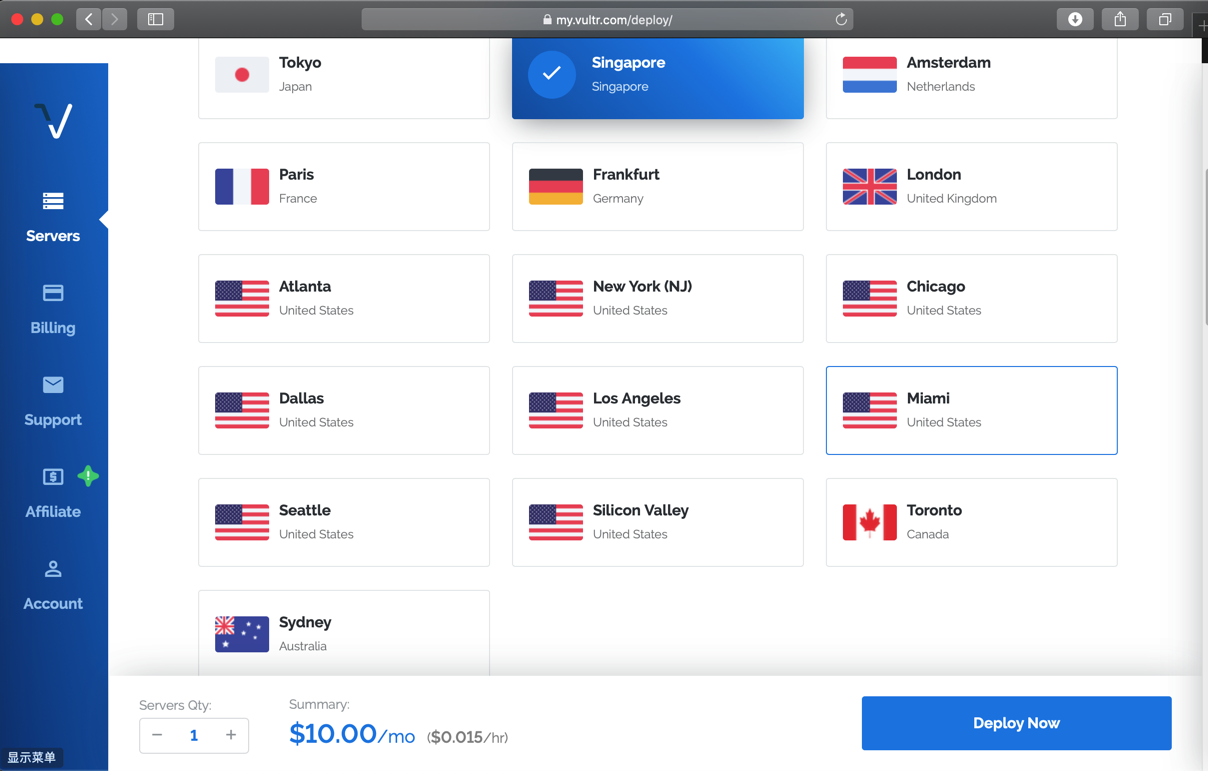
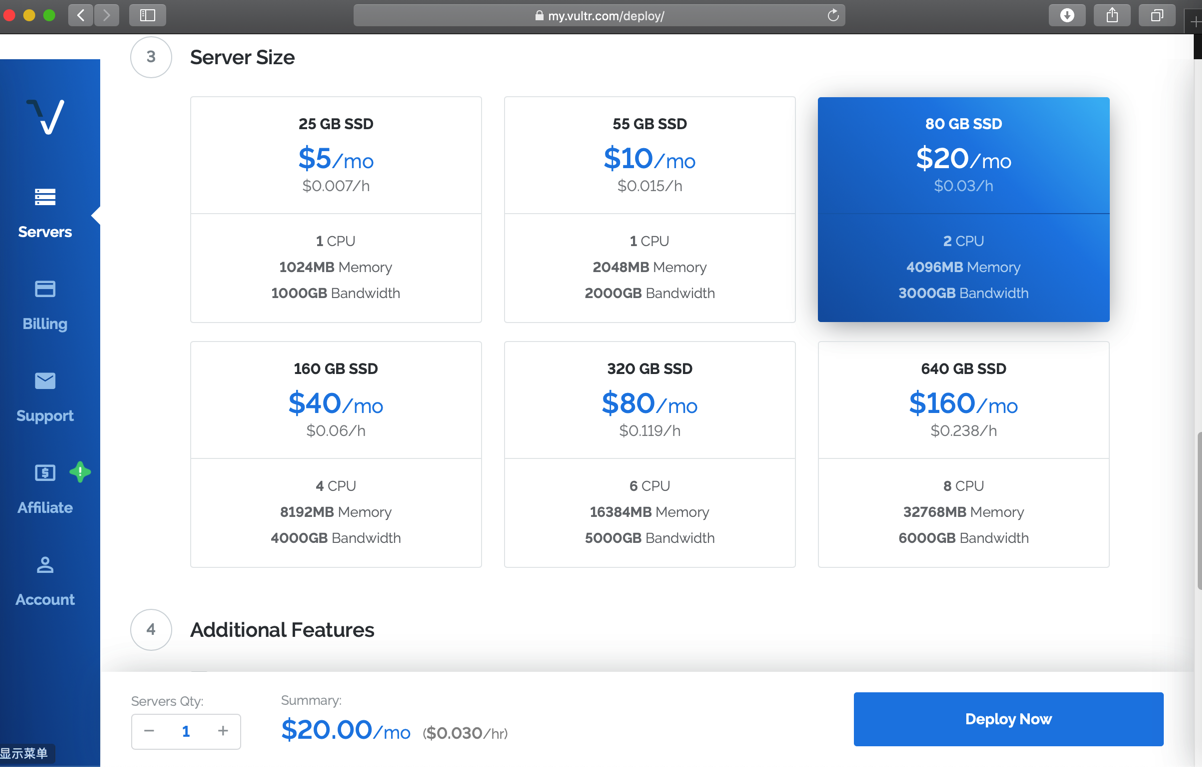
2U4G = 2核4G 是20美元/月
详细配置:
80 GB SSD
$20/mo = $0.03/h
2 CPU
4096MB Memory
3000GB Bandwidth
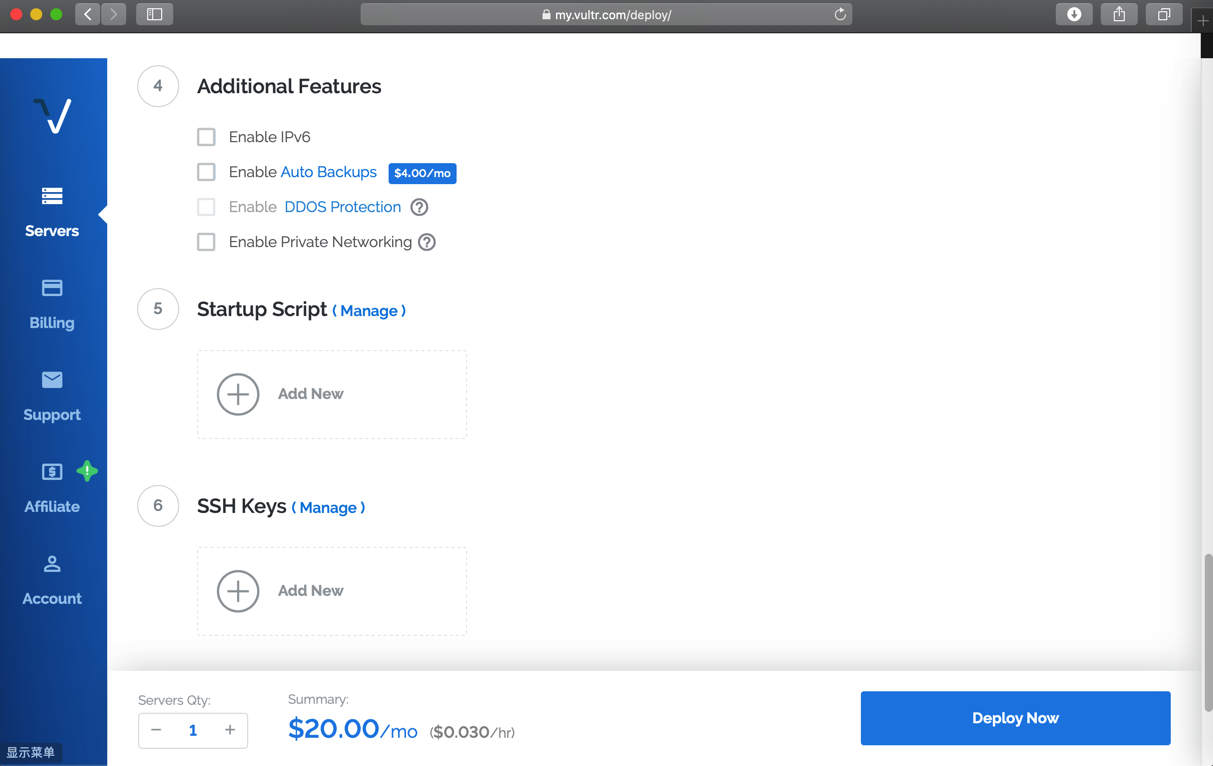
关于创建ssh keys
自己大概了解,但是不是很熟悉
所以点击Add New去看看:
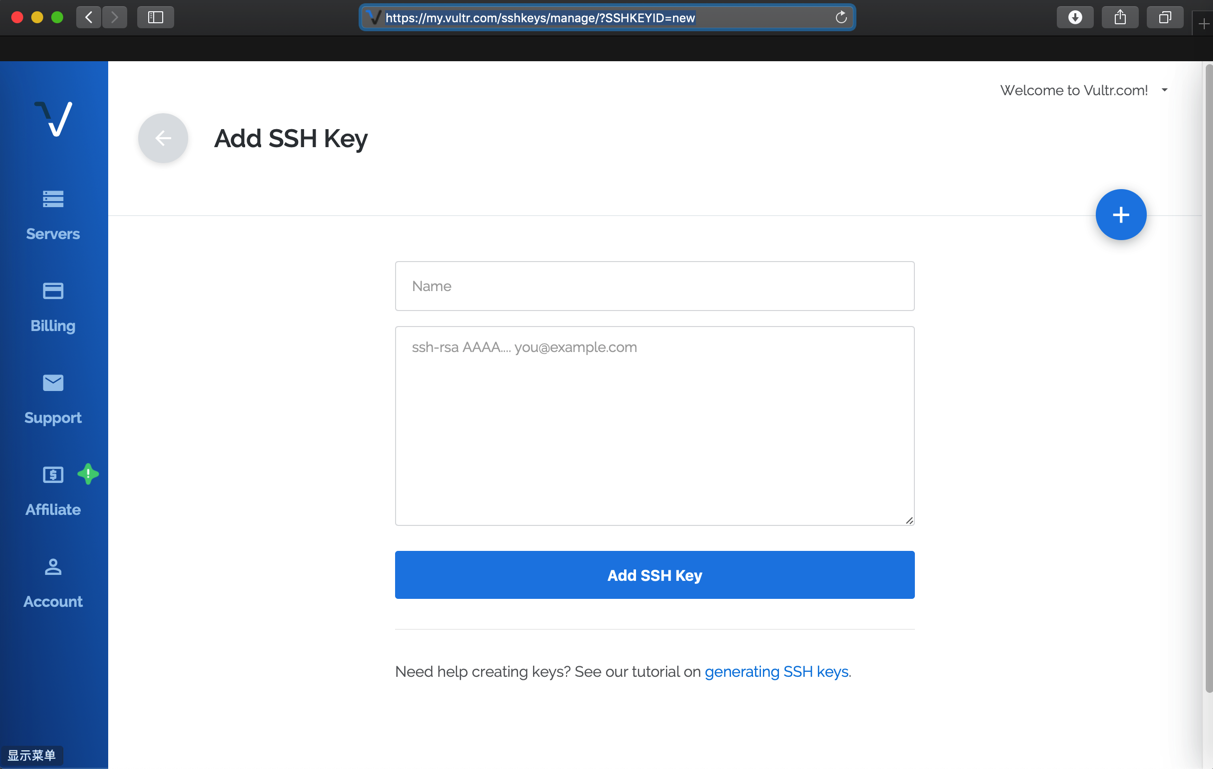
点击 generating SSH keys去看看
How Do I Generate SSH Keys? – Vultr.com
An SSH Key allows you to log into your server without needing a password. SSH Keys can be automatically added to servers during the installation process.
“Creating an SSH key on Linux
The tools to create and use SSH are standard, and should be present on most Linux distributions. With the following commands, you can generate ssh key.
* Run: ssh-keygen -t rsa. For a more secure 4096-bit key, run: ssh-keygen -t rsa -b 4096
* Press enter when asked where you want to save the key (this will use the default location).
* Enter a passphrase for your key.
* Run cat ~/.ssh/id_rsa.pub – this will give you the key in the proper format to paste into the control panel.
* Make sure you backup the ~/.ssh/id_rsa file. This cannot be recovered if it is lost.”
➜  ~ pwd
/Users/crifan
➜  ~ ll .ssh
total 24
-rw-------  1 crifan  staff   1.6K 12 20  2017 id_rsa
-rw-r--r--@ 1 crifan  staff   416B 12 20  2017 id_rsa.pub
-rw-r--r--  1 crifan  staff   3.8K  1 11 20:52 known_hosts
此处已经有了
去看看内容:
➜  ~ cat .ssh/id_rsa.pub
ssh-rsa AAAAB3NxxxxxxxxxxxPtX crifan@licrifandeMacBook-Pro.local

➜  ~ cat .ssh/id_rsa
-----BEGIN RSA PRIVATE KEY-----
MI........rXg==
-----END RSA PRIVATE KEY-----
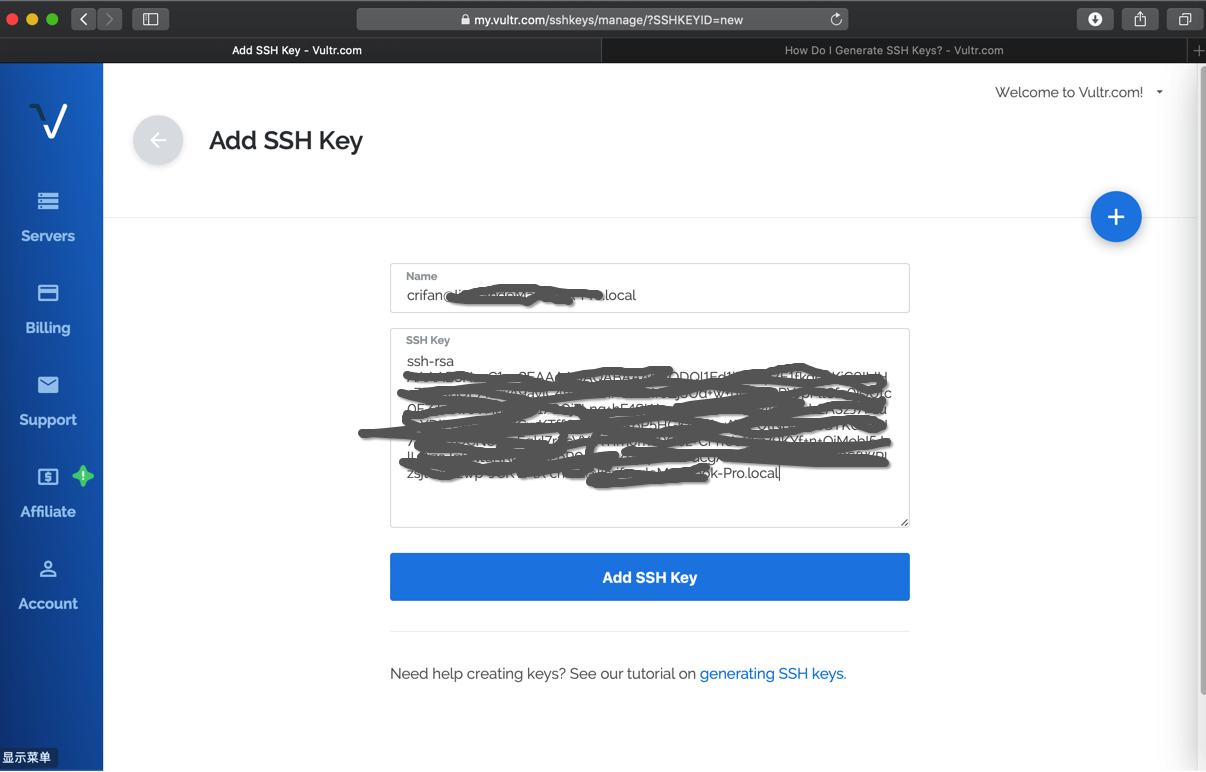
即可成功添加ssh key
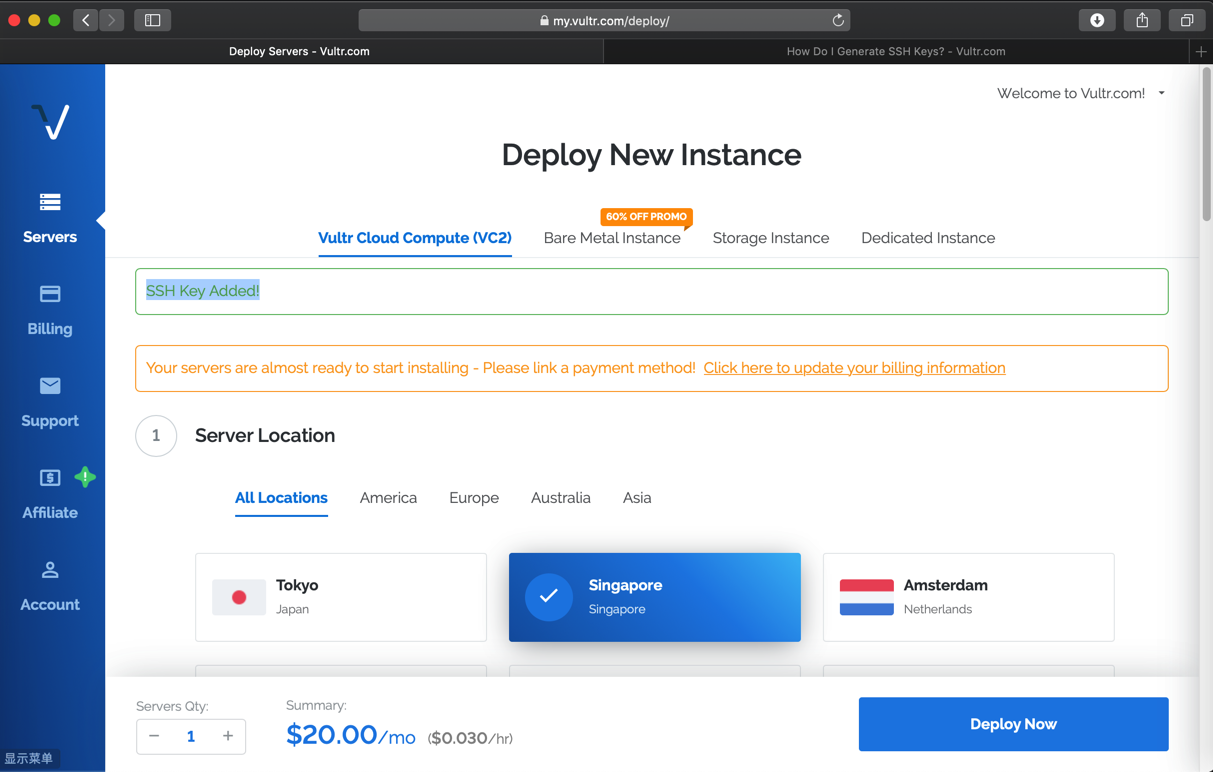
SSH Key Added!
Your servers are almost ready to start installing – Please link a payment method! Click here to update your billing information
再去填写hostname
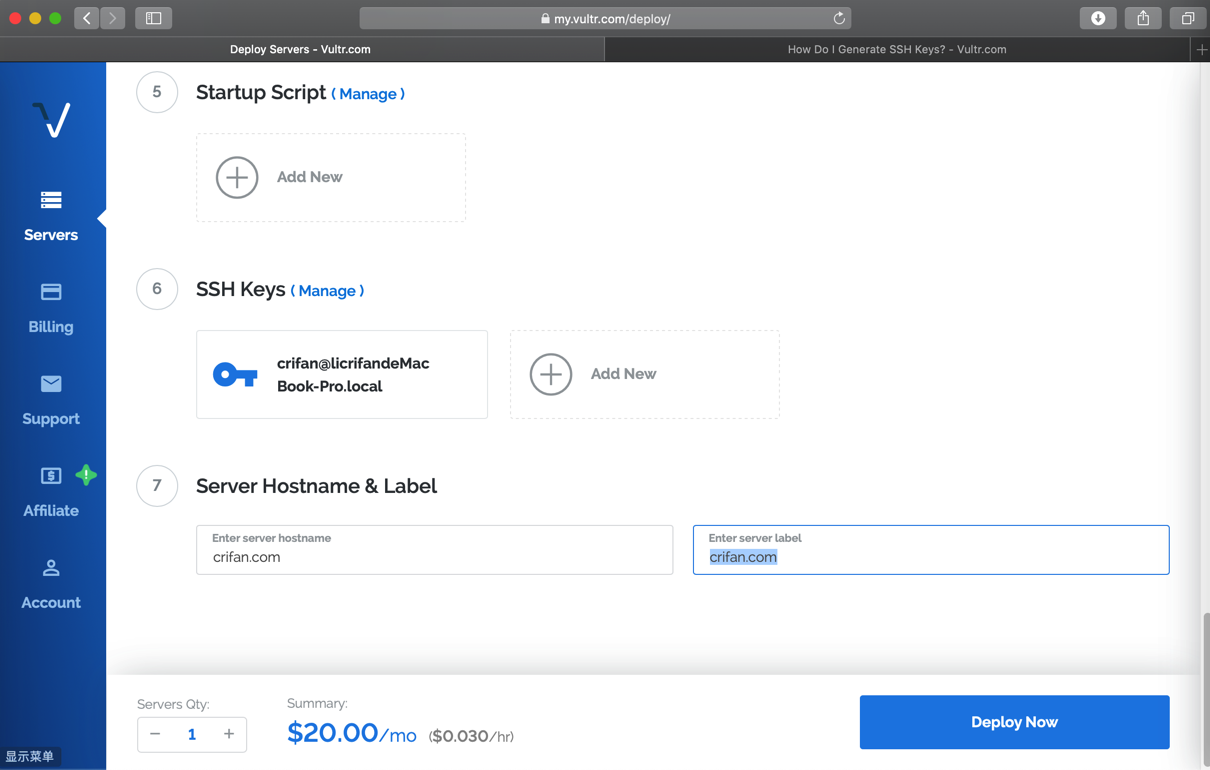
整个截图
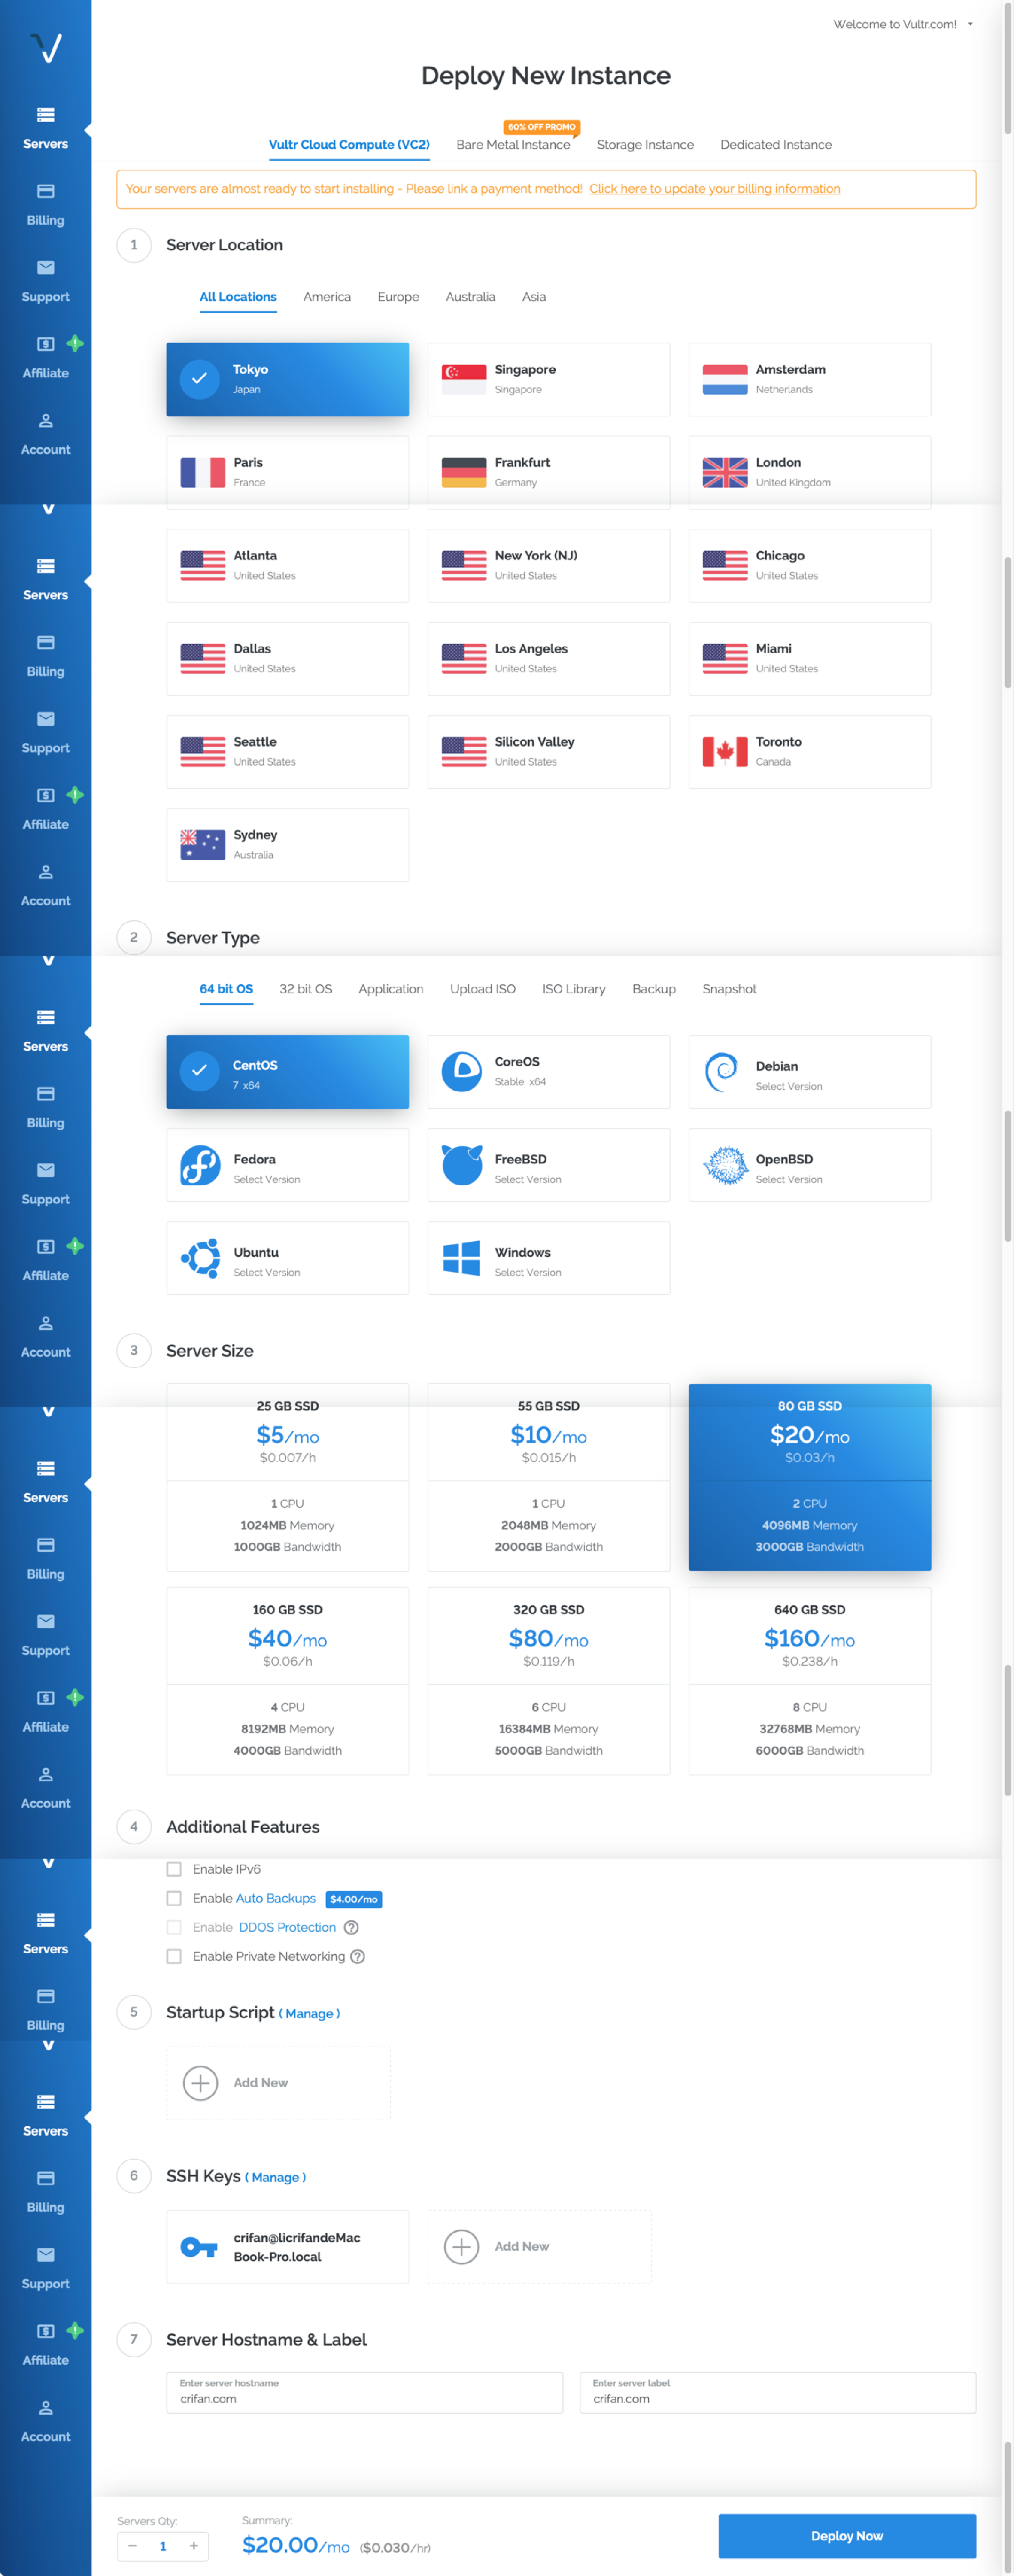
然后先去Deploy Now看看如何
是不是需要先付款
果然还是跳转到支付:
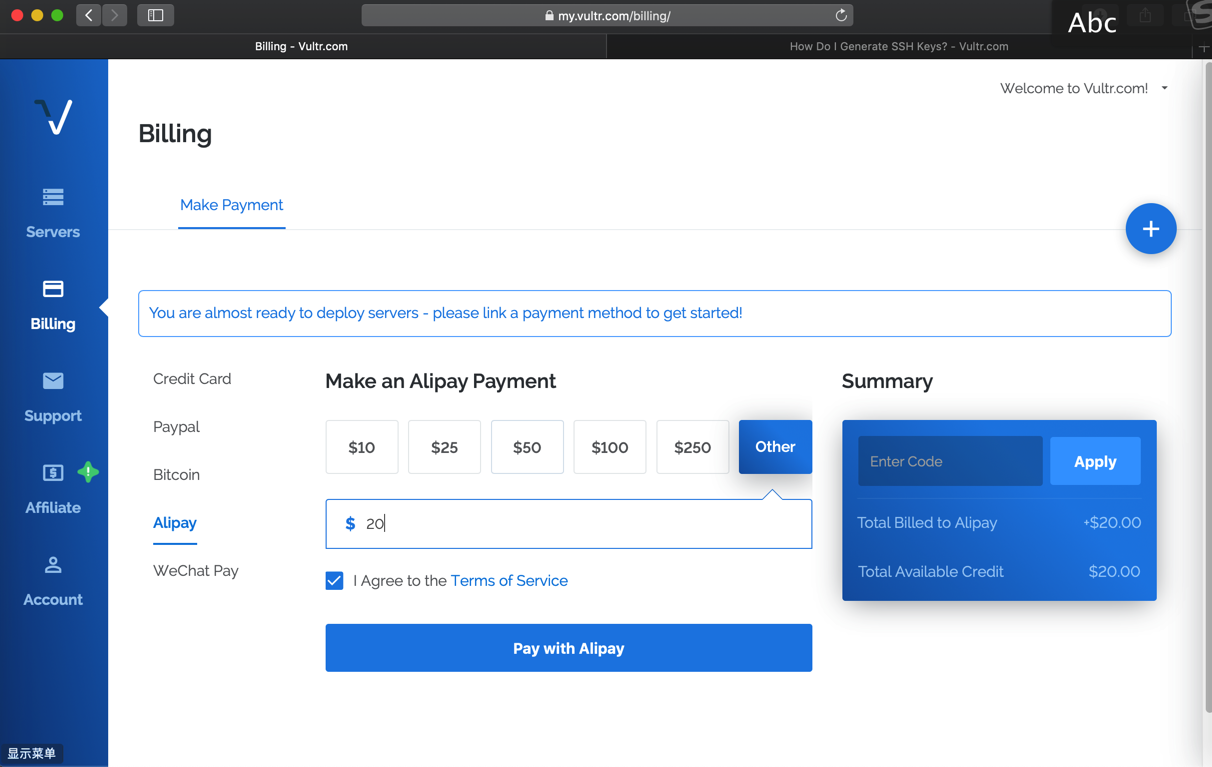
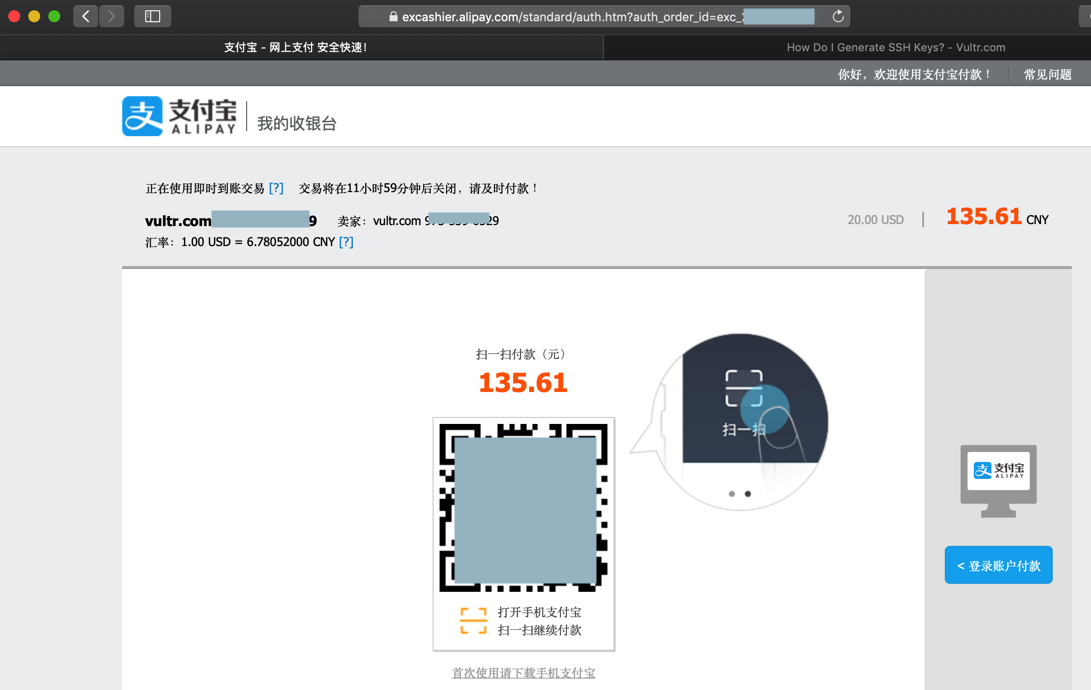
支付完毕
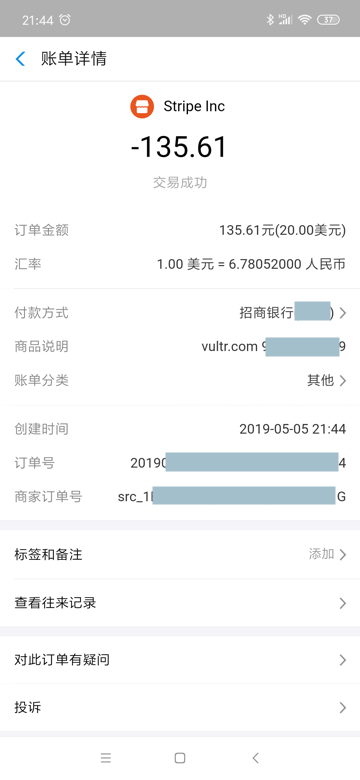
跳转回来
需要重新弄一遍上述配置。。。
即:
其实需要先支付,再去部署。。。
但是价格要在支付范围内?
不过再去看看其他选项
比如操作系统类型
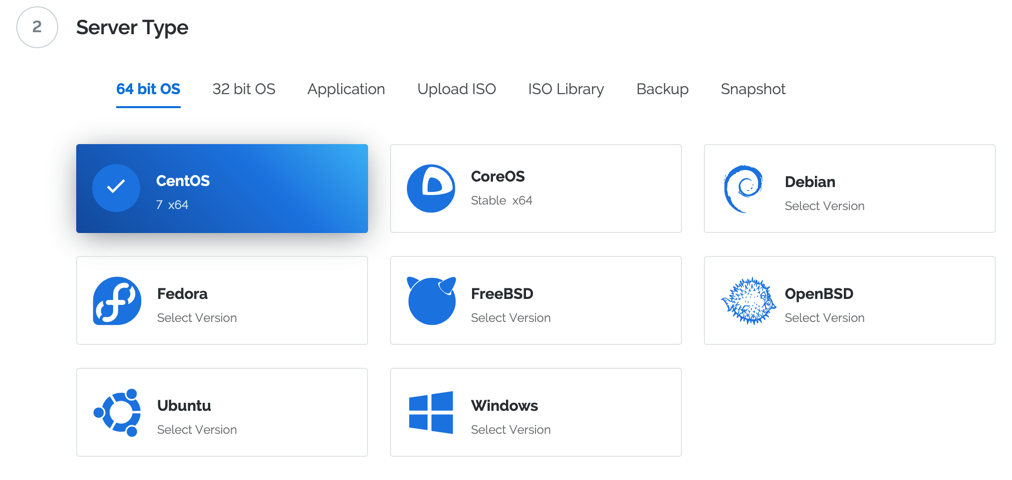

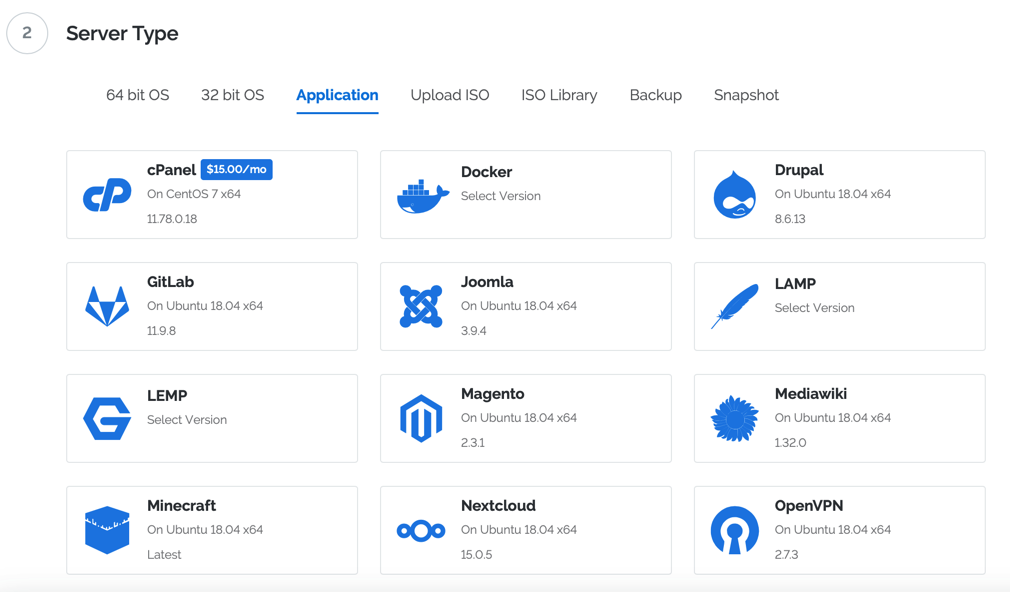
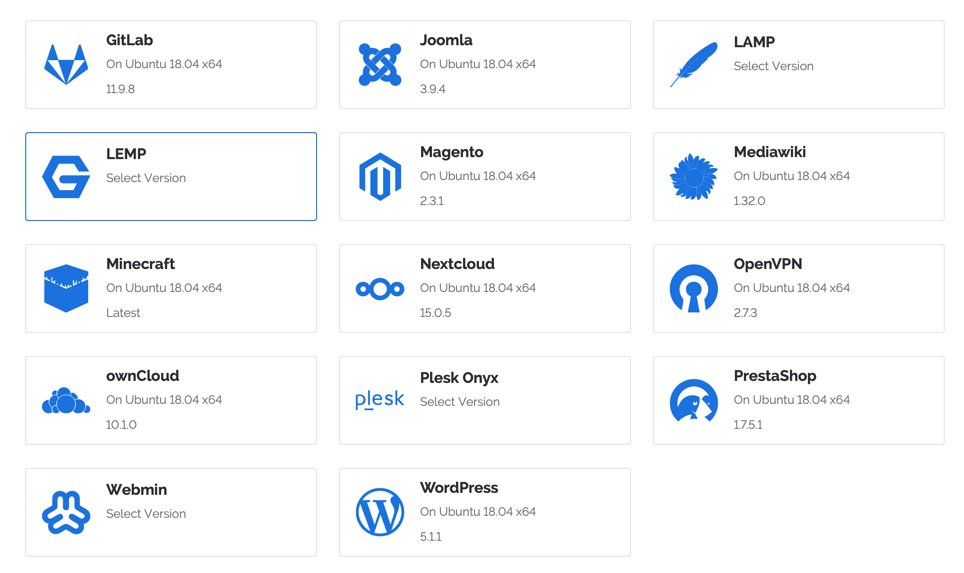
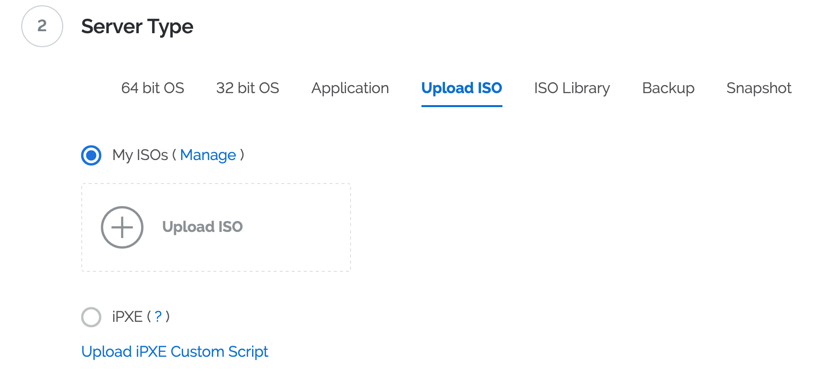
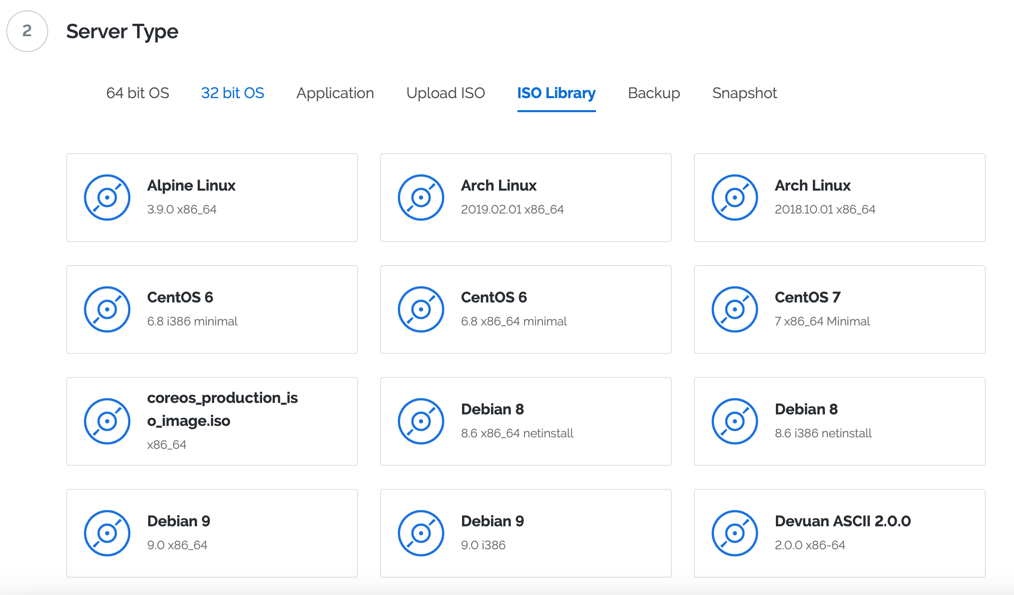


不过才注意到顶部的提示:
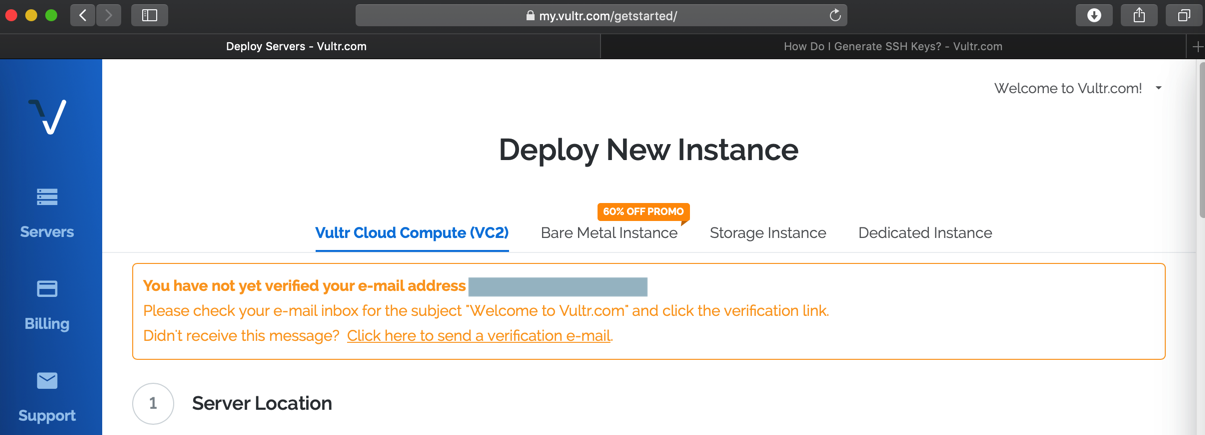
You have not yet verified your e-mail address xxx@xxx.com
Please check your e-mail inbox for the subject “Welcome to Vultr.com” and click the verification link.
Didn’t receive this message? Click here to send a verification e-mail.
所以点击去验证
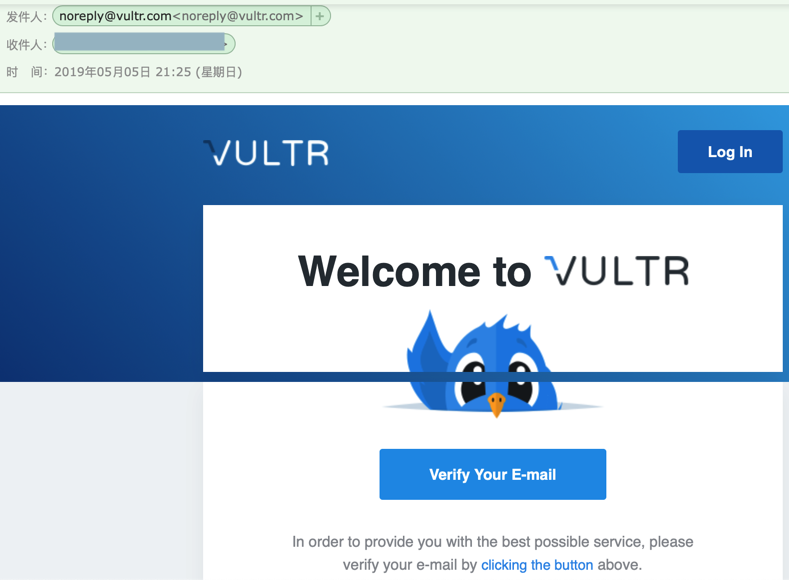
验证完毕
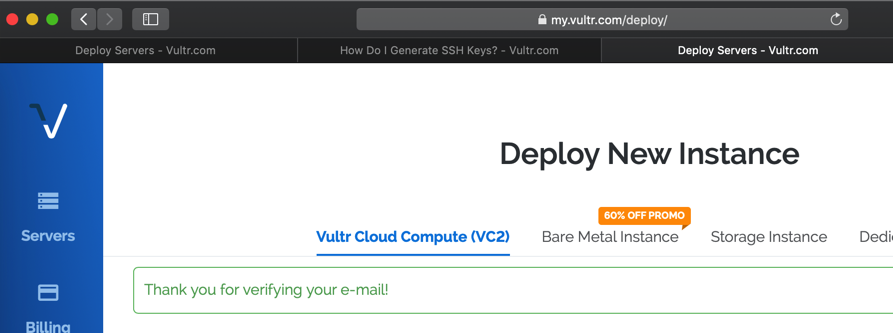
继续配置
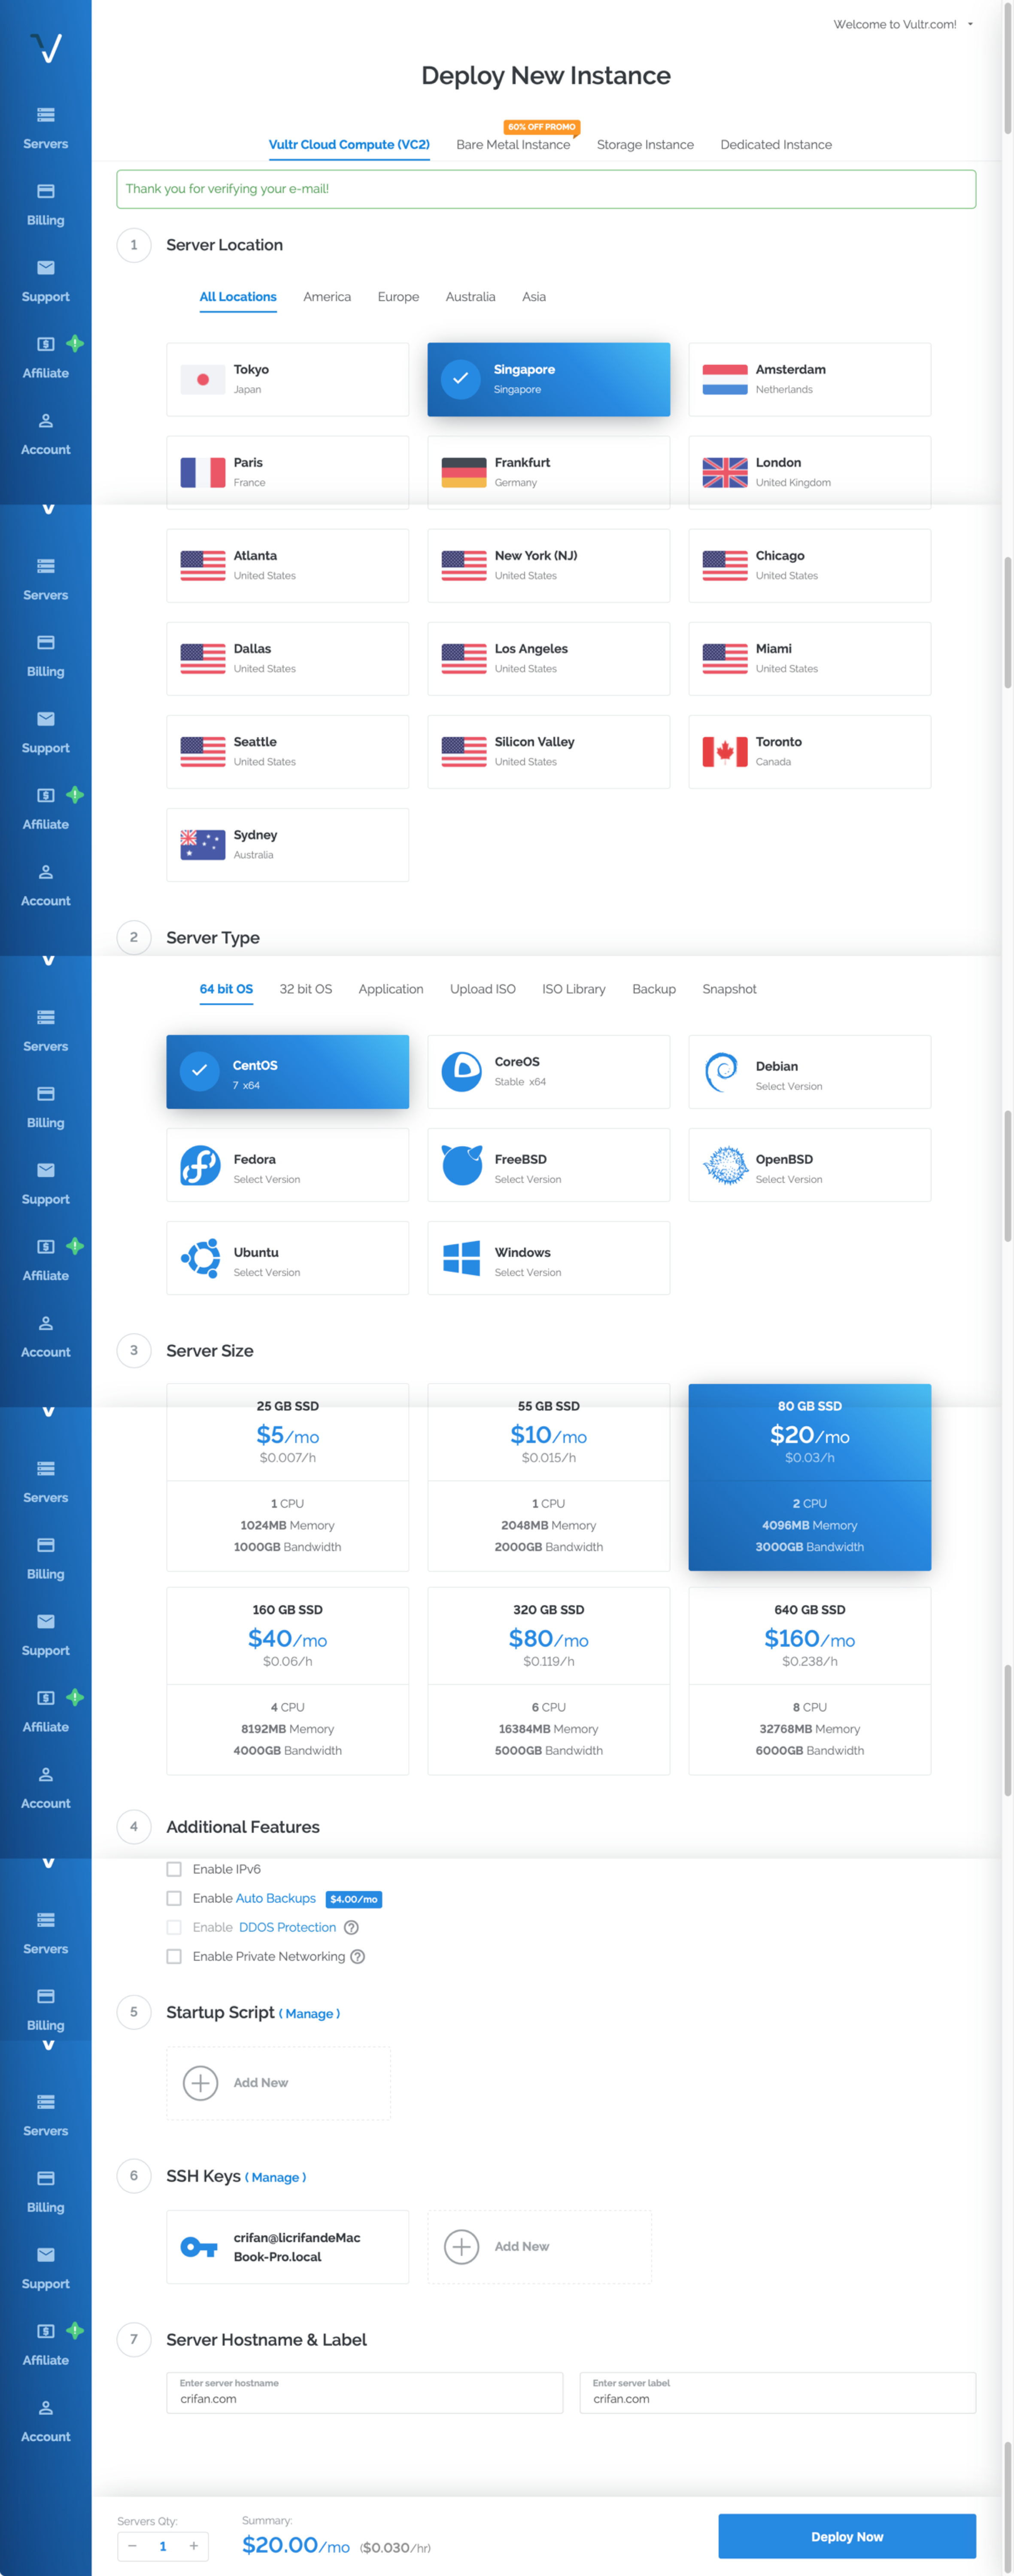
去部署Deploy
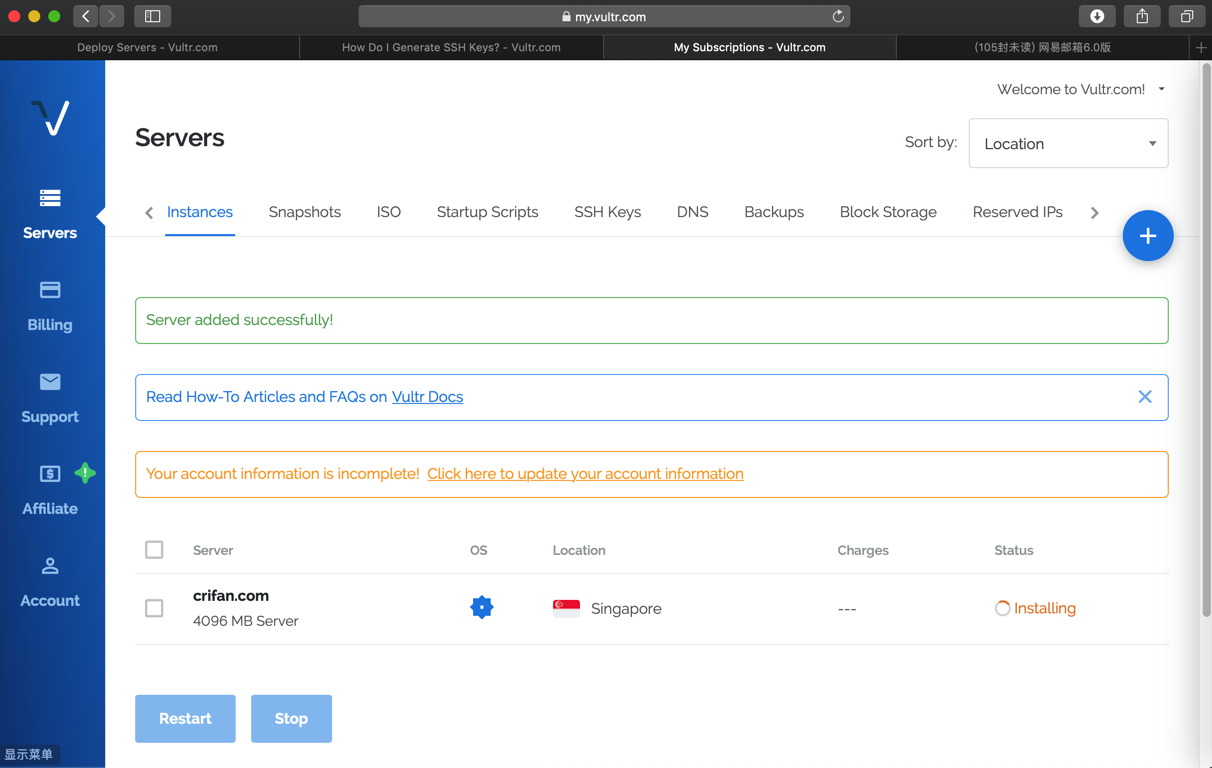
Server added successfully!
Read How-To Articles and FAQs on Vultr Docs
Your account information is incomplete! Click here to update your account information
去更新完成信息
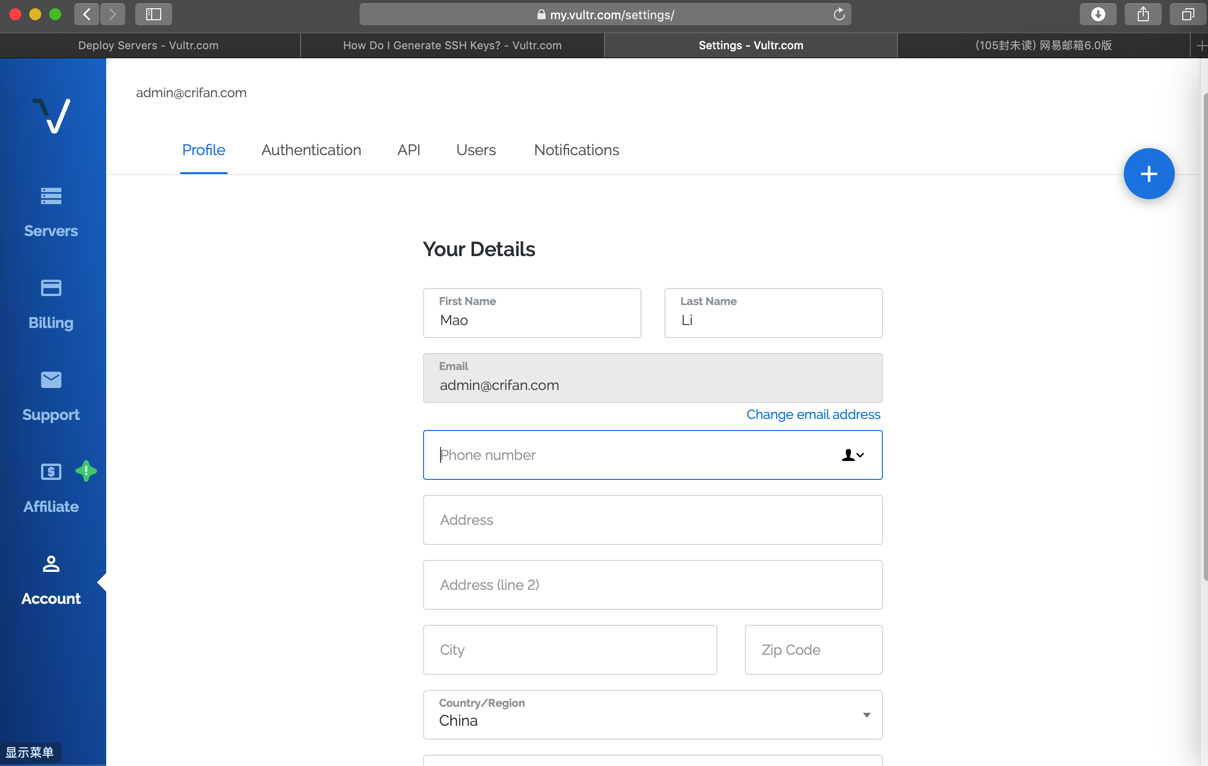
结果填写不完整,更新会提示出错:
Unable to update account: Mailing address is missing.
算了,不更新信息了。
回来看到已经安装好了,Running了:
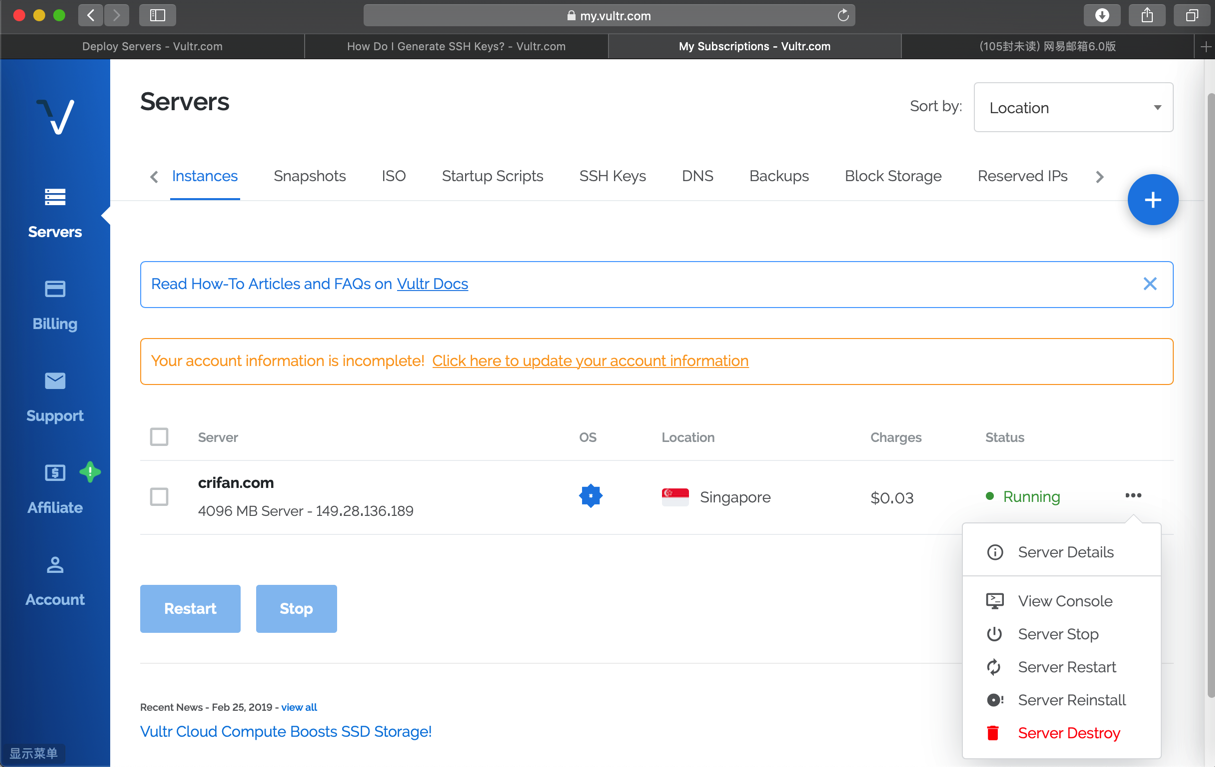
4096 MB Server – 149.28.136.189
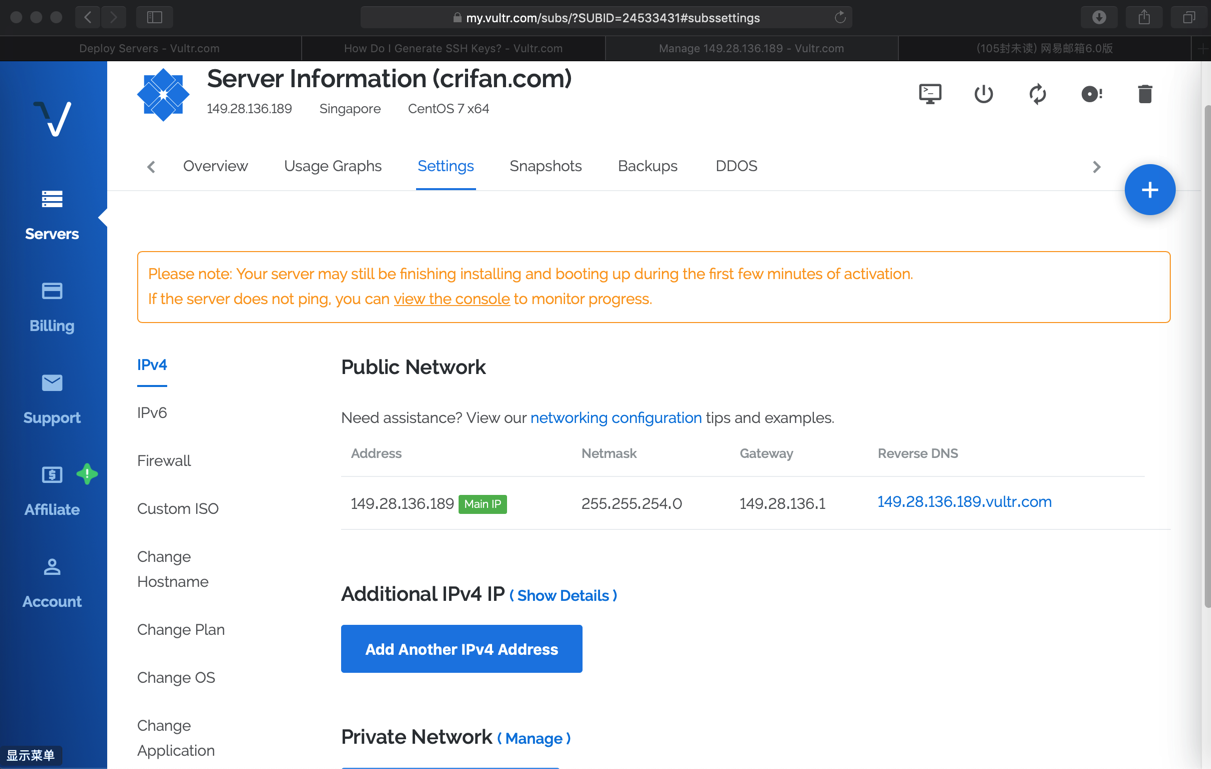
点击进入看详情:
Manage 149.28.136.189 – Vultr.com
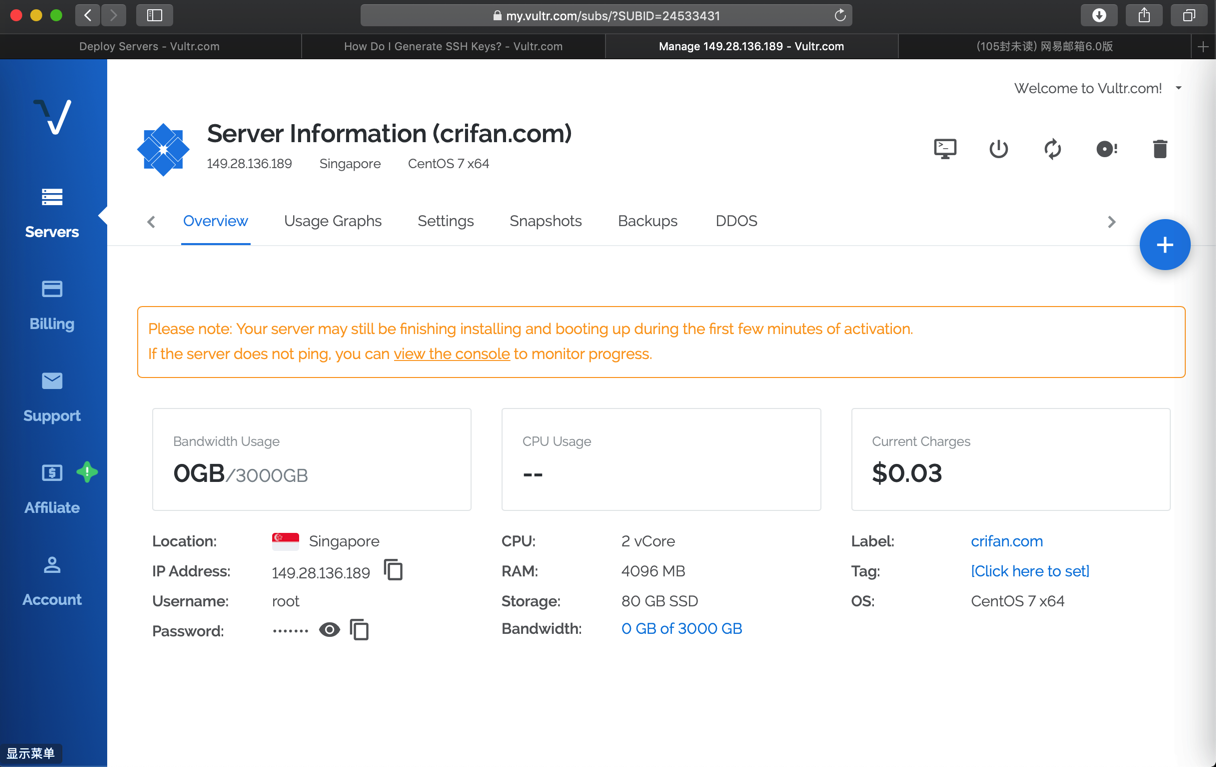
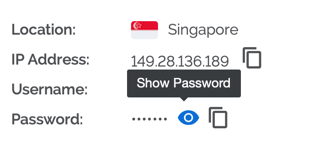
其中root密码是随机的,点击后可以看到:
Location: Singapore
IP Address: 149.28.136.189
Username: root
Password: •••••••
CPU: 2 vCore
RAM: 4096 MB
Storage: 80 GB SSD
Bandwidth: 0 GB of 3000 GB
Label: crifan.com
Tag: [Click here to set]
OS: CentOS 7 x64
https://my.vultr.com/subs/?SUBID=24533431#subsusage
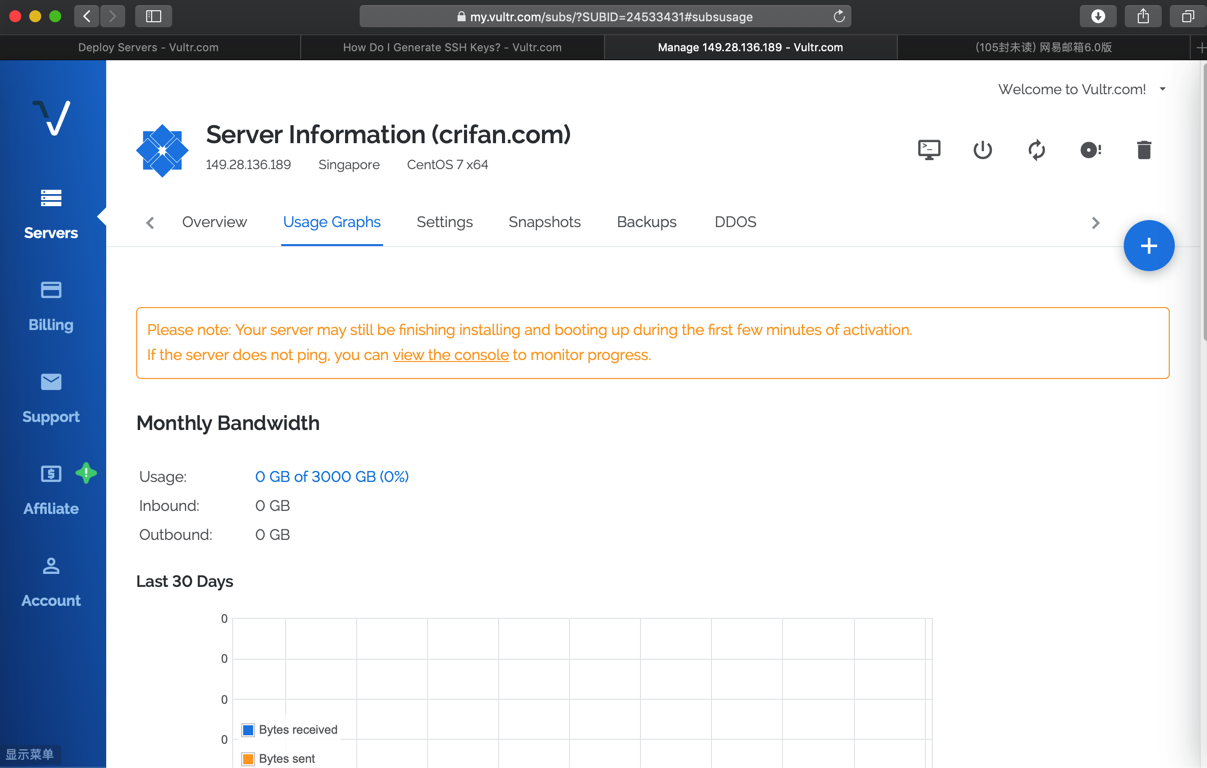
Manage 149.28.136.189 – Vultr.com
https://my.vultr.com/subs/?SUBID=24533431#subssnapshots
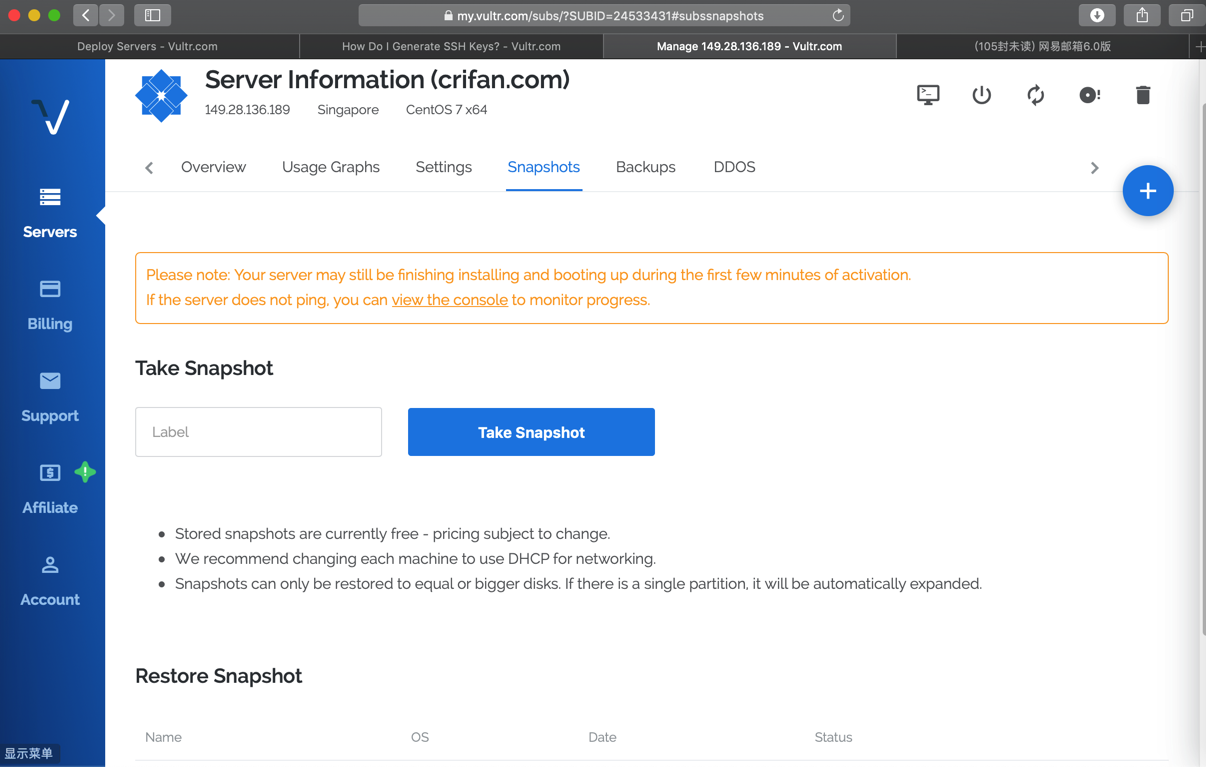
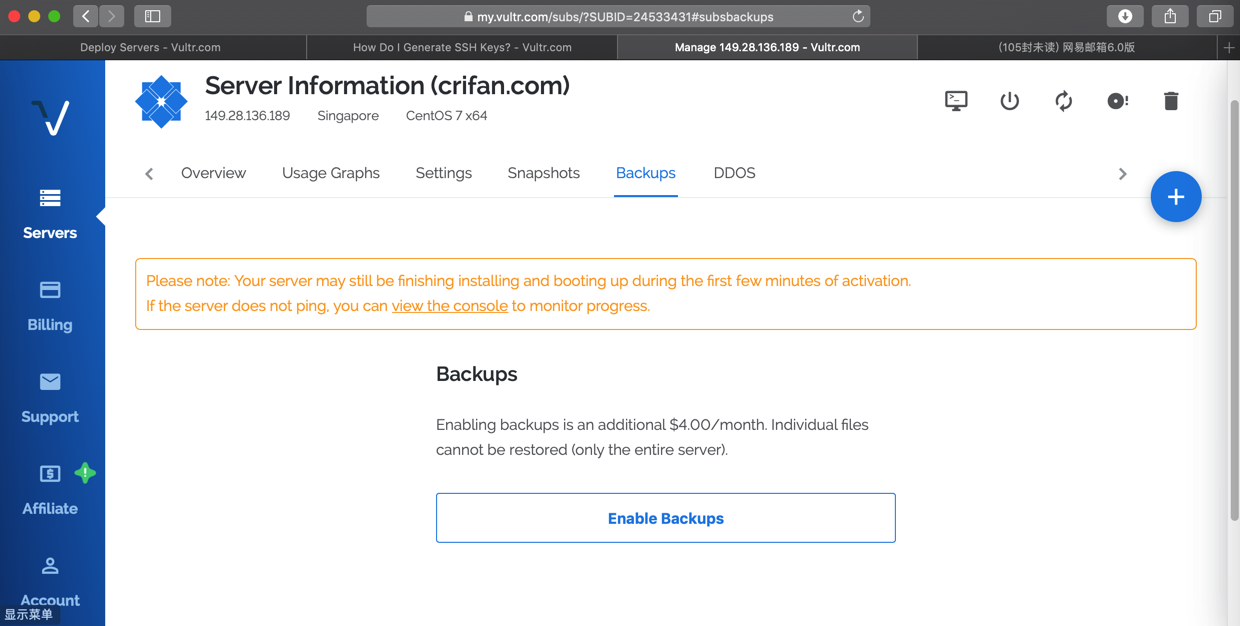
Please note: Your server may still be finishing installing and booting up during the first few minutes of activation.
If the server does not ping, you can view the console to monitor progress.
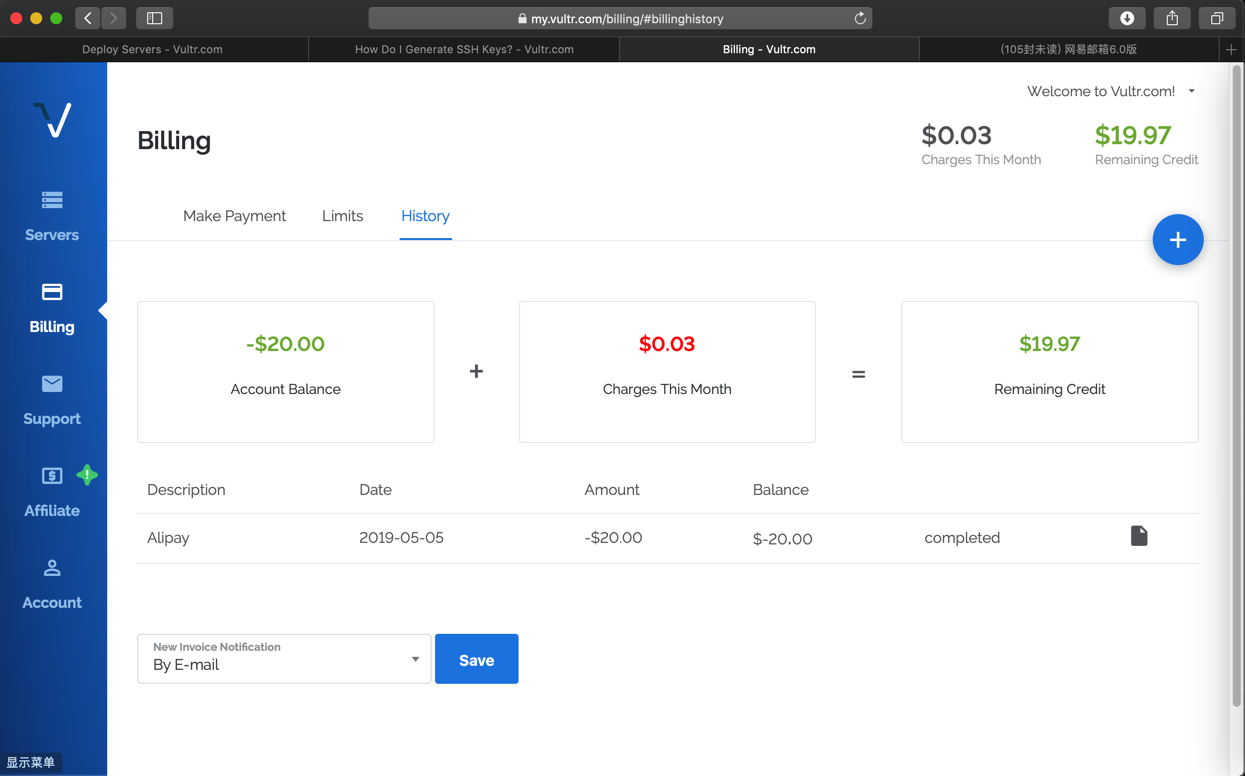
好像是:
先充值了一个月的20美元
然后一直扣钱
可能后续需要自己充钱的吧
后来也看到系统邮件通知VPS创建好了:
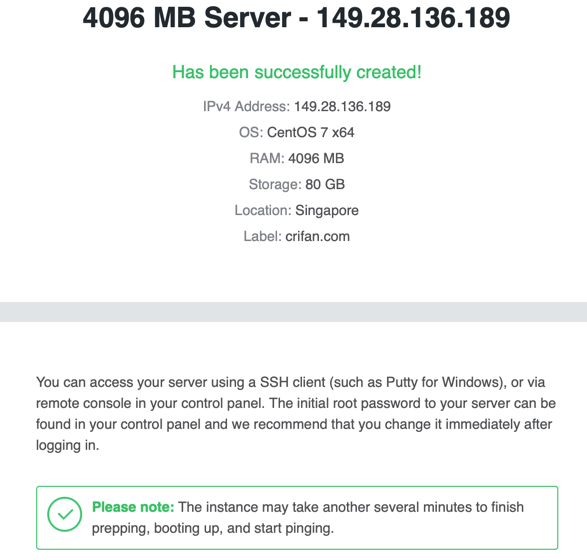
4096 MB Server - 149.28.136.189
Has been successfully created!
IPv4 Address: 149.28.136.189
OS: CentOS 7 x64
RAM: 4096 MB
Storage: 80 GB
Location: Singapore
Label: crifan.com

You can access your server using a SSH client (such as Putty for Windows), or via remote console in your control panel. The initial root password to your server can be found in your control panel and we recommend that you change it immediately after logging in.
Please note: The instance may take another several minutes to finish prepping, booting up, and start pinging.

Additional information and other options are available in the members area.
转载请注明:在路上 » 【记录】去Vultr购买新加坡节点VPS服务器